This document demonstrates creating a SendGrid integration for Insites using API call notifications.
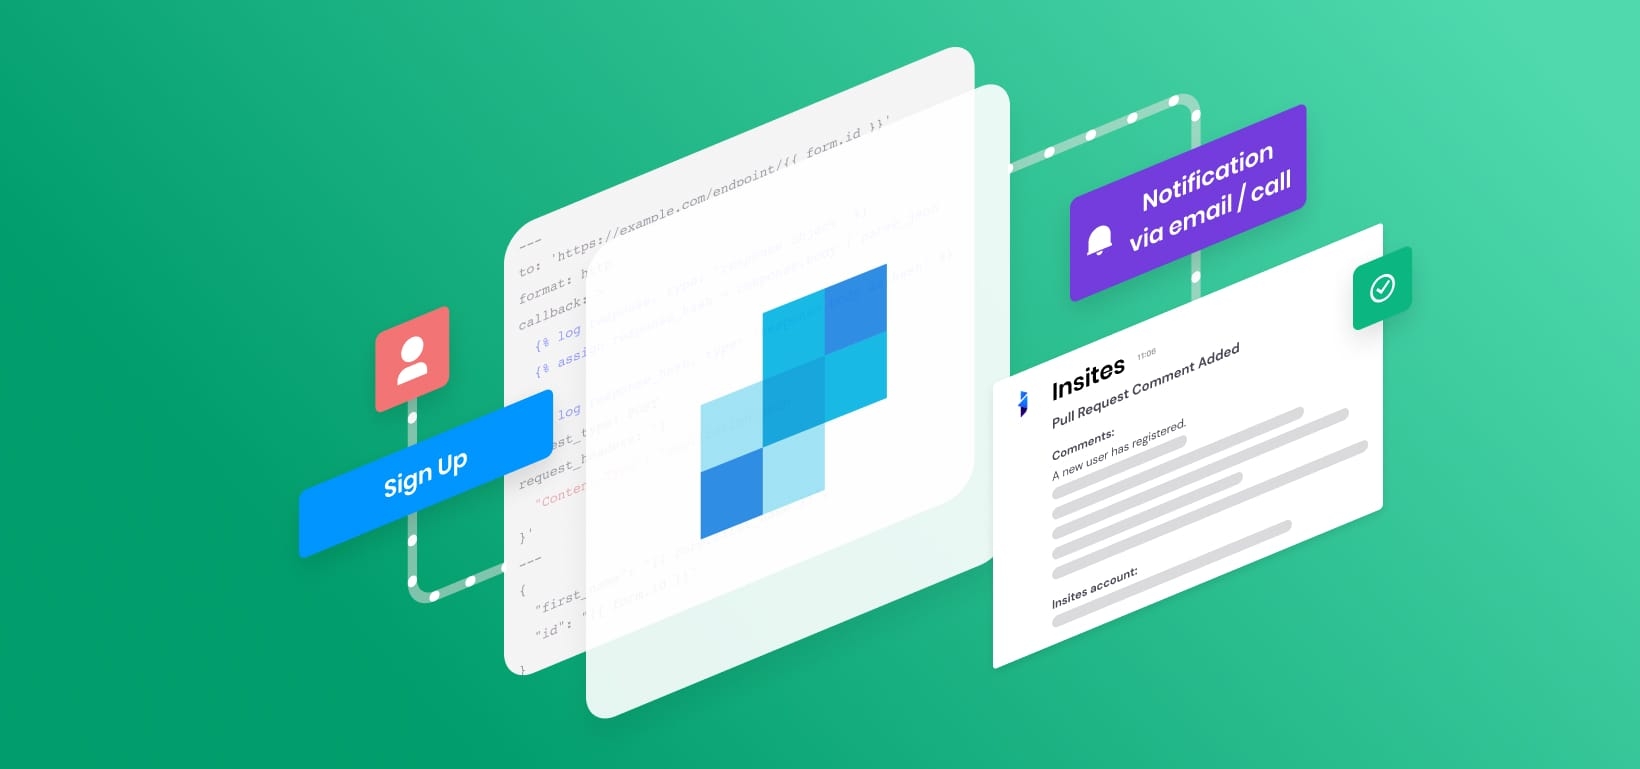
When a user fills out a form on your Insites application, you need to have that user added to the correct SendGrid Segment so you can provide them with the correct marketing campaign. This guide explains how to create an API Call Notification for each form on your site that sends the user’s info to SendGrid and creates a custom (field) attribute in SendGrid to allow the user to be added to the correct segment.
To understand this tutorial, you must be familiar with creating API call notifications, have access to SendGrid, and understand the SendGrid API. In addition, you must know how to create segments in SendGrid.
Integrating SendGrid using API Call Notifications is a three-step process:
Create an API Call Notification:
The documentation concerning Response Headers could be a valuable resource for you.
Add the following to the front matter on your form:
<ins-code-editor
readonly
auto-height
mode='yaml'
value='api_call_notifications:
Create segments in SendGrid and filter using the attribute.
Use this section to troubleshoot common issues encountered when integrating SendGrid using API call notifications.
You can make some tweaks to your DNS records to help ensure that your emails are getting to your users' inboxes and not getting caught up in their spam folders/filters.
Add the sendgrid.net lookup to your current SFP record for your domain.
Example
If your current record (TXT or SPF) is:
You can add:
before the at the end.
This action will result in:
NoteYou can learn more about this method by visiting the following documentation: SPF Records Explained.
Add DKIM records to your DNS records as described here: DKIM Records Explained.


