Site · Forms
Send an email when a form is submitted
Last updated 18 November 2026Applies to Forms v6.1
Email your team, the visitor, or both, on every submission.
When you finish this guide, each submission of your form sends an email. You can send two kinds. A workflow email tells your team about the submission. An autoresponder goes to the person who submitted the form, for example to confirm you received it.
You need a form built in the Form Builder. If you do not have one yet, see Build a contact form.
Open the email settings
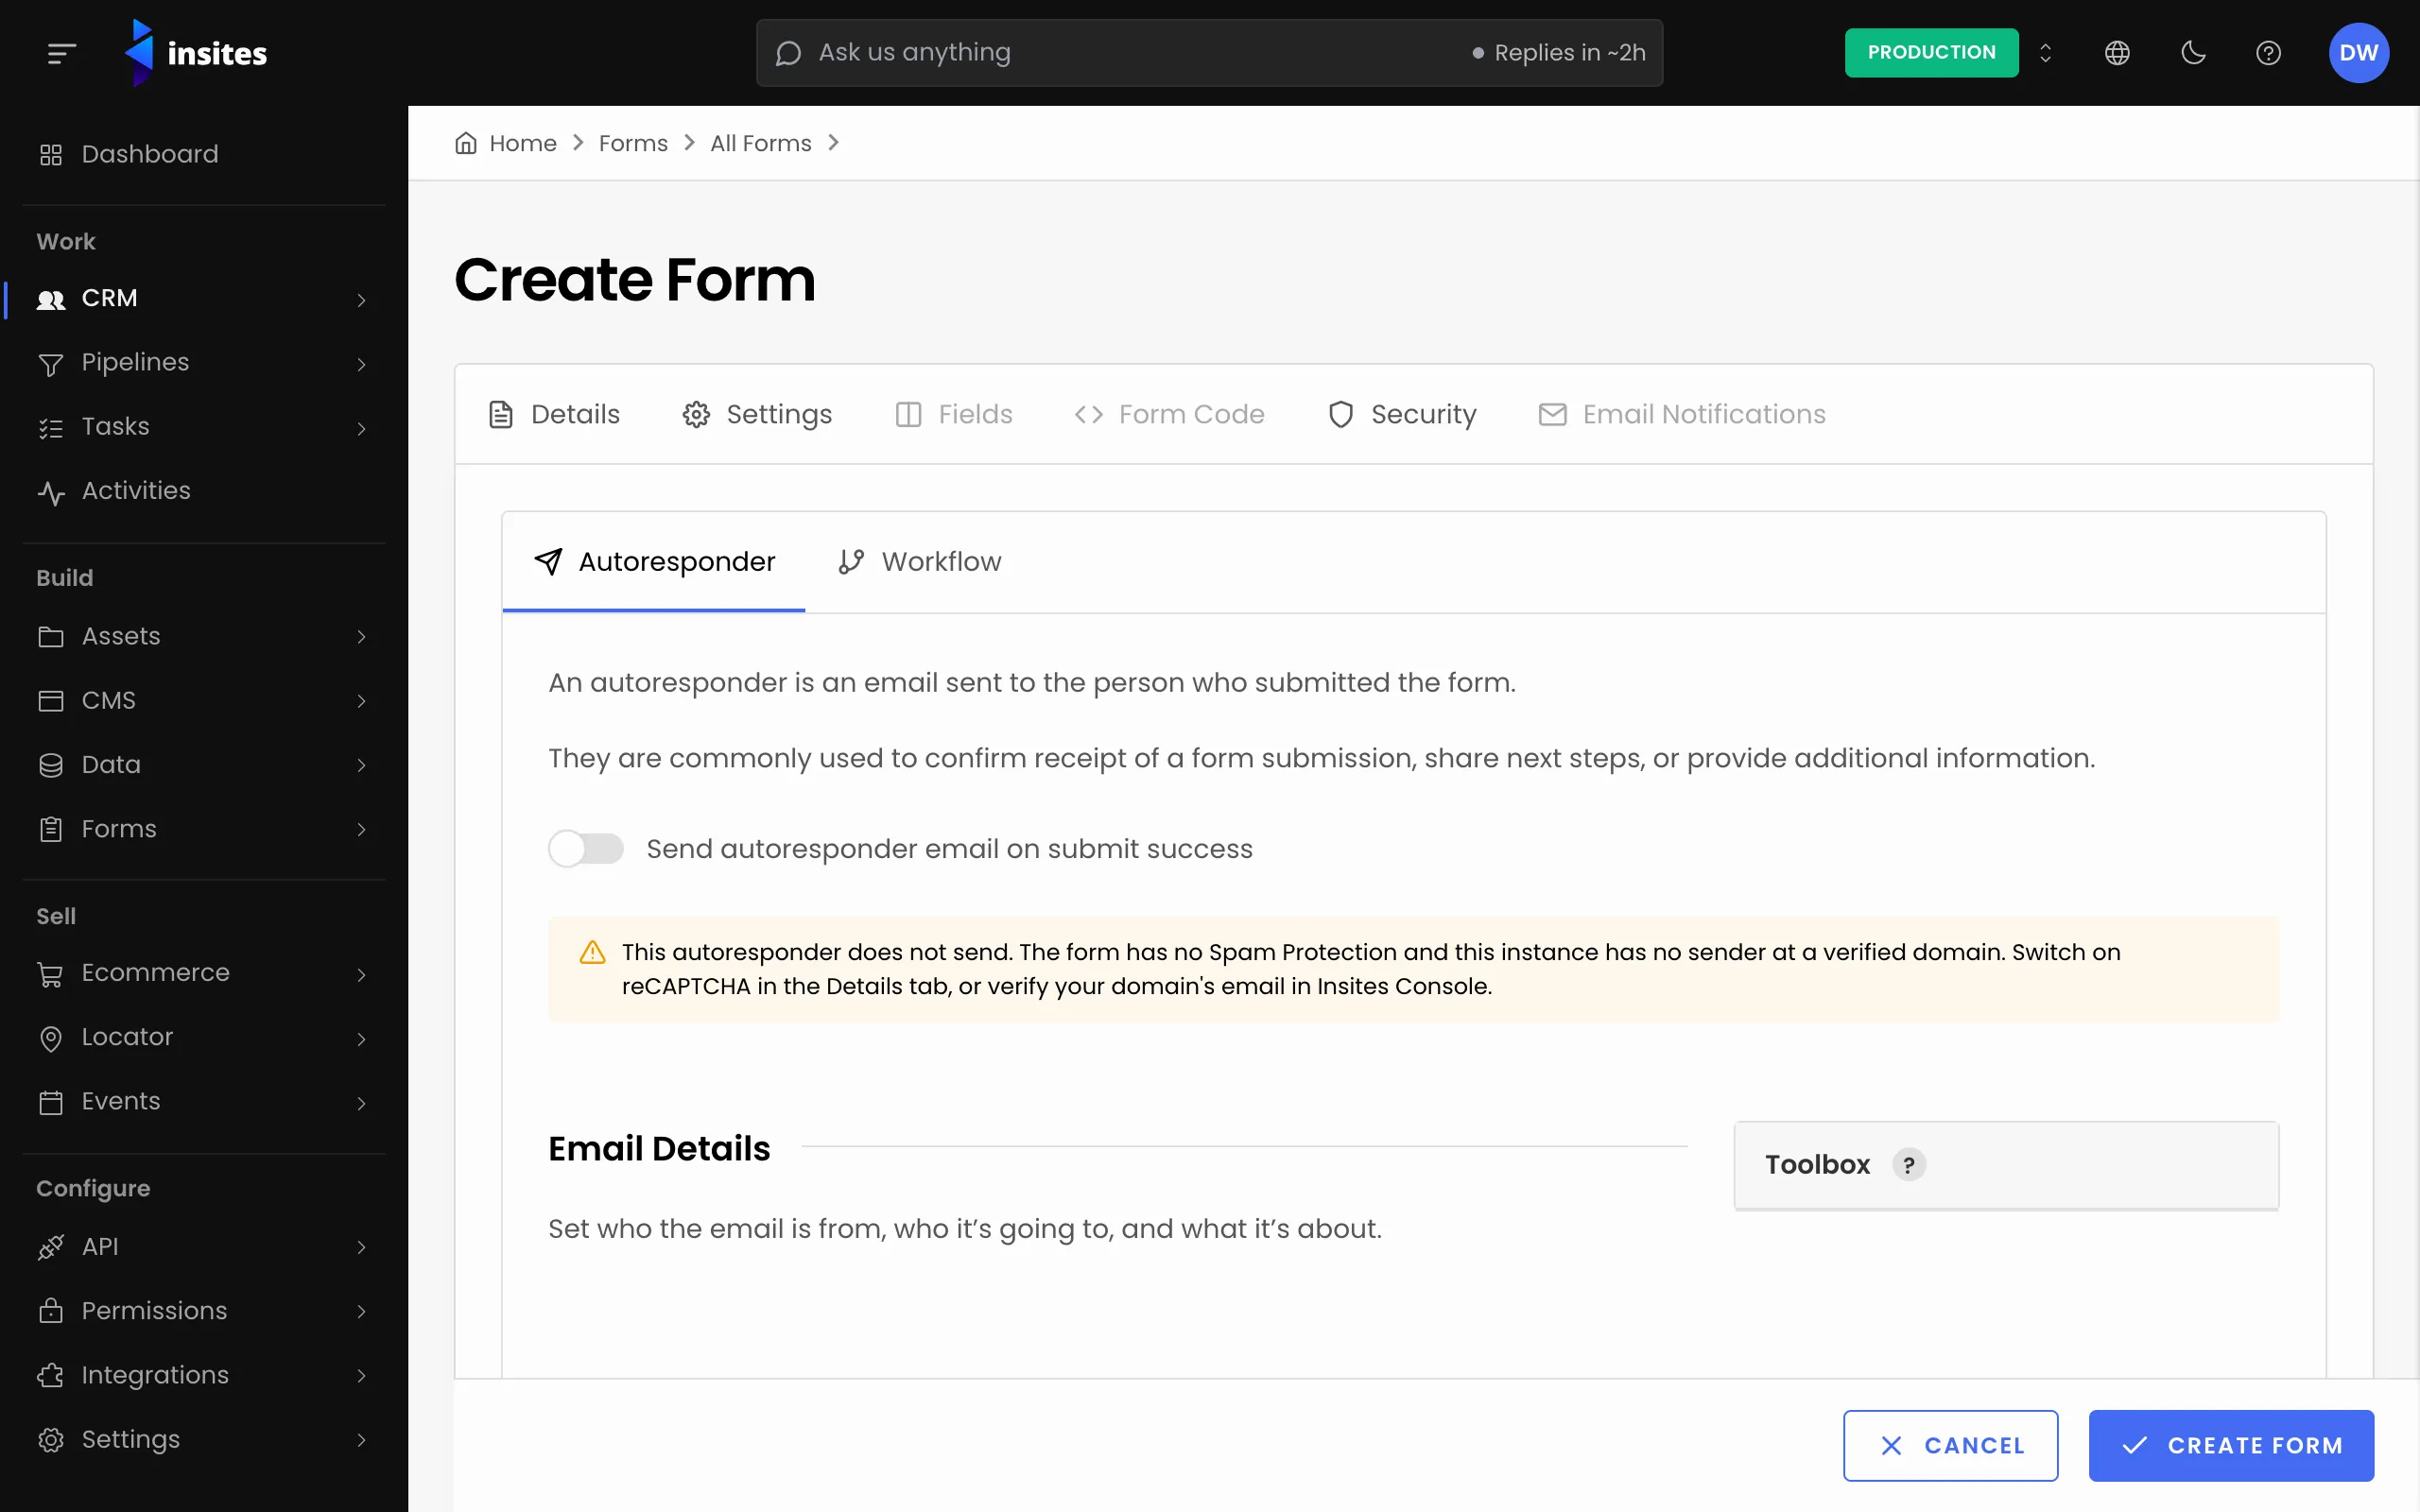
Go to Forms > All Forms and open your form. Open the Email Notifications tab. It has two tabs of its own: Autoresponder and Workflow. Set up either one, or both.
Email your team
- Open the Workflow tab.
- Switch on Send workflow email on submit success.
- Choose a Sender, and enter the address that receives the email in To. Add a Subject. Reply-To, CC, BCC and Preheader are optional.
- Under Email Design, choose how the email looks (see below).
- Select Save at the bottom of the form.
If you write your own content, you can add a snippet that lists every field and its answer. The tab shows the snippet with a copy button.
Reply to the visitor
- Open the Autoresponder tab.
- Switch on Send autoresponder email on submit success.
- Choose a Sender. In To, use the form's email field, so the email goes to the address the visitor typed. The field list beside the email details gives you each field as a variable, for example
{{ form.properties.email }}. - Add a Subject, choose an Email Design, and select Save.
Warning
An autoresponder goes to any address a visitor types. So on a form with no spam protection, it sends only from a sender at your own verified domain. If your site has no such sender, the autoresponder does not send. Switch on reCAPTCHA (see Stop spam submissions), or verify your domain's email in Insites Console.
Choose the email design
- Default Template: a ready-made email. The header logo, company name, address and phone come from CMS Globals.
- CMS Layout: you write the content in a rich-text editor. On the autoresponder you also pick a Layout.
- Visual Editor: you build the email on a blank canvas.
Use the field list to put the visitor's answers into the subject or content. It also offers the submission's ID and the date it was created.
Tip
Use Send test to send yourself a copy before the form goes live.
Check that it works
After you save the form with an email switched on and a recipient, the banner at the top of the form goes away. Without one, it reads: This form has no email notification. Submissions are saved, but nobody is emailed.
Submit the form on your site with your own email address, and check that both emails arrive.
Note
The email fields described here come from the CRM module. If your site runs an older version of the CRM module, the tab shows an older set of fields instead. Update the CRM module to get the preview and Send test.
Where to go next:
- Email Notifications: the reference for this tab.
- Stop spam submissions.
- Forms: everything the Forms module does.