Site · Forms
Stop spam submissions
Last updated 18 November 2026Applies to Forms v6.1
Add reCAPTCHA to a form so bots cannot submit it.
When you finish this guide, your form checks each visitor with Google reCAPTCHA, so bots cannot fill it in. You add your reCAPTCHA keys once for the whole site, then switch on spam protection for each form.
You need a reCAPTCHA site key and secret key from Google, for the version you plan to use.
Choose a version
Insites supports reCAPTCHA v2 and v3. With reCAPTCHA v3, each submission gets a score: 1.0 is very likely a person, and 0.0 is very likely a bot. You set a Minimum Score on the form. The reCAPTCHA page in the admin links to Google's documentation, which explains the difference between the two.
Add your keys
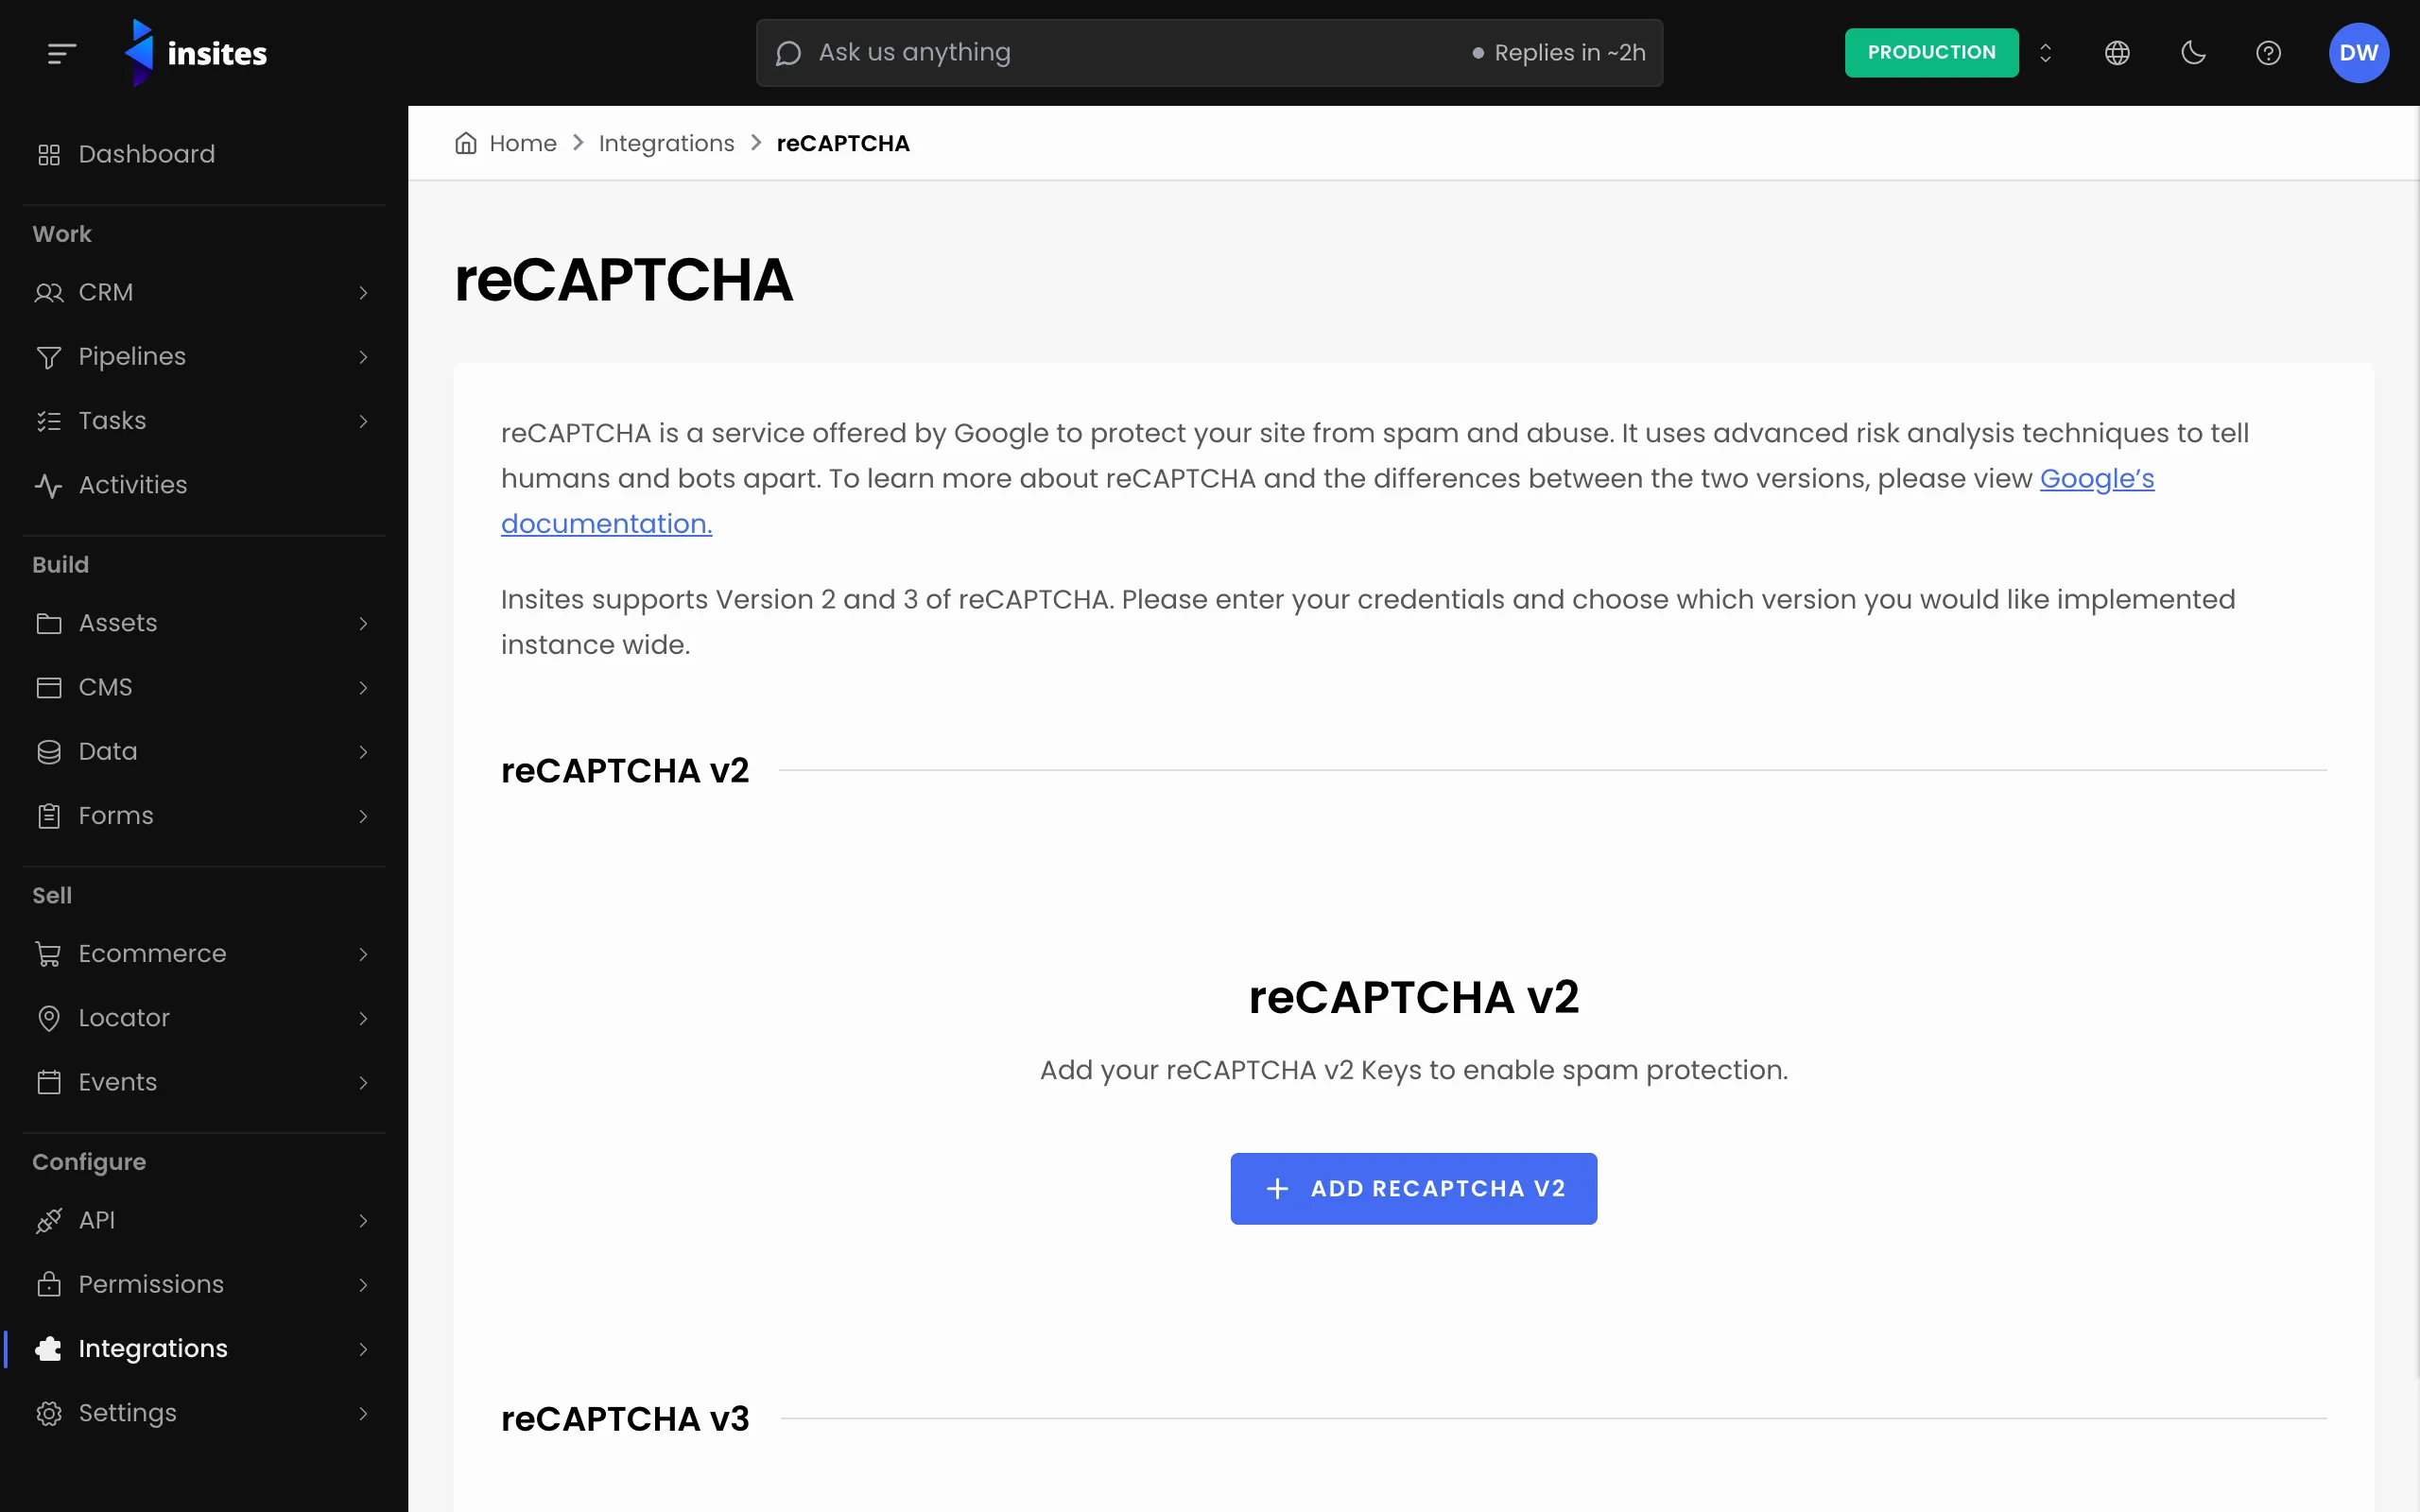
- In the admin, go to Integrations > reCAPTCHA.
- Select Add reCAPTCHA v2 or Add reCAPTCHA v3.
- Switch on Enable reCAPTCHA v2 (or v3), and enter the Site Key and Secret Key.
- Select Add Recaptcha. The version now shows the tag Enabled.
Switch on spam protection for a form
- Go to Forms > All Forms and open your form.
- On the Details tab, find Spam Protection. Choose reCAPTCHA v2 or reCAPTCHA v3 instead of None.
- If you chose reCAPTCHA v3, fill in the two extra fields:
- Action (required): a name for this form's action, such as
contact. - Minimum Score: a number from 0 to 1, in steps of 0.1.
- Action (required): a name for this form's action, such as
- Select Save.
Note
Spam protection also lets the form's autoresponder send from any of your senders. Without it, the autoresponder sends only from a sender at your own verified domain. See Send an email when a form is submitted.
Limit who can submit
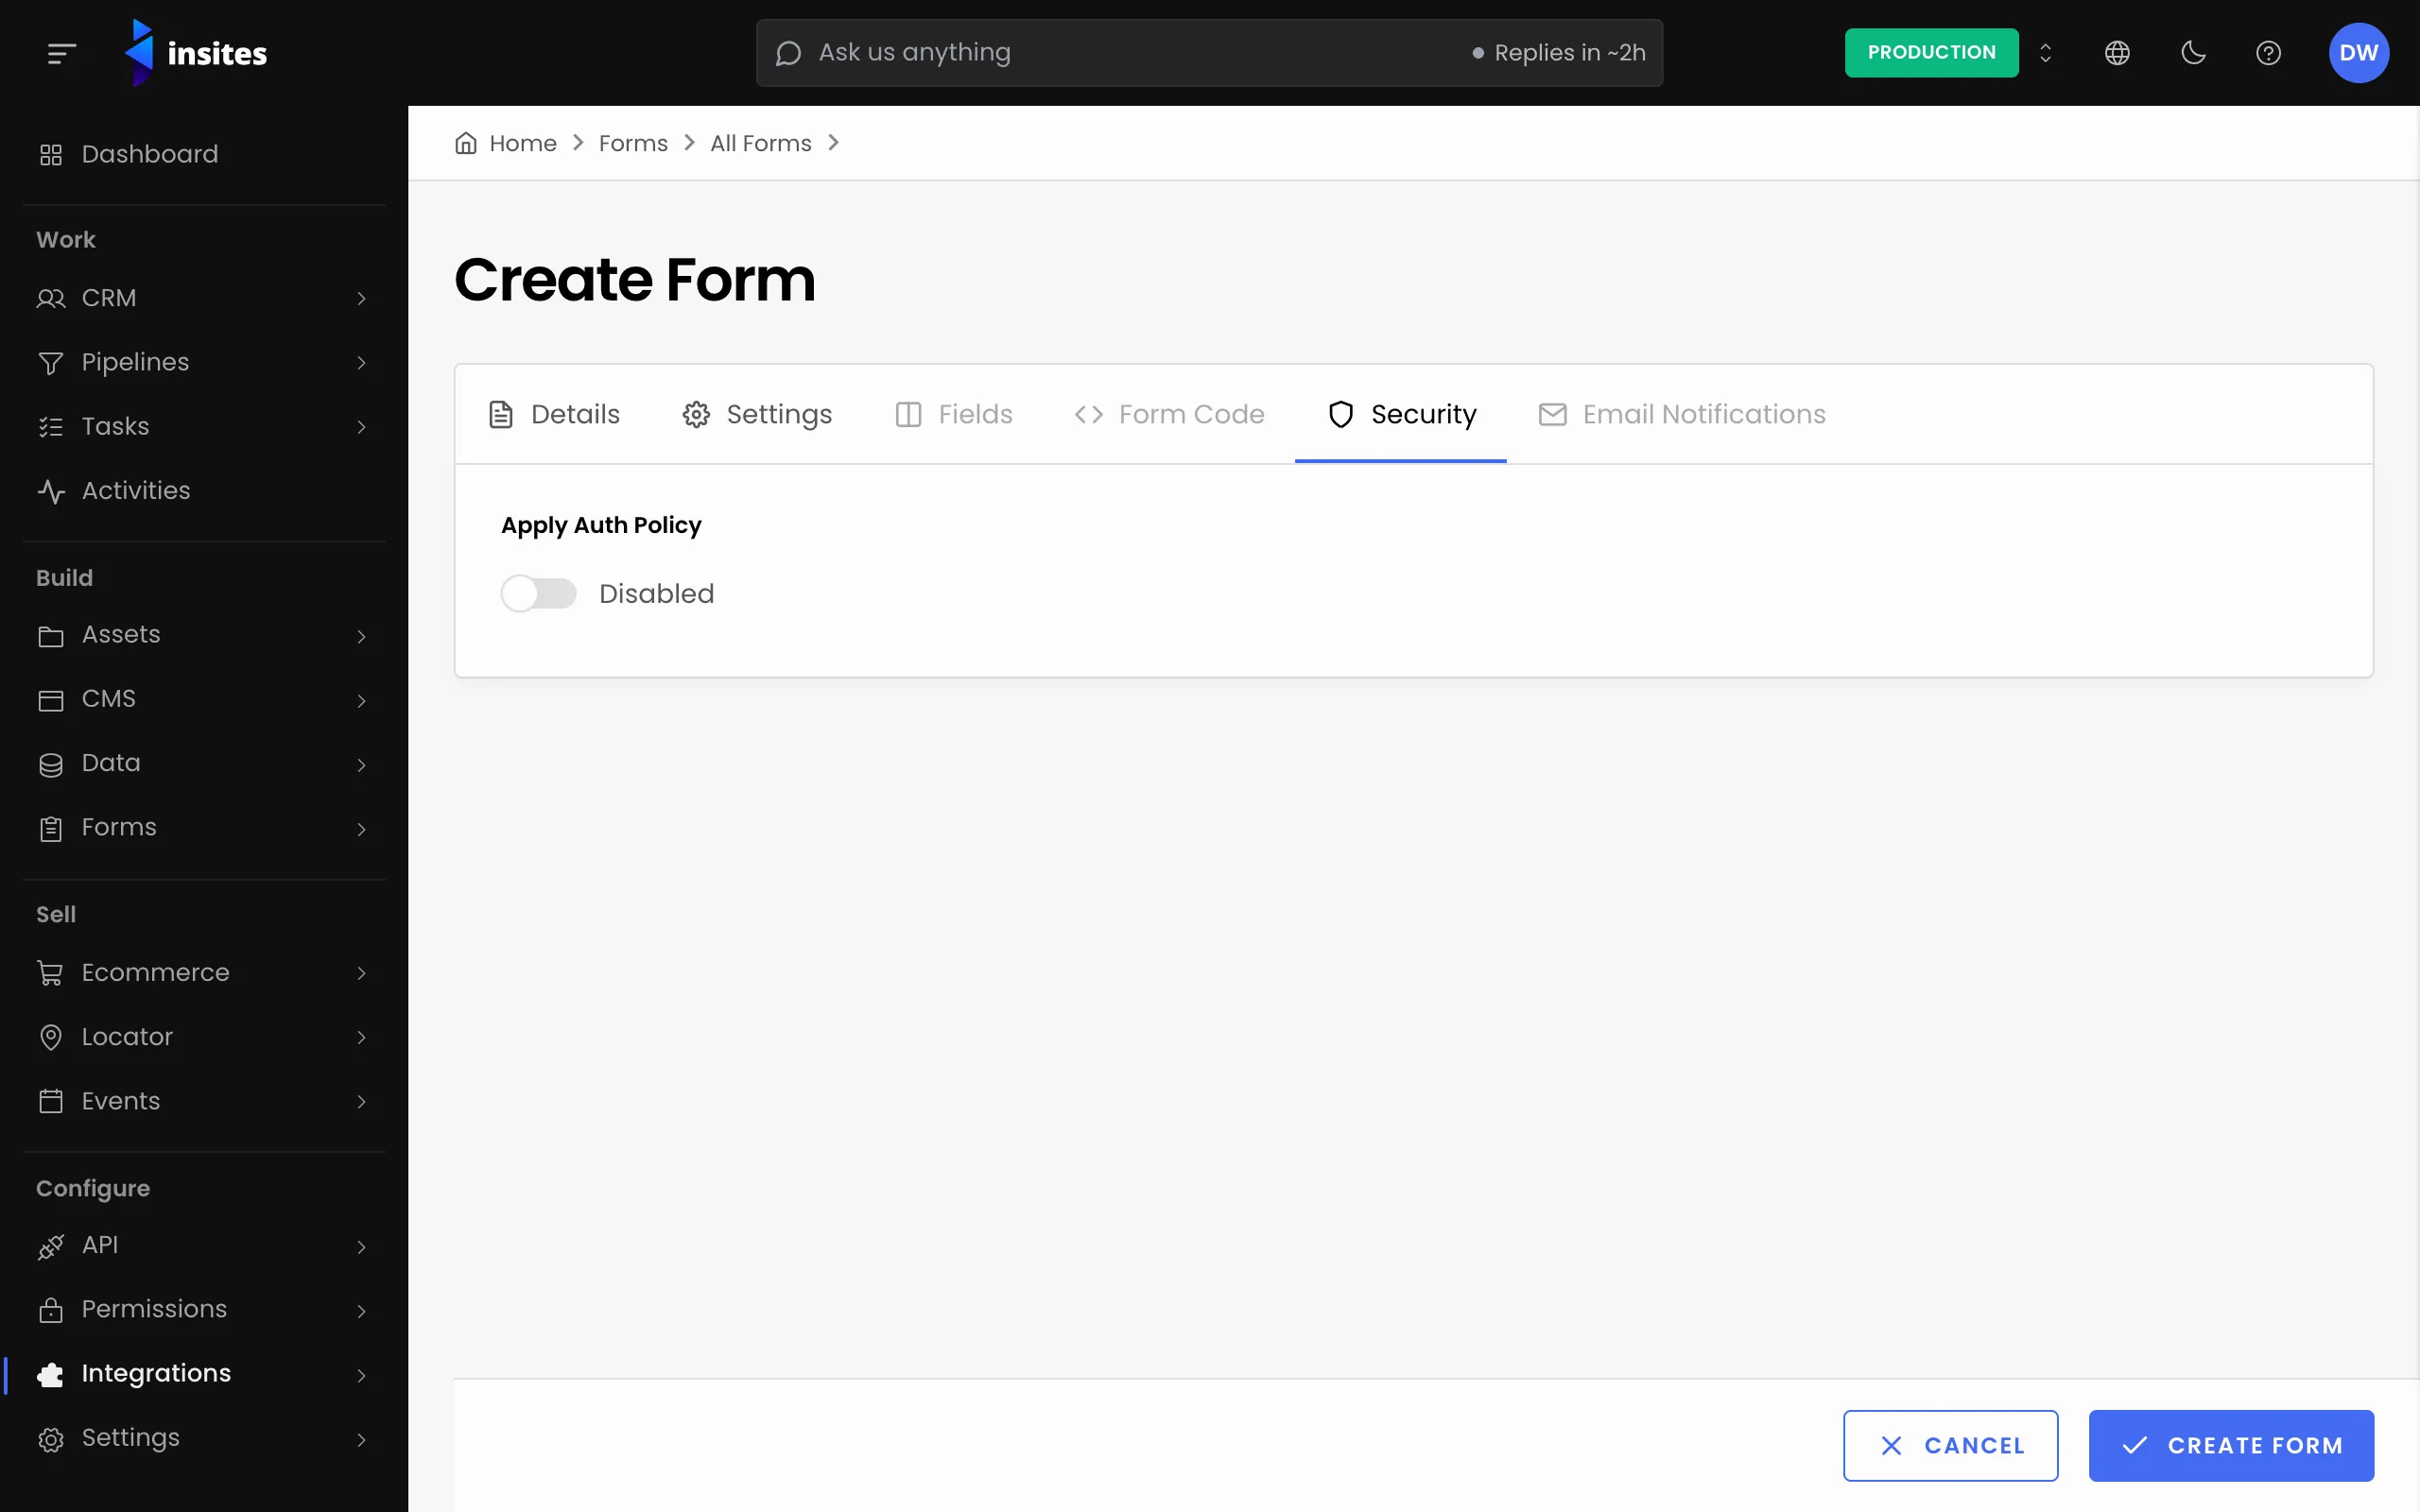
To control who may submit a form, open its Security tab. Switch on Apply Auth Policy and choose one or more Auth Policies. This is a separate control from spam protection, and you can use both.
Tip
Submit the form once yourself after you switch on protection, to check that real visitors can still get through.
Where to go next: