Site · API
Protect an endpoint with a policy
Last updated 18 November 2026
Write an authorization policy in the API module and attach it to a Custom API Endpoint so only allowed requests reach your data.
At the end of this guide your endpoint will check every request before it runs, and turn away the ones you do not allow. You write the rule once as an authorization policy, then attach it to as many endpoints as you need.
An authorization policy is a short piece of Liquid. It prints true to let a request in, or false to turn it away. Insites runs it before the endpoint's body, so a refused request never reaches your data.
Open Authorization Policies
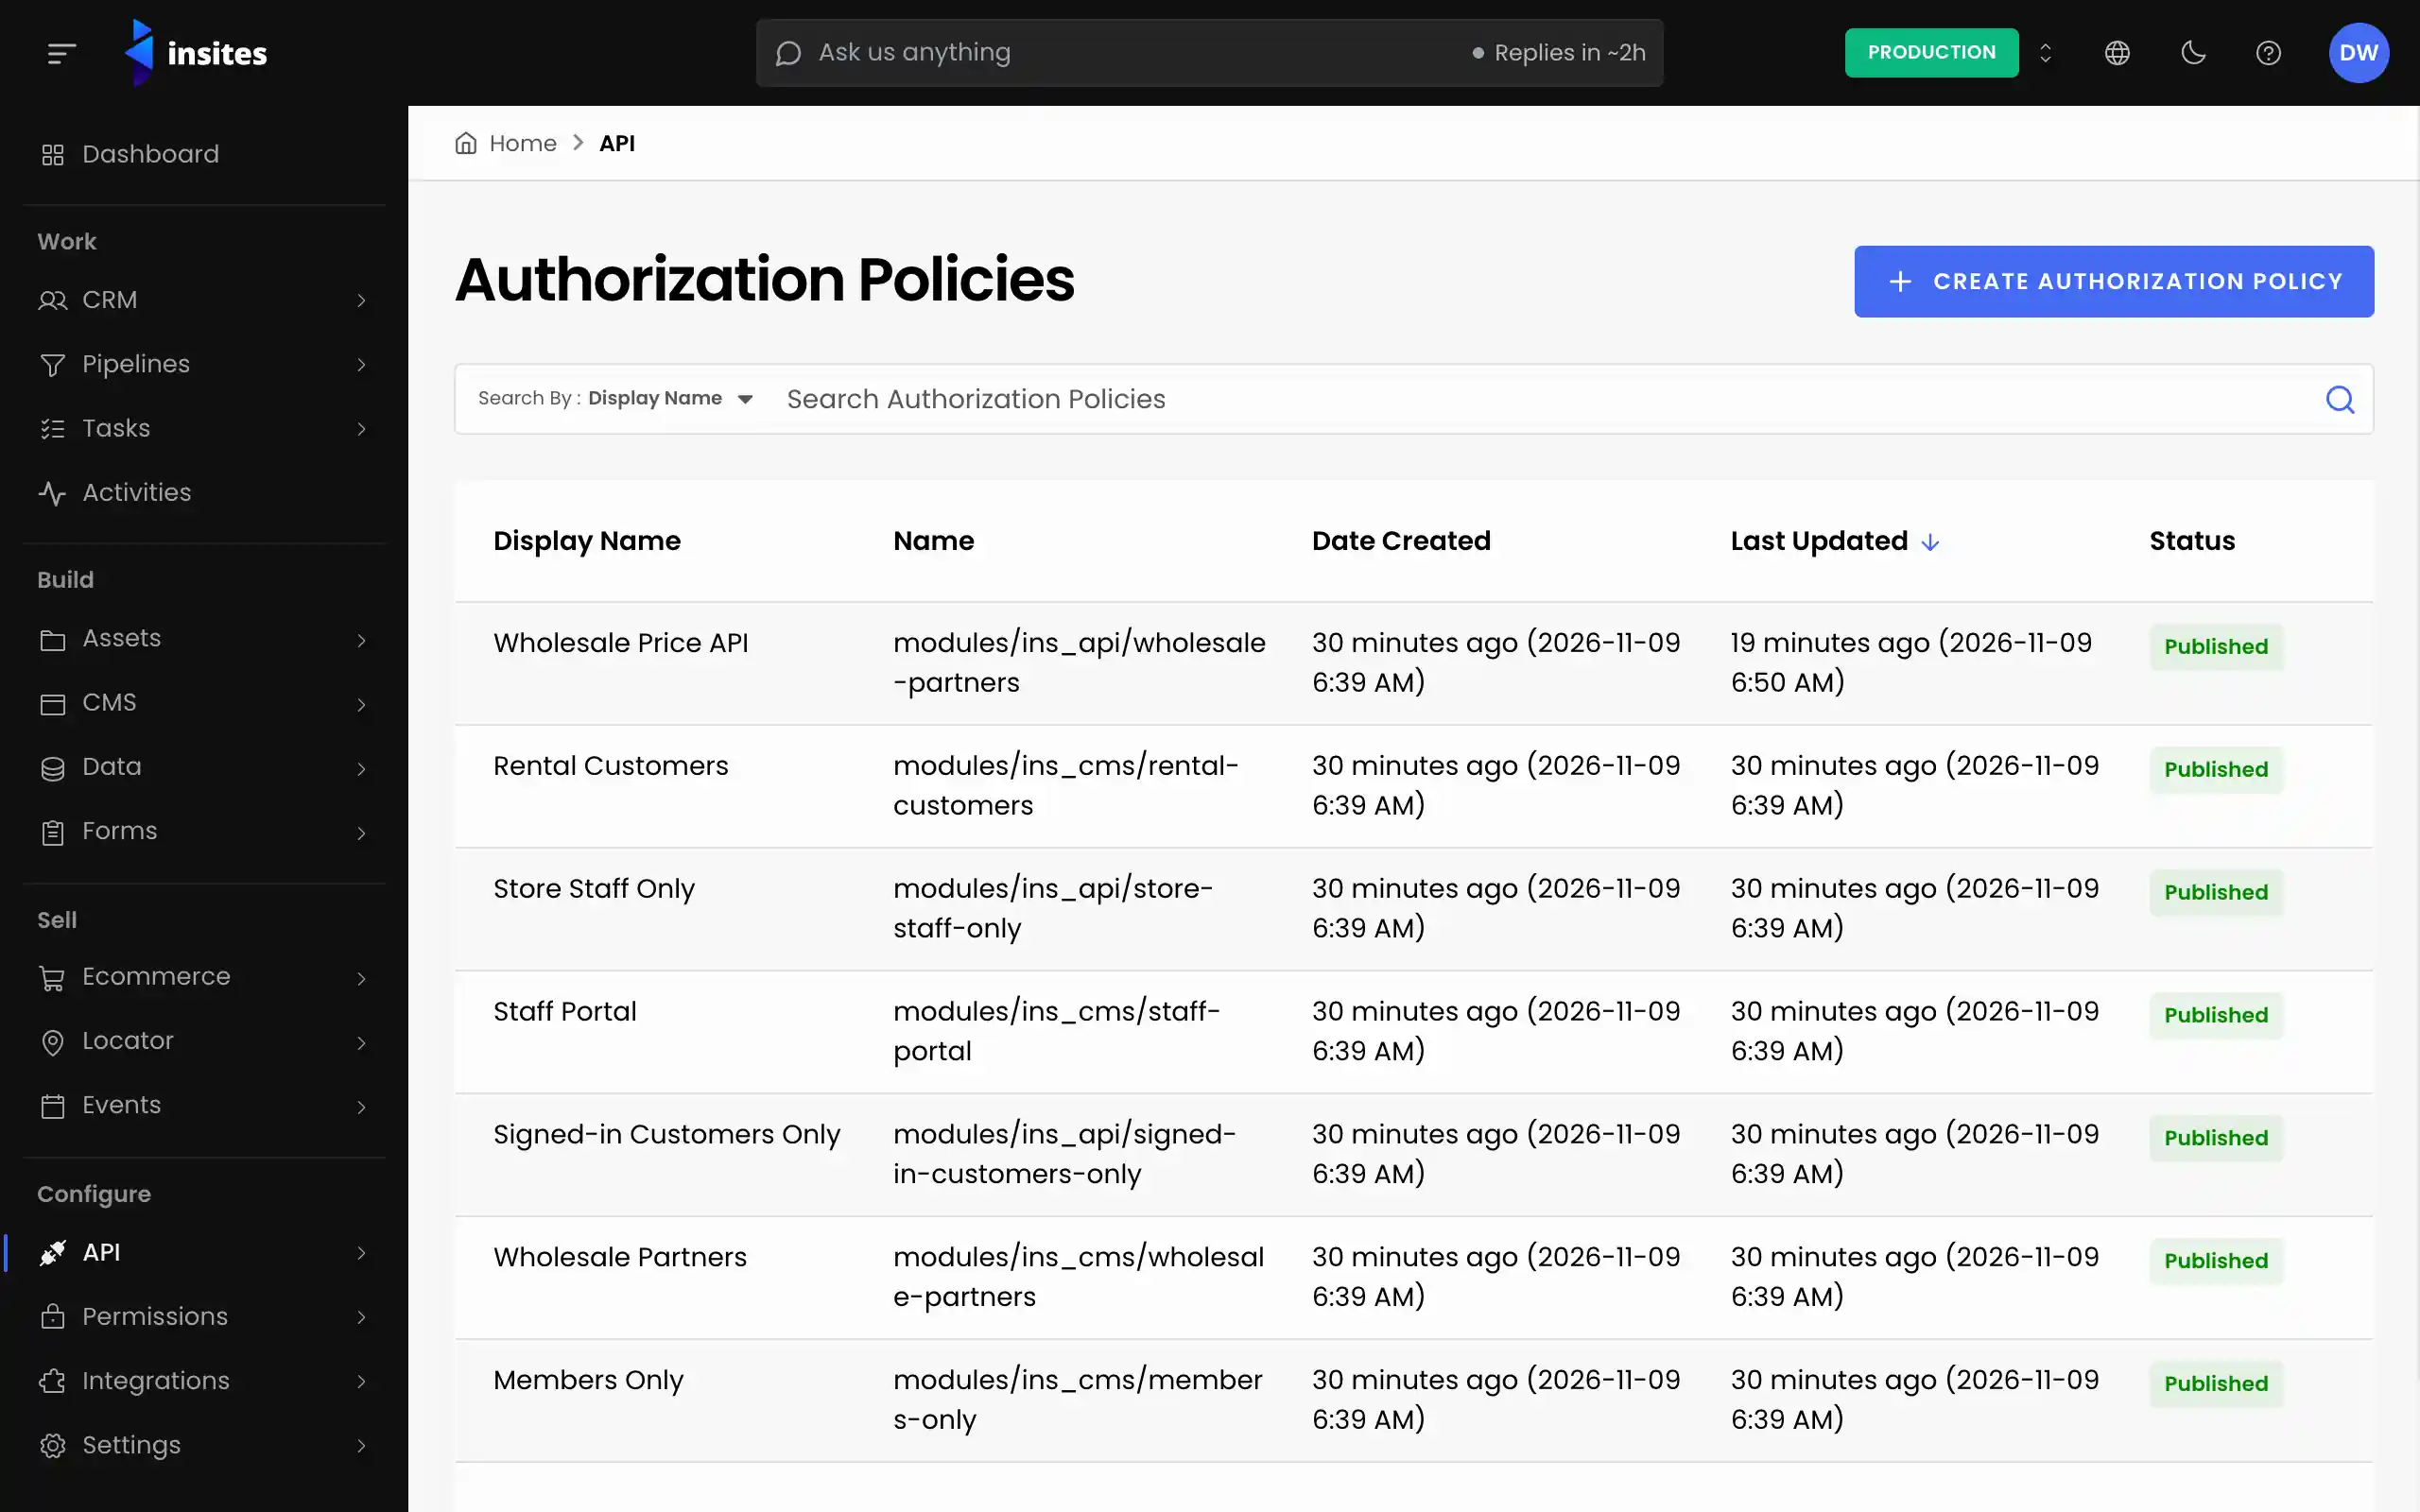
In the Site Admin, select API, then Authorization Policies. Click Create Authorization Policy. The form has two tabs: Details and Body.
Fill in the details
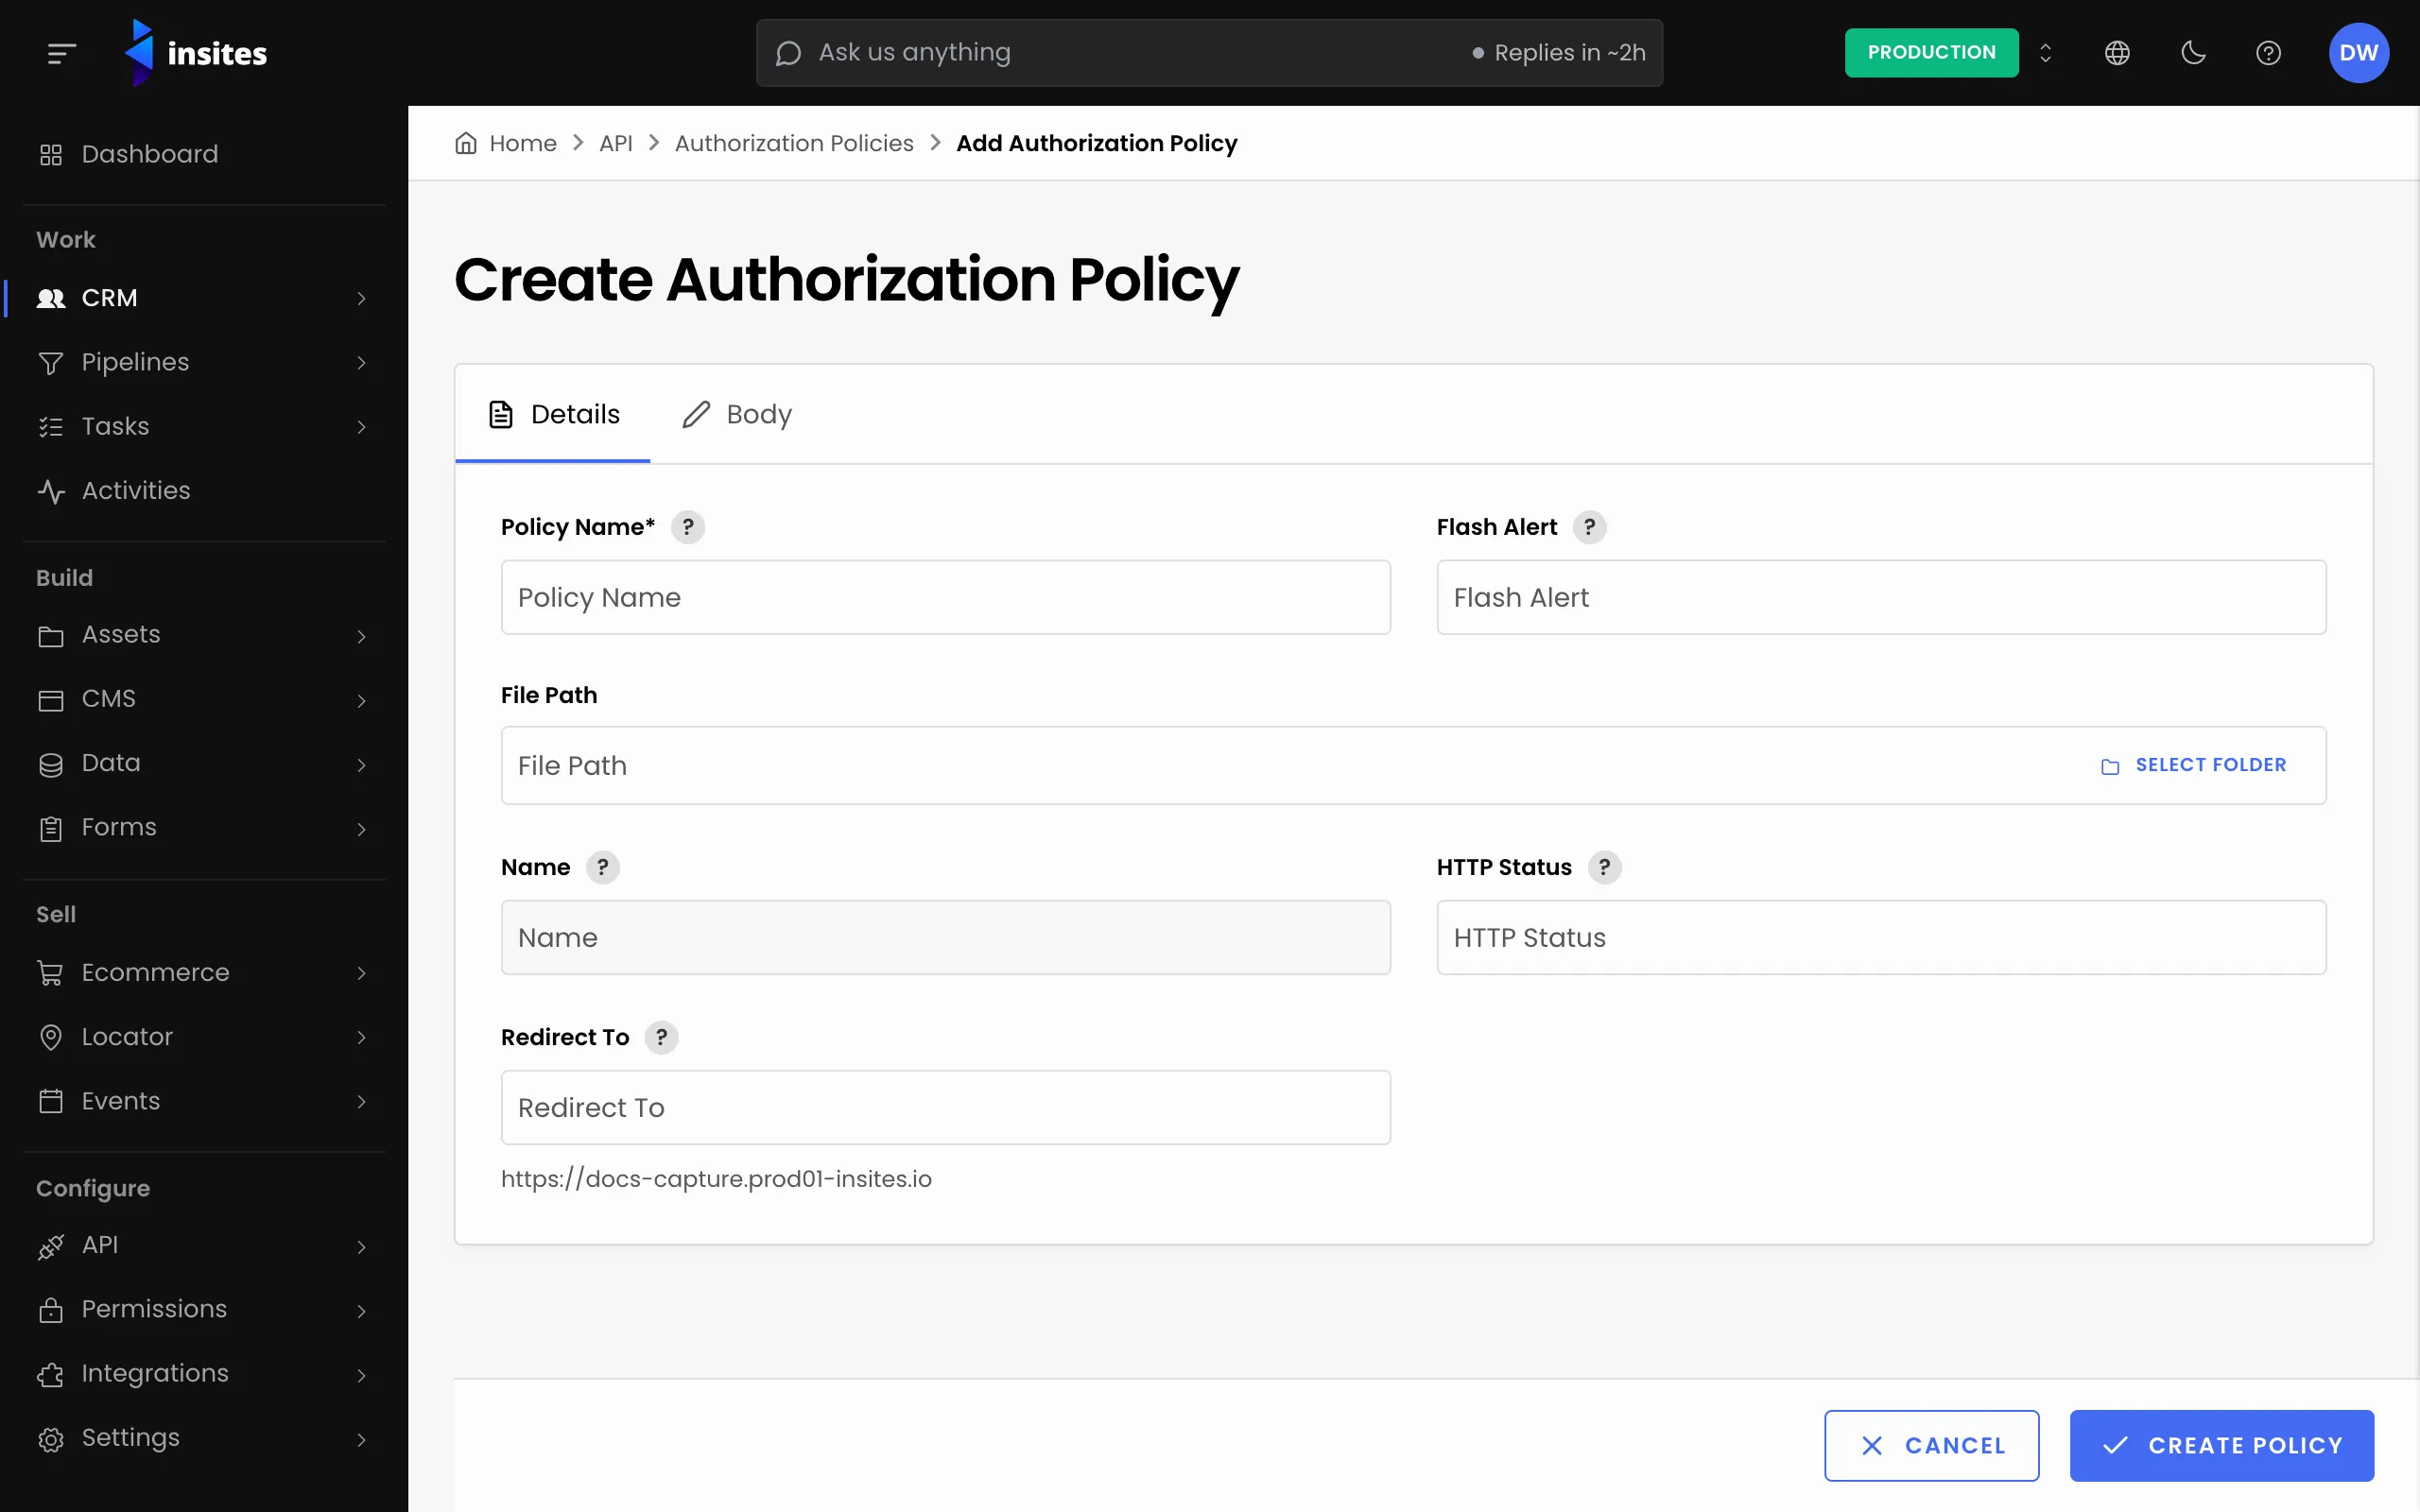
- Policy Name
- Required. The name you pick from on the endpoint, for example
Signed-in users only. - File Path
- Where Insites saves the policy. It suggests a path in
modules/ins_api/public/authorization_policies/. You can keep it. - Flash Alert
- Optional. A message to show when a request is turned away.
- Redirect To
- Optional. Where to send a request that is turned away.
Write the rule
On the Body tab, enter the policy in Content. This one lets in signed-in users only:
Content
{% liquid
  if context.current_user == blank
    echo false
    return
  endif
  echo true
%}
Follow two rules in every policy you write:
- Print
trueorfalseon every path. Never let a path print nothing. - Check that data is there before you use it. Return
falseearly when it is missing.
Click Create Policy.
Attach it to an endpoint
Go to API, then Custom API Endpoints, and open your endpoint. On the Details tab, open Authorization Policies and pick your policy. You can search the list and pick more than one. Click Save.
Note
If you also see None selected, remove it. None attaches no policy at all.
Test it
Open the endpoint's address in a private browser window, where you are not signed in. The request is turned away. Sign in to your site as a user and try again: the endpoint returns its data.
Warning
A refused request is redirected. It does not get a 401 answer at the address it called. A browser follows the redirect without trouble, but some API clients do not, and a redirected POST becomes a GET. For machine callers, use the Site API Key policy and test the refused case in your client.