Site · Assets
Use an image on a page
Last updated 18 November 2026
Copy an uploaded image’s Liquid code or address and show the image on a page.
When you finish this guide, an image you uploaded to Assets shows on one of your pages.
You need the image uploaded first. If it is not there yet, follow Upload and organize your files.
Copy the image’s code
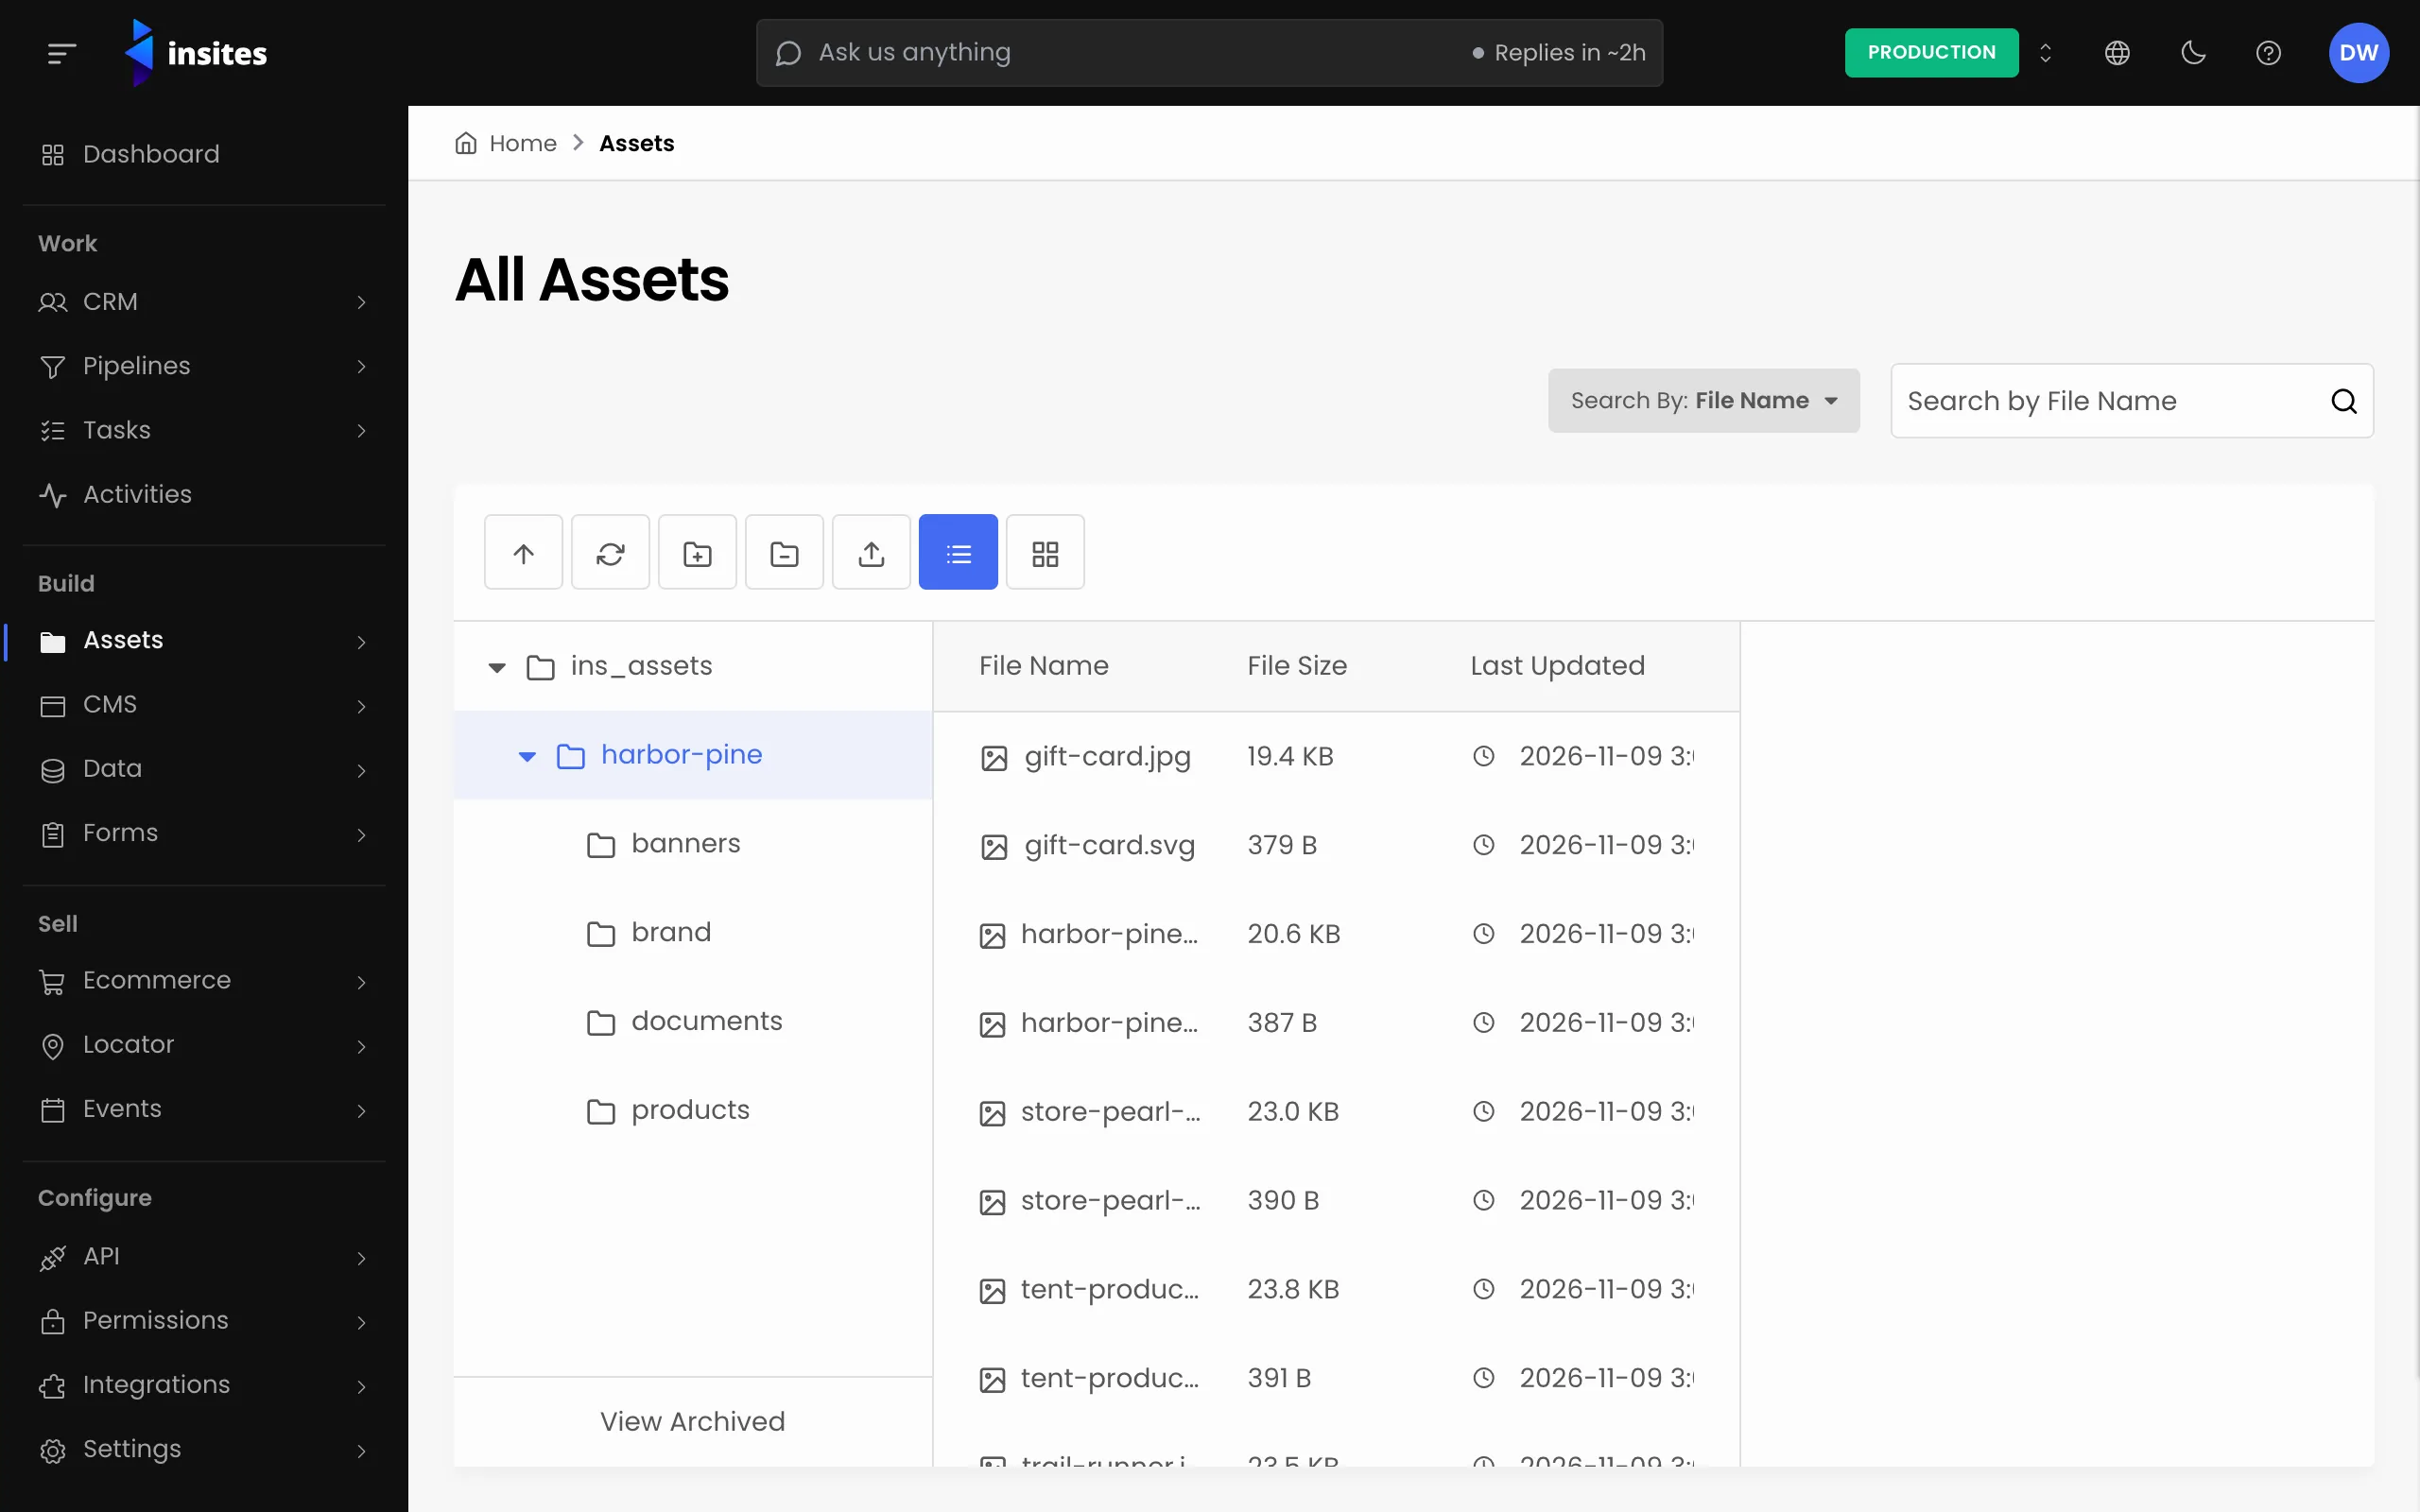
- Go to Assets > All Assets and select the image.
- In the details panel on the right, find Liquid Code.
- Click the copy button beside it.
The code looks like this, with your file’s name in the quotes:
{{ 'images/team.jpg' | asset_name_to_raw_url }}The filter turns the file name into the file’s address. If no file has that name, it returns nothing.
Put the image on a page
Wrap the code in an image tag where you want the image to appear, and describe the image in alt:
app/views/pages/about.liquid
<img src='{{ 'images/team.jpg' | asset_name_to_raw_url }}' alt='Our team'>Save the page and open it in your browser to check the image.
Use the address instead
Where Liquid does not run, such as Markdown or another website, use the file’s address. Select the file and copy the URL field in the details panel.
Changing the image later
Warning
Browsers and the file host keep a copy of a file’s plain address for a long time. If you upload a new file with the same name, visitors can keep seeing the old one. Upload the new image under a new name and update the page instead.