Site · CRM
Add your own fields to contacts
Last updated 18 November 2026Applies to CRM v6.1
Store the details your business needs on every contact.
Custom fields let you store the details your business needs on every contact, such as a membership number or a preferred store. When you finish this guide, the new field shows on each contact, and you can fill it in, filter on it and import it.
Open the contact fields
In the admin, go to CRM > Custom Fields and select the Contacts tab. Companies have their own custom fields on the Companies tab, and they work the same way.
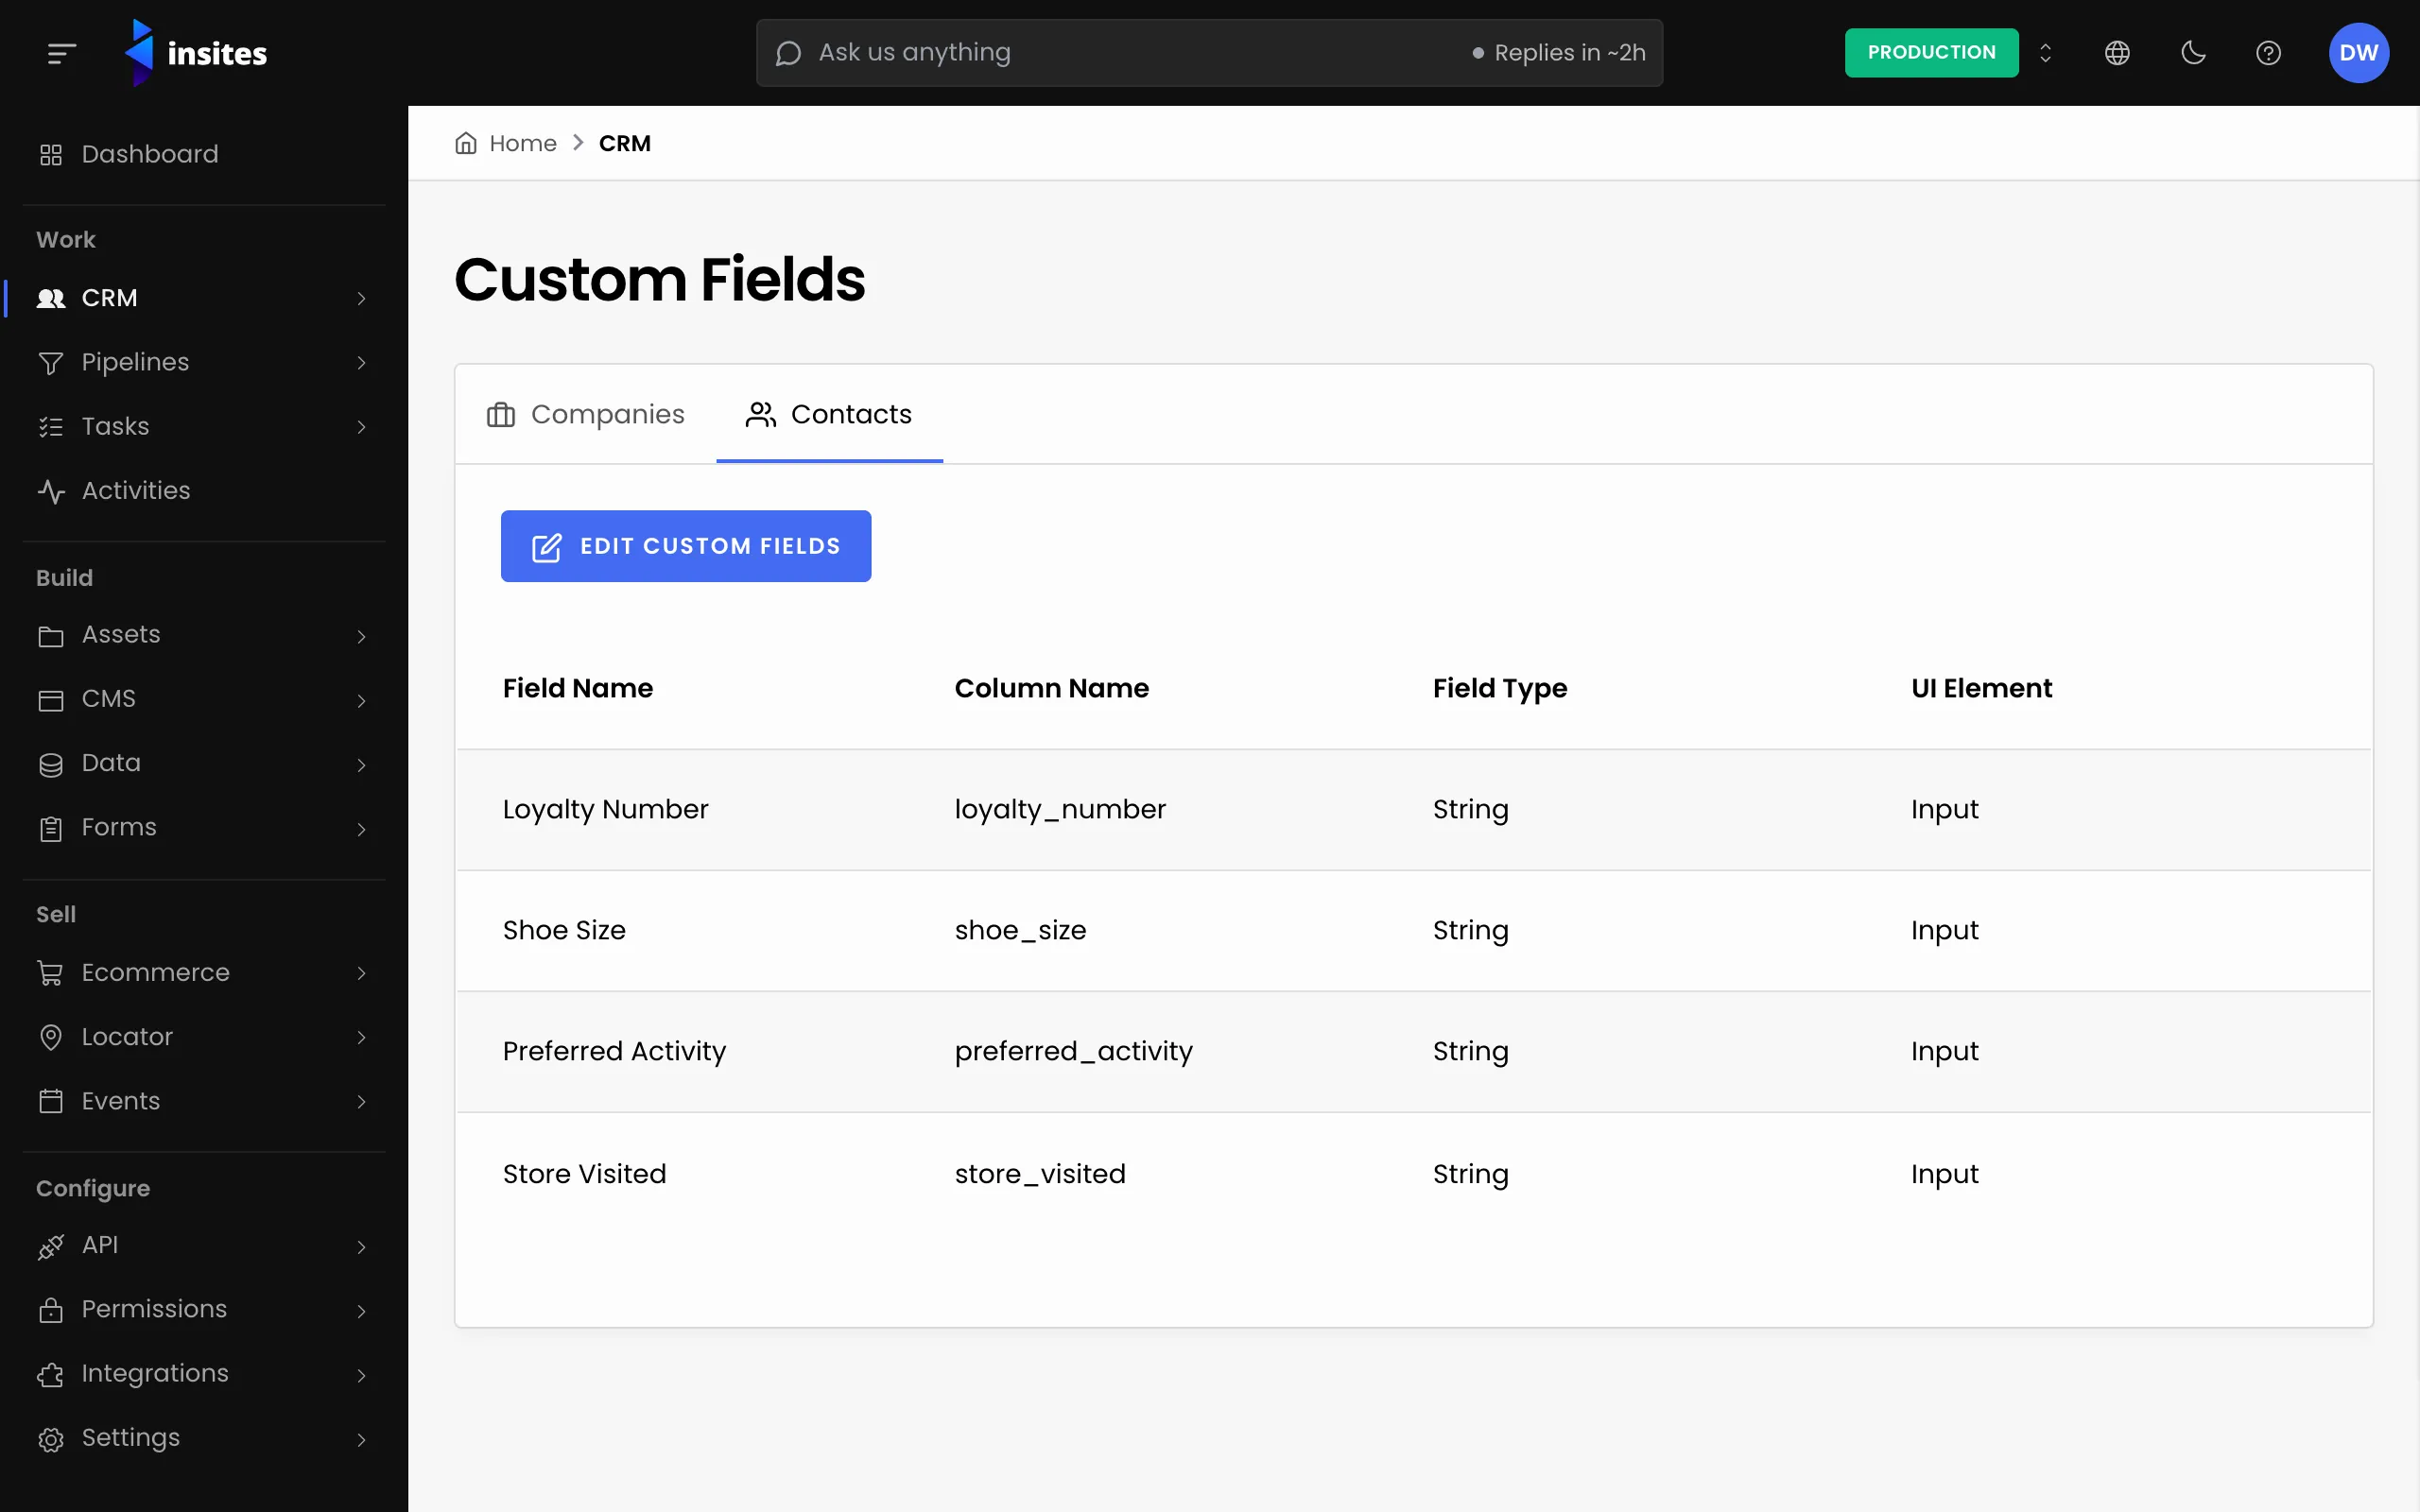
Select Edit Custom Fields. If you have no custom fields yet, select Add Custom Field instead.
Add the field
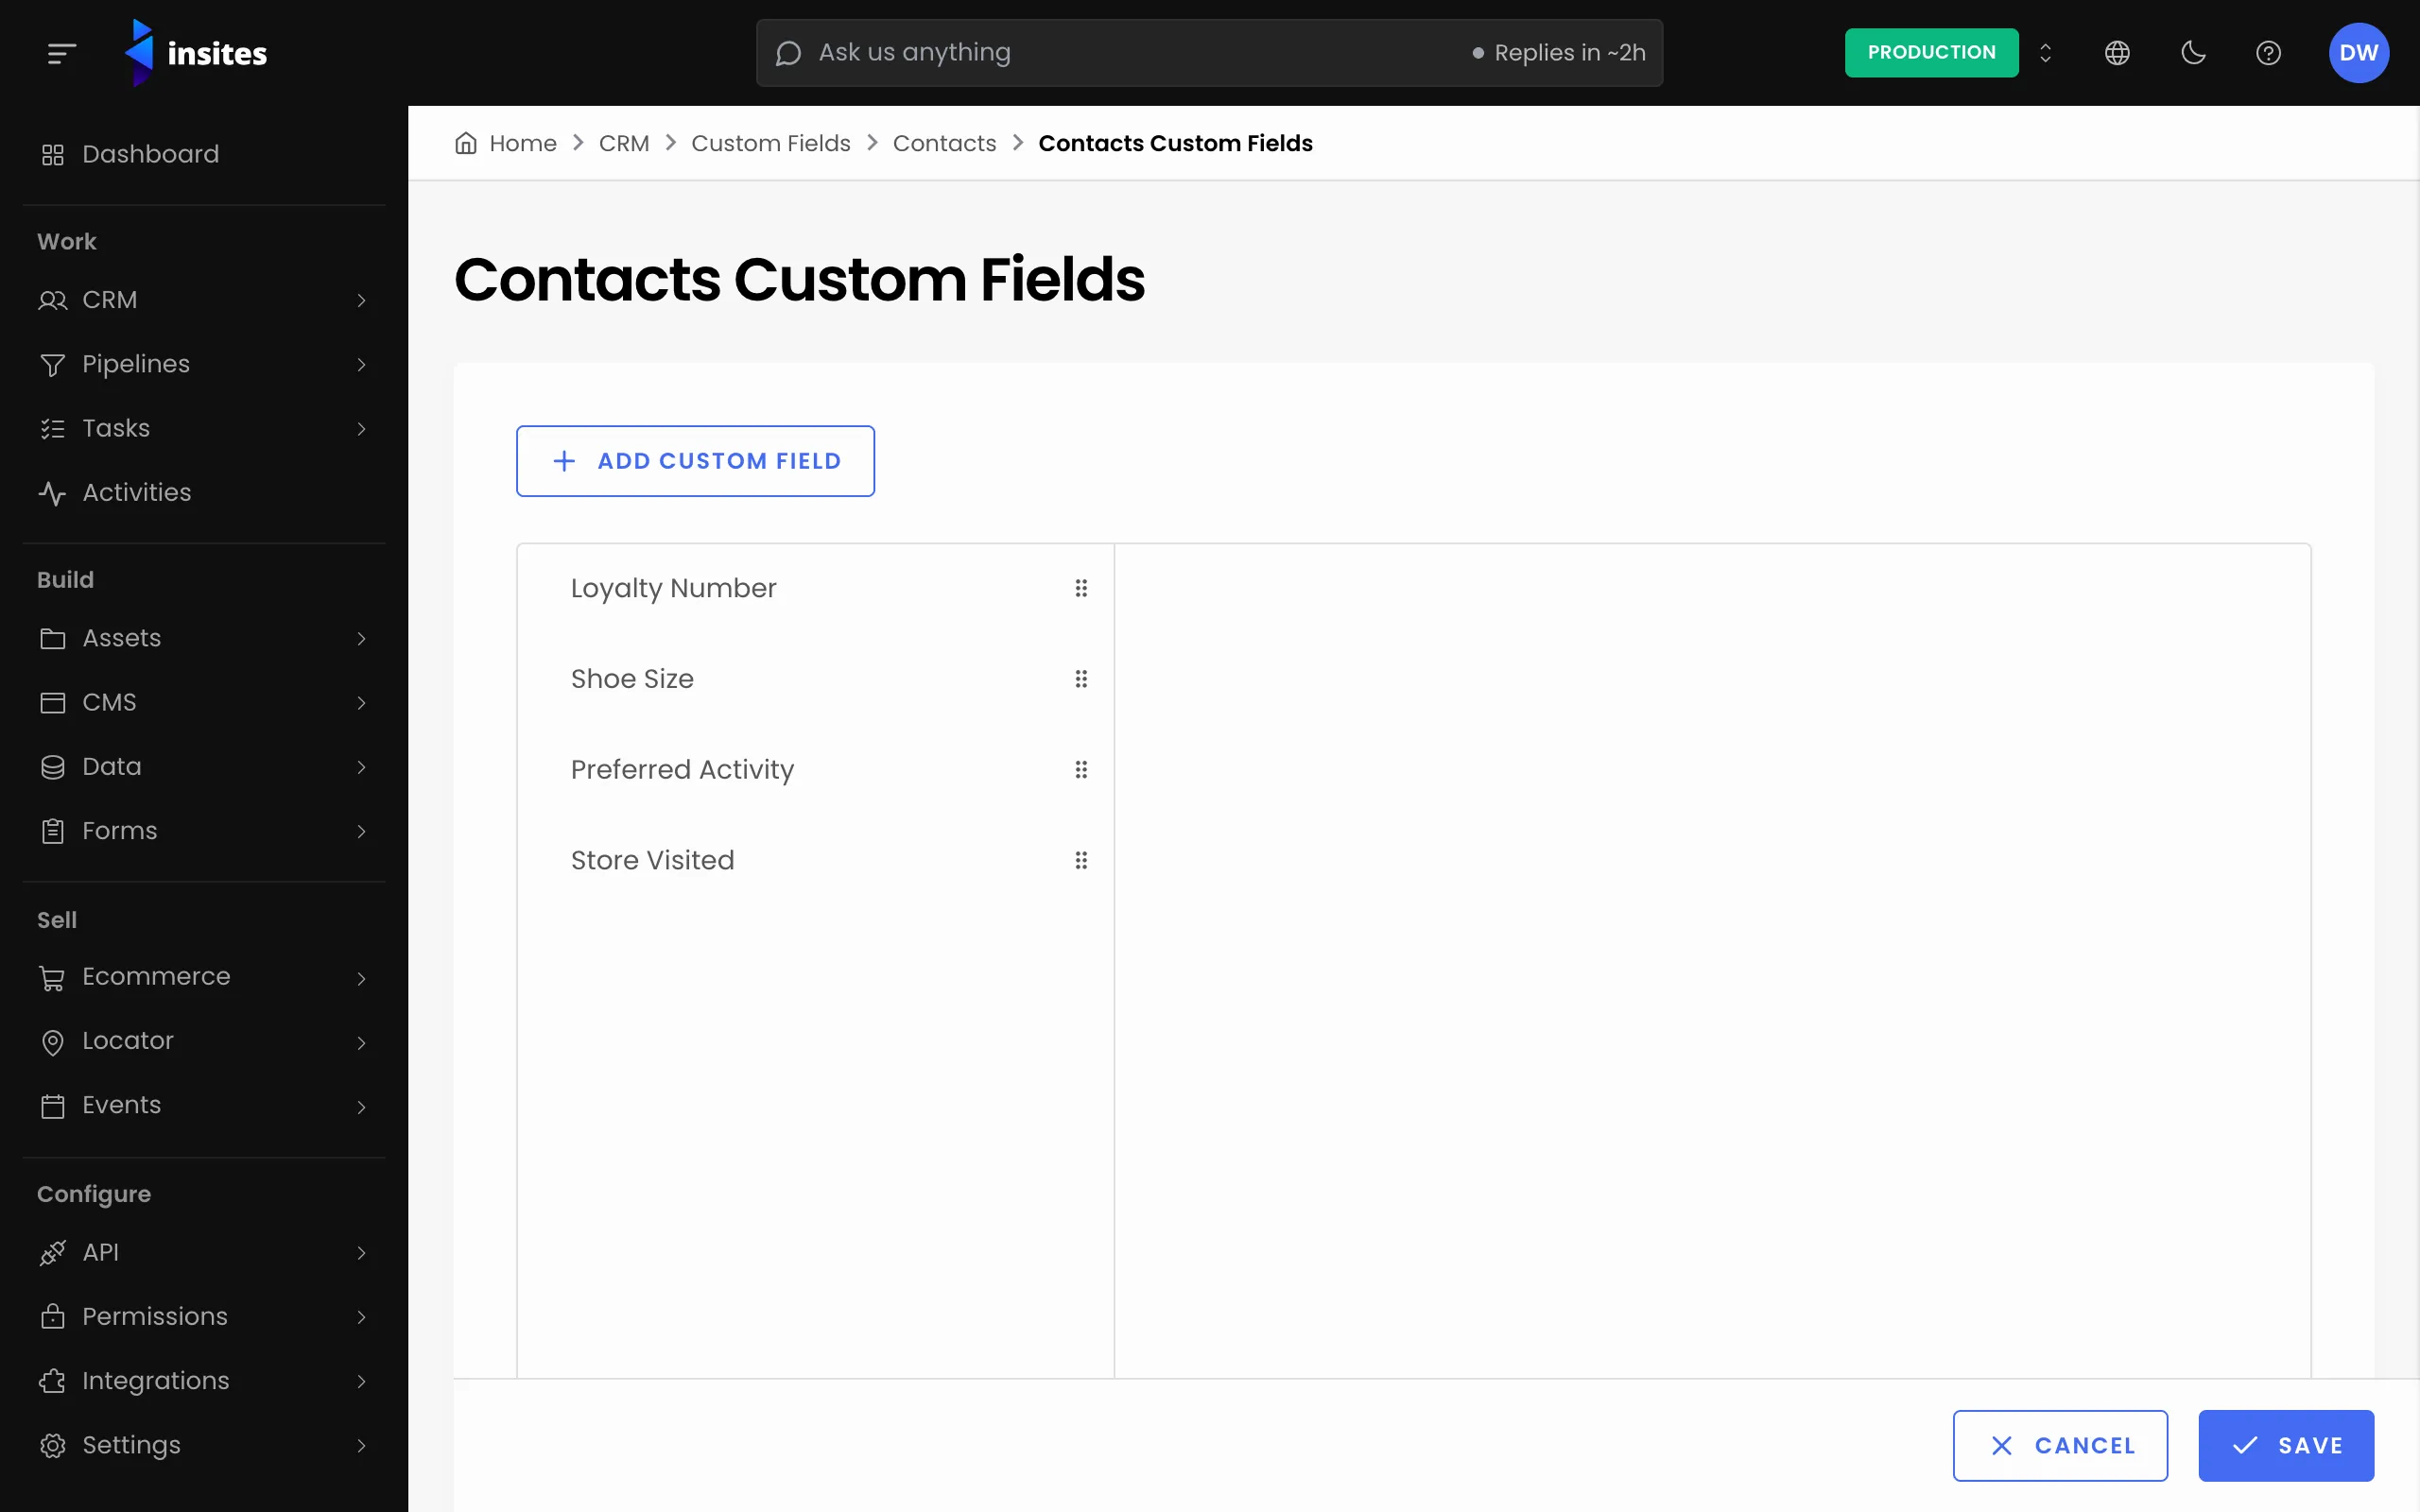
- Select Add Custom Field. A new field appears in the list on the left, and its settings open on the right.
- Type a Field Name, for example “Membership number”. Insites builds the Column Name from it. You cannot edit the column name yourself.
- Choose a Field Type: the kind of value the field stores, such as String, Integer, Date or Boolean.
- Choose a UI Element: how the field looks on the form, such as Input, Select, Checkbox, Date or Phone.
- If the UI element is a list, such as Select or Radio, add the Options people can choose from.
- Turn on Show In Custom Field Quick View if you want the field in the contact's quick view.
- Select Save Field.
Warning
You cannot change the field type after you save the field. If you chose the wrong type, delete the field with Delete Field and add it again.
If the column name already exists, Insites shows “Custom Field Column already exist.” Choose a different field name.
Order and save your changes
Drag fields in the list to change the order they appear in. When you are happy, select Save at the bottom of the page. Until you do, the page shows “You have unsaved changes”, and nothing is stored.
Use the field
- On a contact: open a contact and go to its Custom Fields tab to fill in the value.
- In filters: custom fields appear under Custom Fields when you filter the contact list.
- In imports: download a fresh CSV template, and the field is a column in it. See Import contacts from a spreadsheet.
Next steps
- CRM custom fields: the reference for every field type and UI element.
- CRM system fields: the fields every contact has already.
- CRM: everything the CRM module does.