Site · CRM
Export a filtered contact list
Last updated 18 November 2026Applies to CRM v6.1
Download only the contacts that match your filters.
When you finish this guide, you have a CSV file of only the contacts you need, such as everyone in one city. You filter the contact list first, then export with those filters turned on.
Filter the contact list
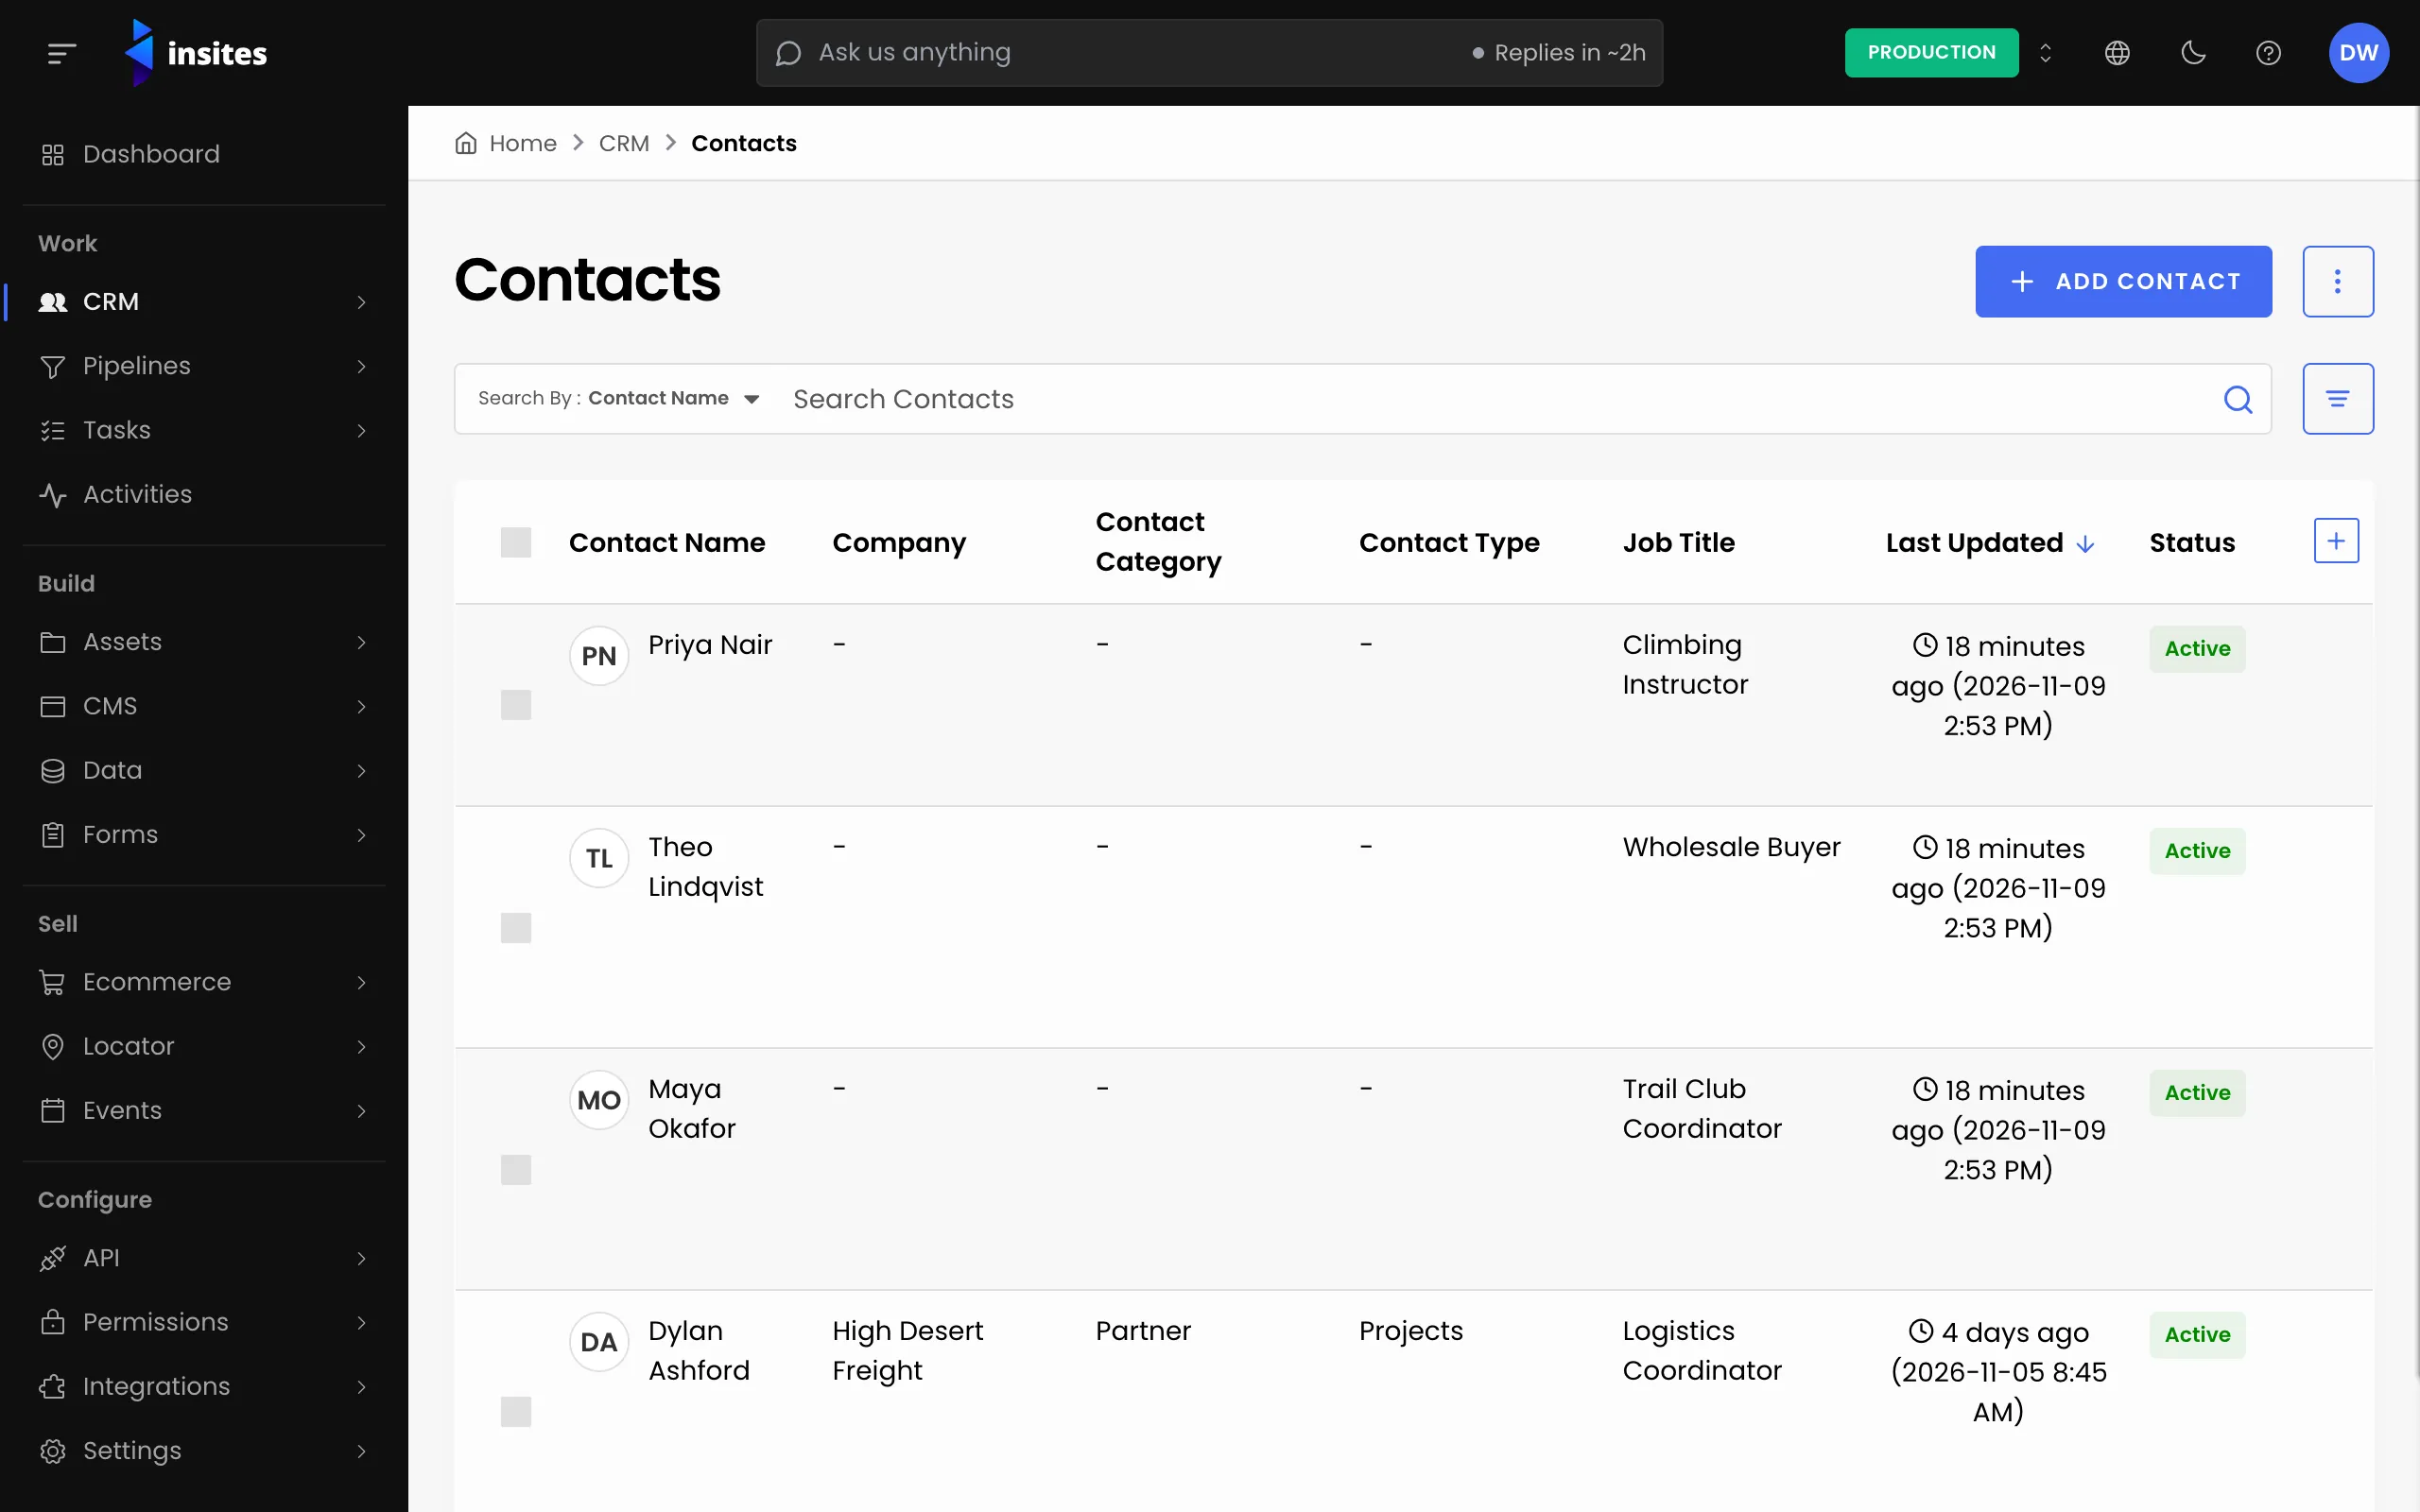
- In the admin, go to CRM > Contacts.
- Select the filter button next to the search box. The Edit Filters panel opens.
- Select Add Filter. Choose a Field from the platform fields or your custom fields, then a Condition and a Value.
- Add more filters if you need them, then select Save.
The list now shows only matching contacts, and the filters appear as tags under Filtered by. Check the list looks right before you export.
Export the list
- Open the menu at the top right of the page and choose Export Contacts.
- Under List Options, choose Active Items or Archived Items.
- Choose how to sort the file in Sort By (Contact Name or Last Updated) and Order.
- Under Filters, turn on Apply Filters. The panel shows your filters under Filtered by.
- To narrow the list further, choose a field in Search By and type a Search Keyword.
- Select Export Contacts.
Insites prepares the file in the background. Your download starts by itself when the file is ready.
Note
If no contacts match, Insites shows the message “No items found for the current filters. Please update your export settings.” Change your filters or search, then export again.
Tip
Leave Apply Filters off to export every contact in the list you chose.
Next steps
- Importing and exporting contacts: the reference for contact files.
- Import contacts from a spreadsheet.
- CRM: everything the CRM module does.