Site · Events
Add a venue
Last updated 18 November 2026
Add a venue with its contacts, address and areas.
By the end of this guide you have a venue with its address, contacts and areas. Events can then use the venue, and each area's capacity can fill in an event's pricing for you.
Add the venue
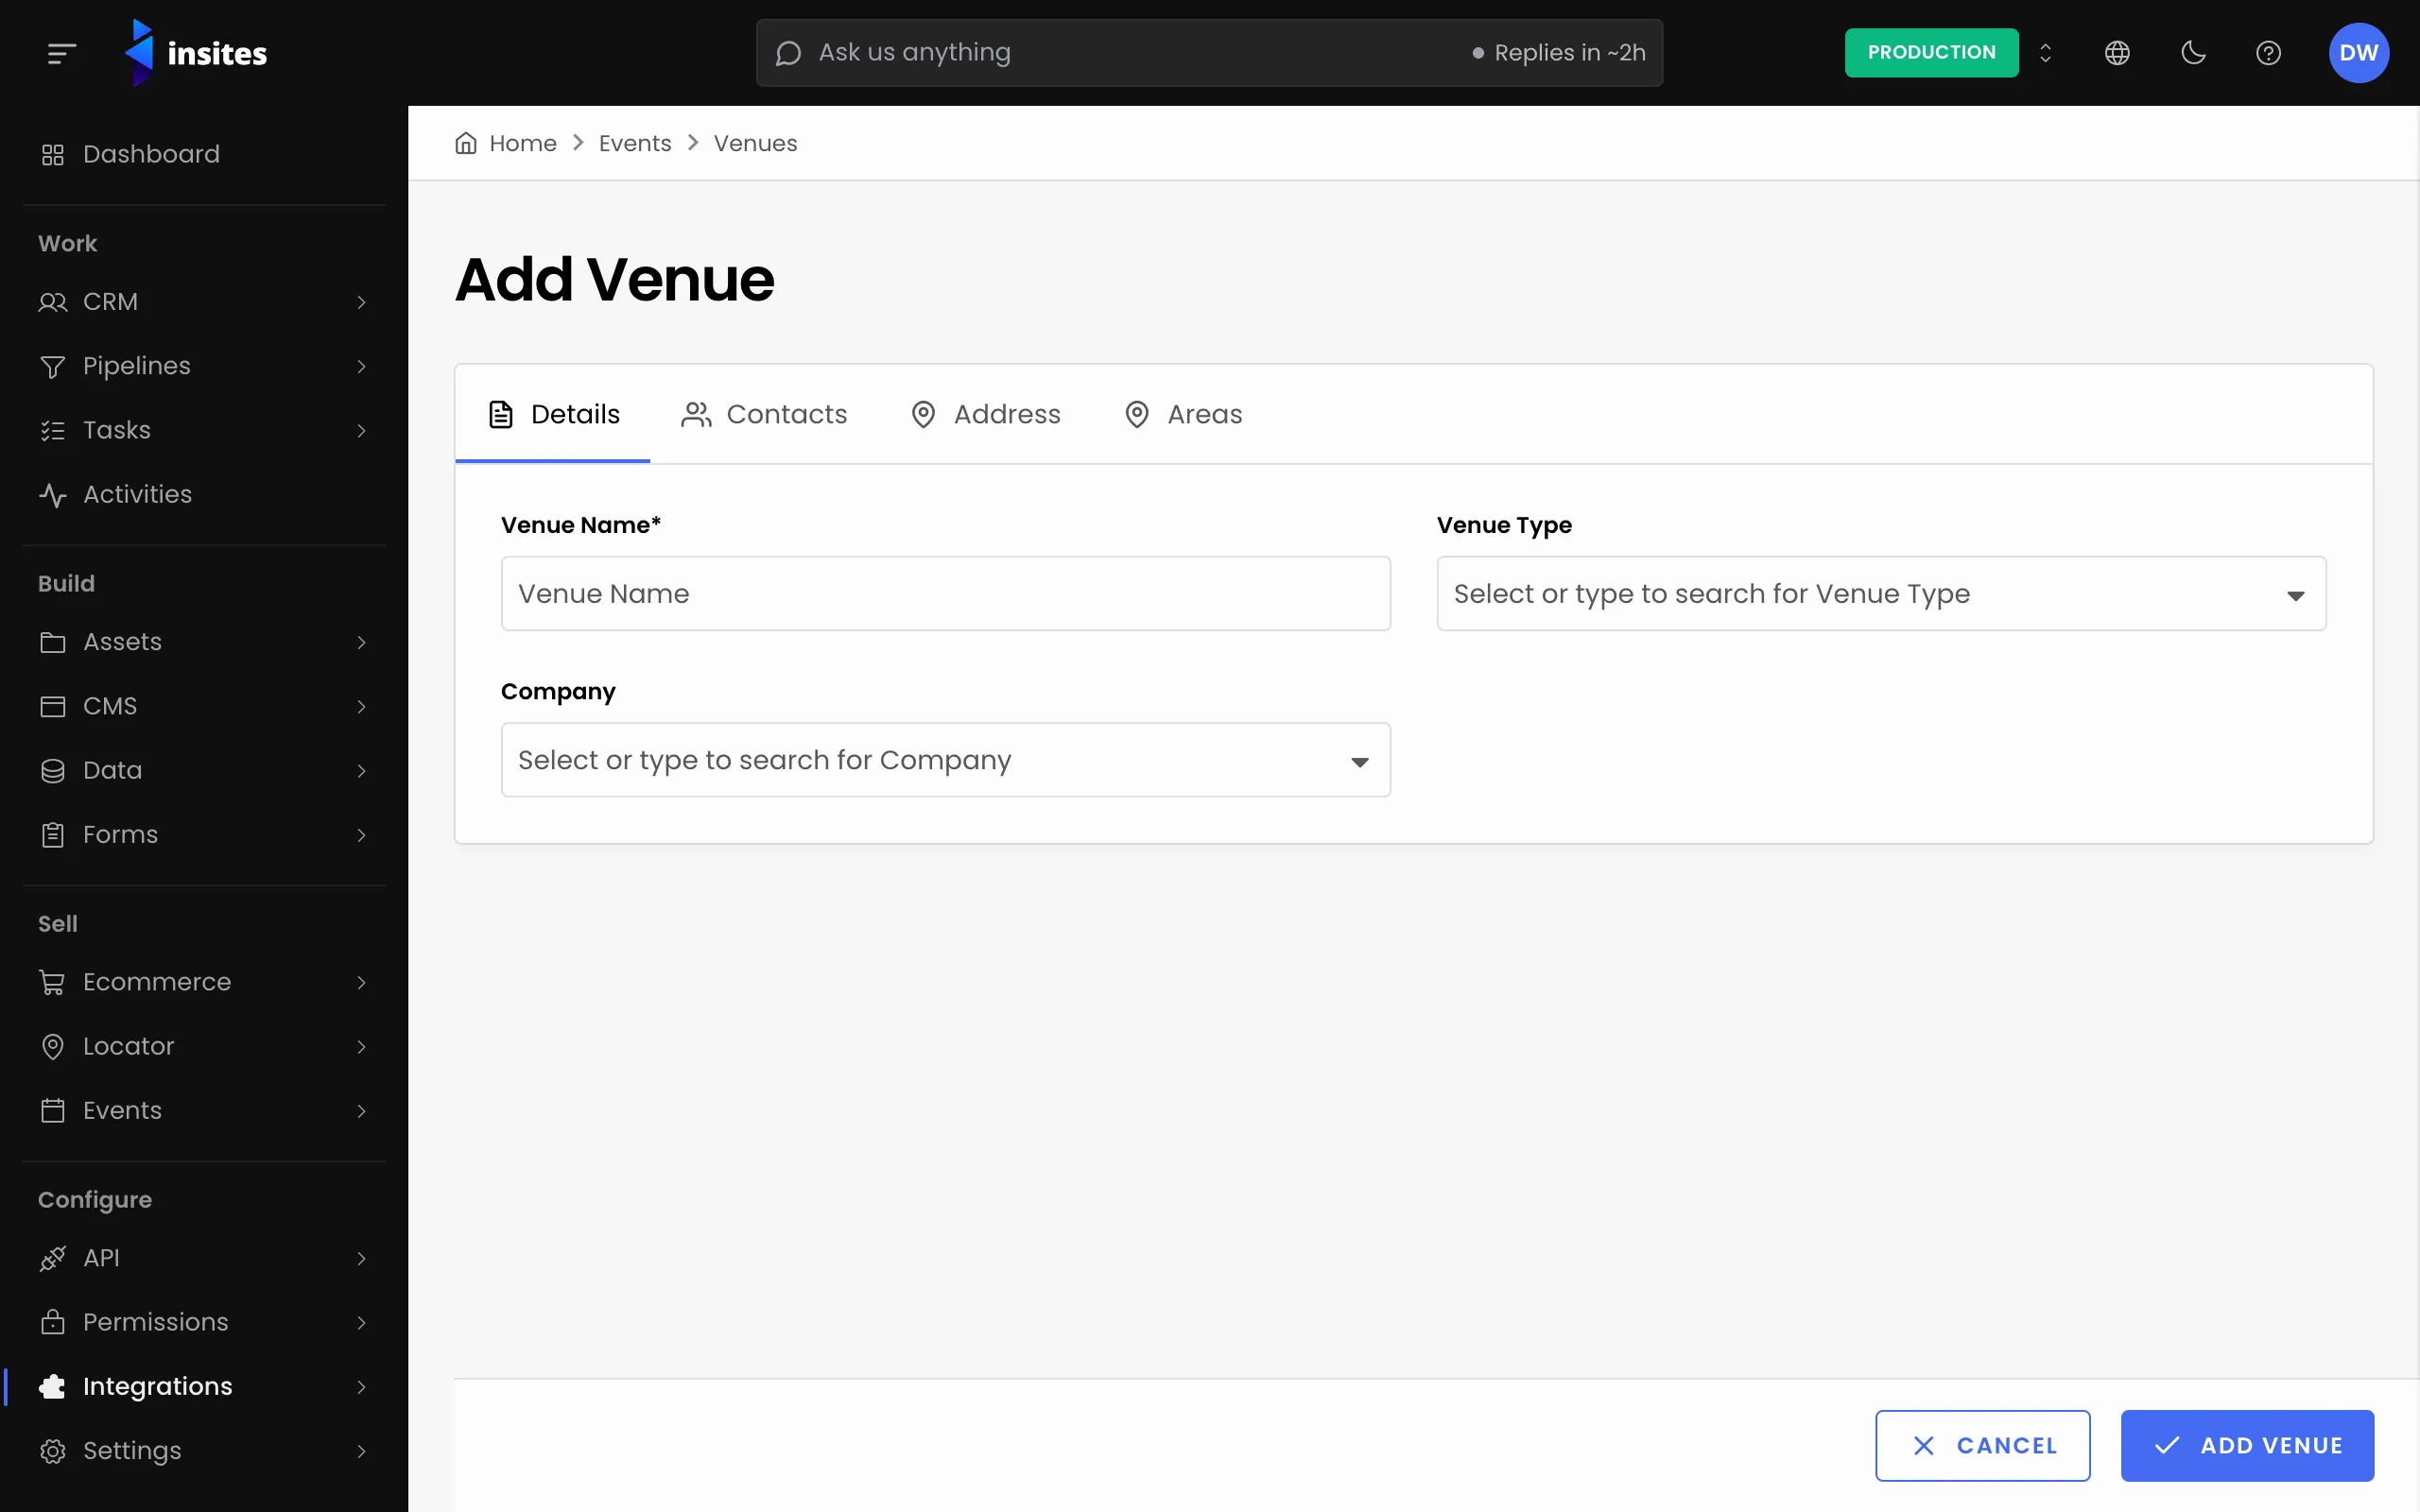
- Go to Events > Venues and click Add Venue.
- On the Details tab, enter the Venue Name. It is required.
- Pick a Venue Type and a Company if you need them.
- Click Add Venue. A message confirms the venue was added.
Add the address
- Open the Address tab and click Add Venue Address.
- Type in Search Address and pick the match. This fills in the address lines, city, state, country, postal code, latitude and longitude.
- Check the fields, change any that are wrong, and click Add Venue Address.
Address search needs Google Maps
Search Address uses your site's Google Maps API key. If the key is not valid, the field is turned off and you type the address yourself.
Assign contacts
- Open the Contacts tab and click Assign Contact.
- Pick a CRM Contact, such as the venue manager, and click Assign Contact.
Add areas and their capacity
An area is a part of the venue, such as a main hall or a balcony.
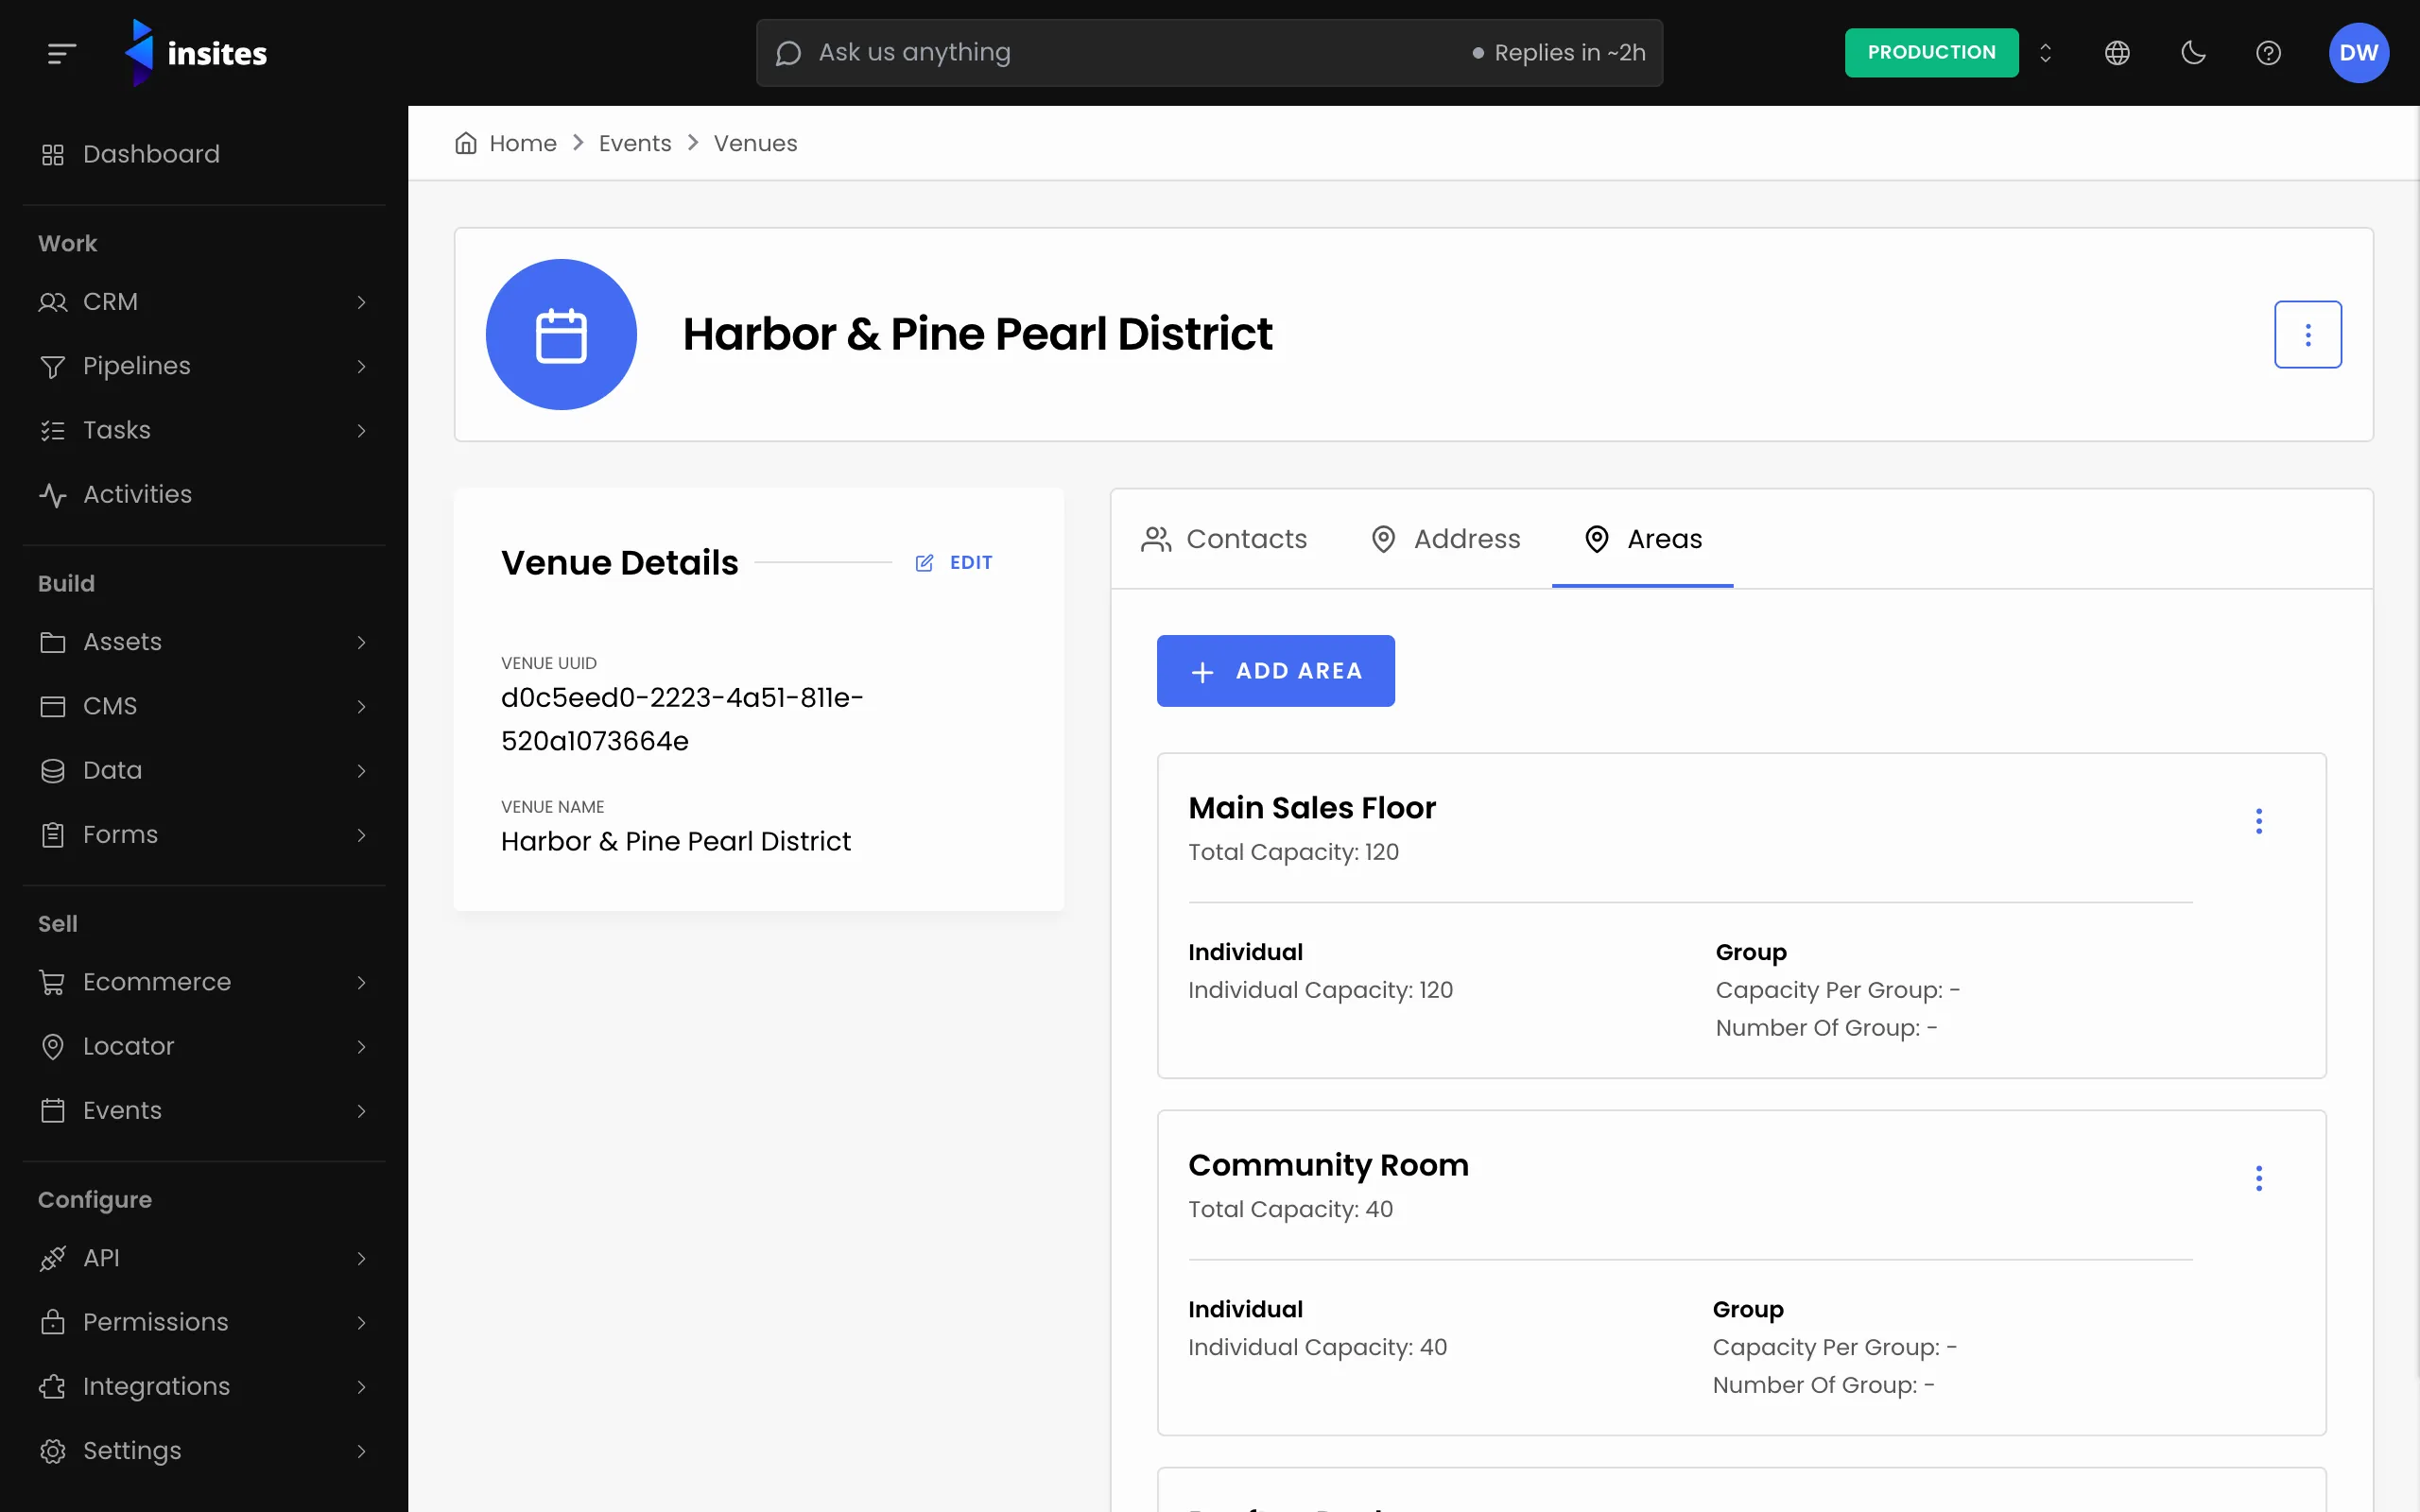
- Open the Areas tab and click Add Area.
- Enter the Area Name. You can add Notes.
- Enter the Individual Capacity. For groups, enter Capacity Per Group and Number Of Groups.
- Check the Total Capacity, which is worked out for you, and click Add Area.
Use the venue in an event
Open an event, go to the Venue tab and select the venue. Then, on the Pricing tab, pick one of its areas when you add a division. The area's capacity fills in for you.