Site · Events
Export your attendee list
Last updated 18 November 2026
Download a list of attendees from the tickets of an event.
When you finish this guide, you have a file with one row per ticket: the attendee, their company, the price, the venue area and whether they attended. You can export one event or all events at once.
Export one event
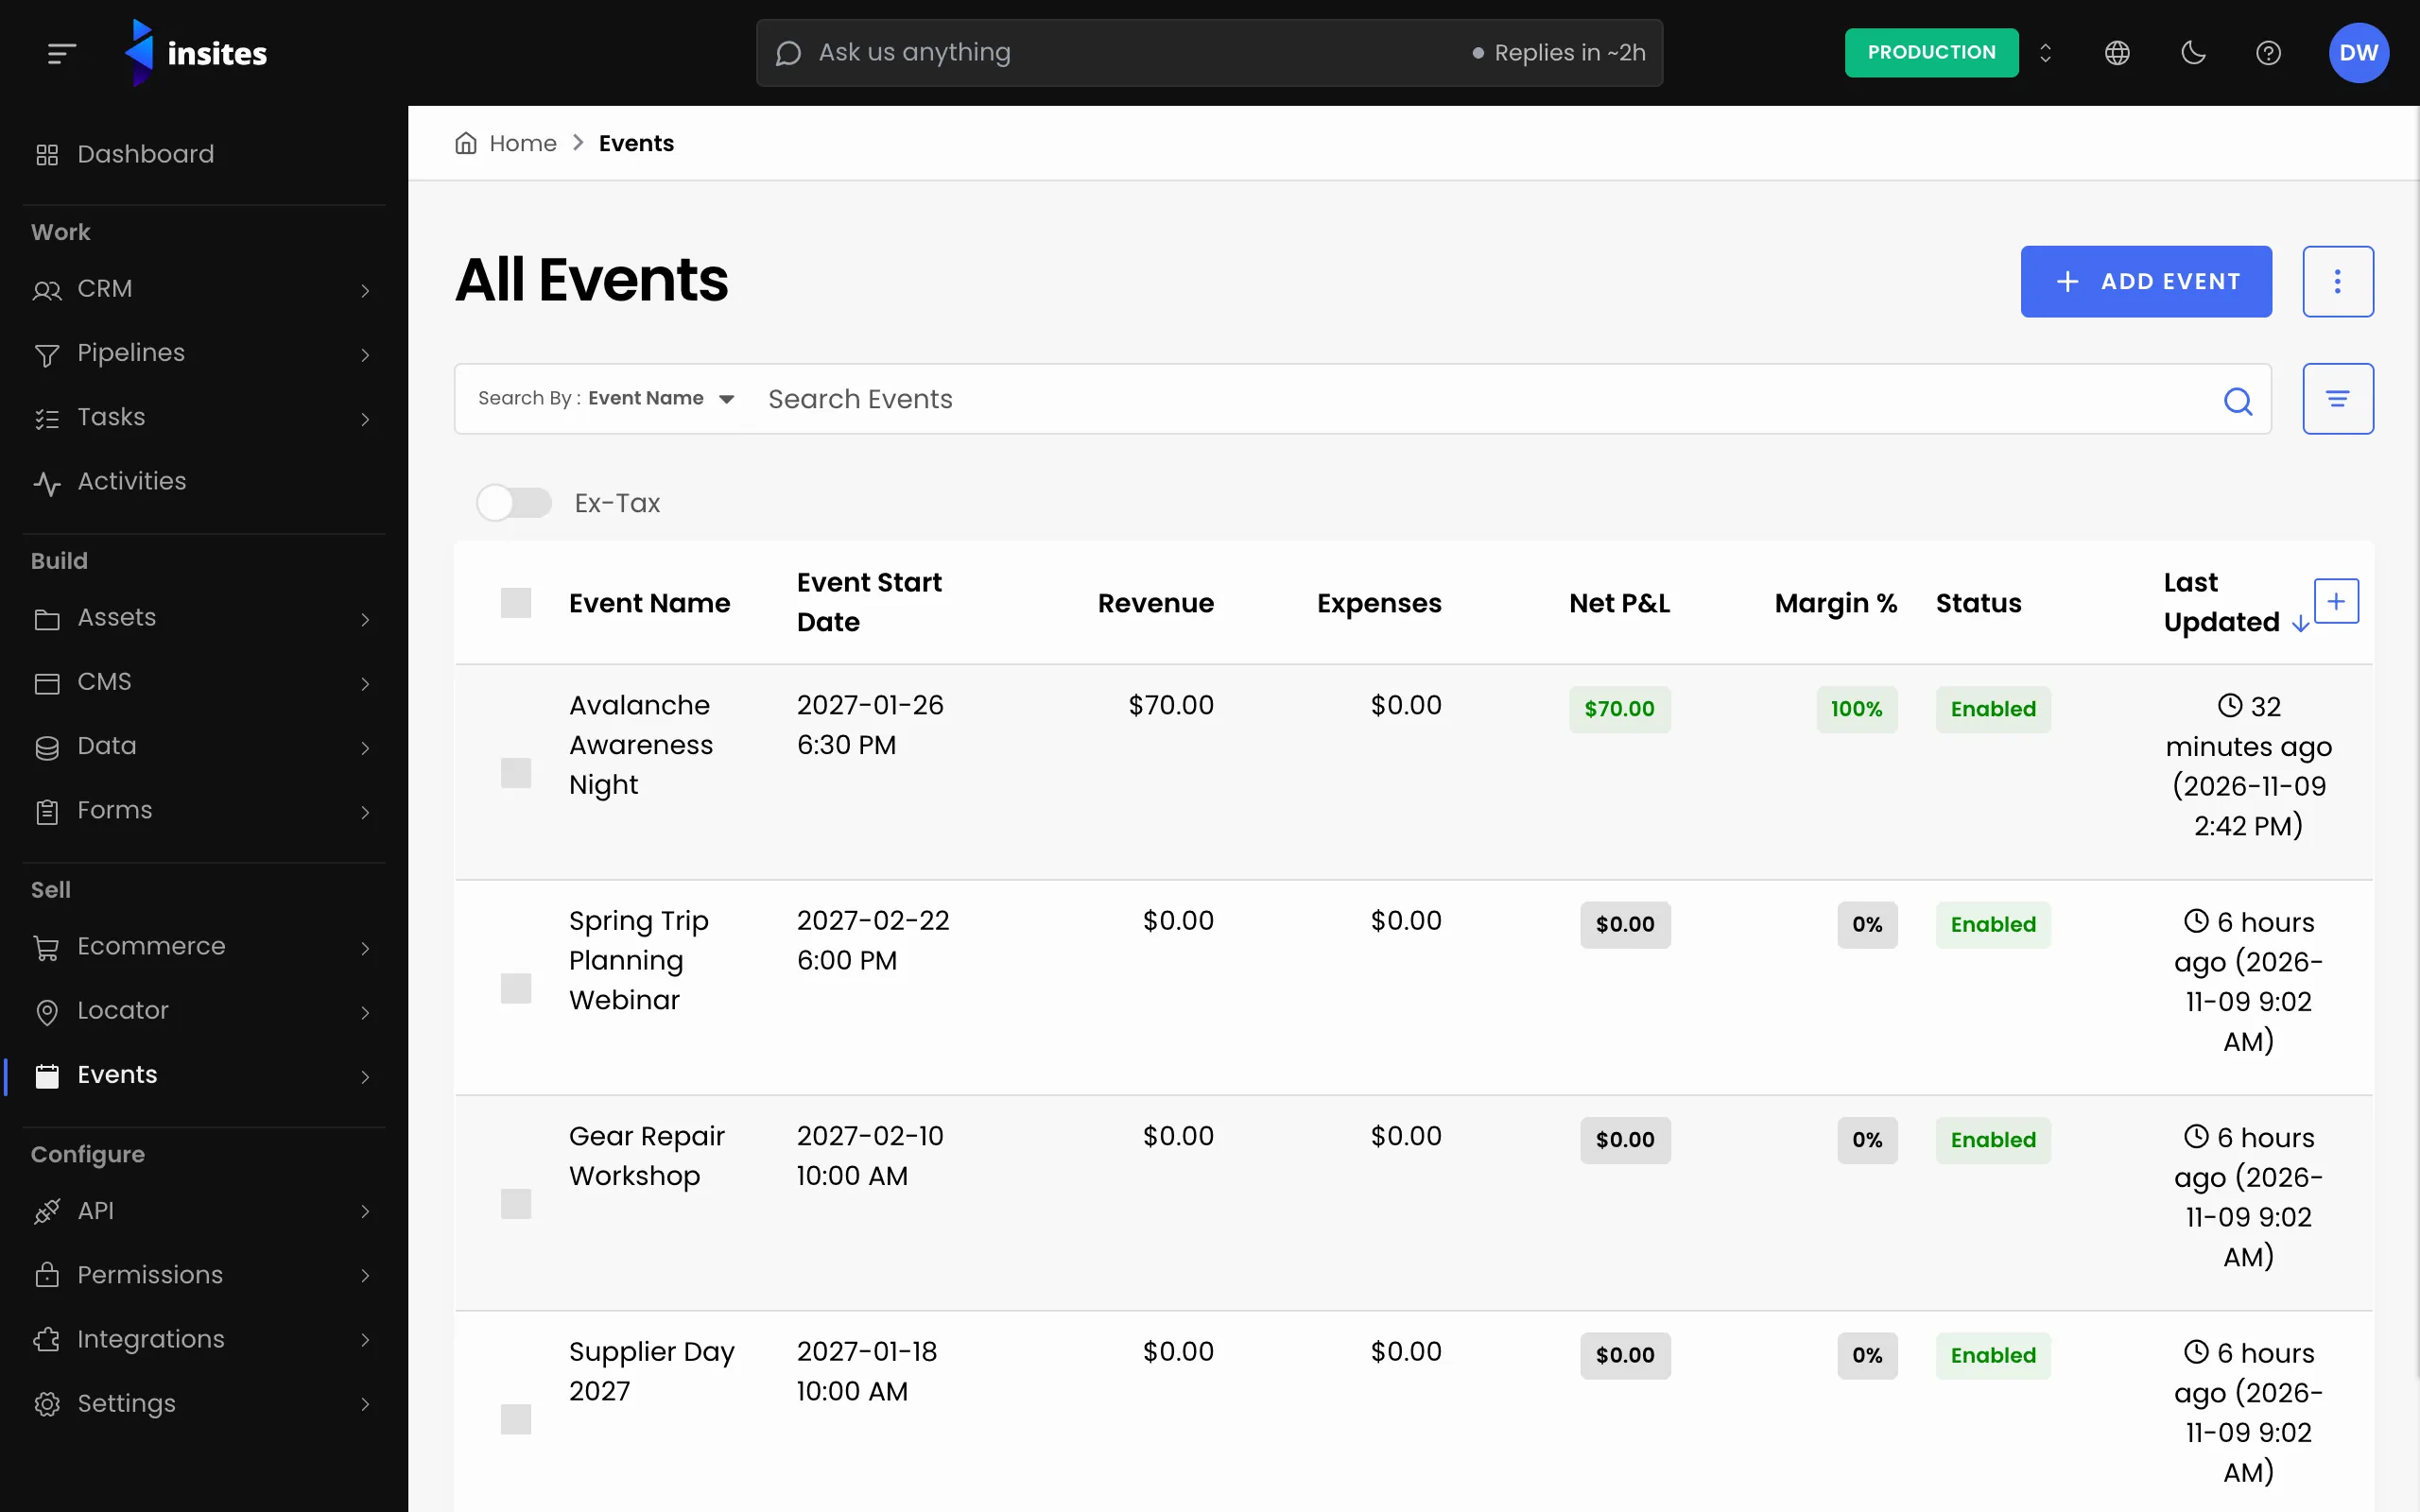
- Go to Events > All Events and open the event.
- Open the Tickets tab and click Export Tickets. The button shows once the event has tickets.
- A message says the file is being prepared in the background. The download starts by itself when the file is ready.
Export across events, with filters
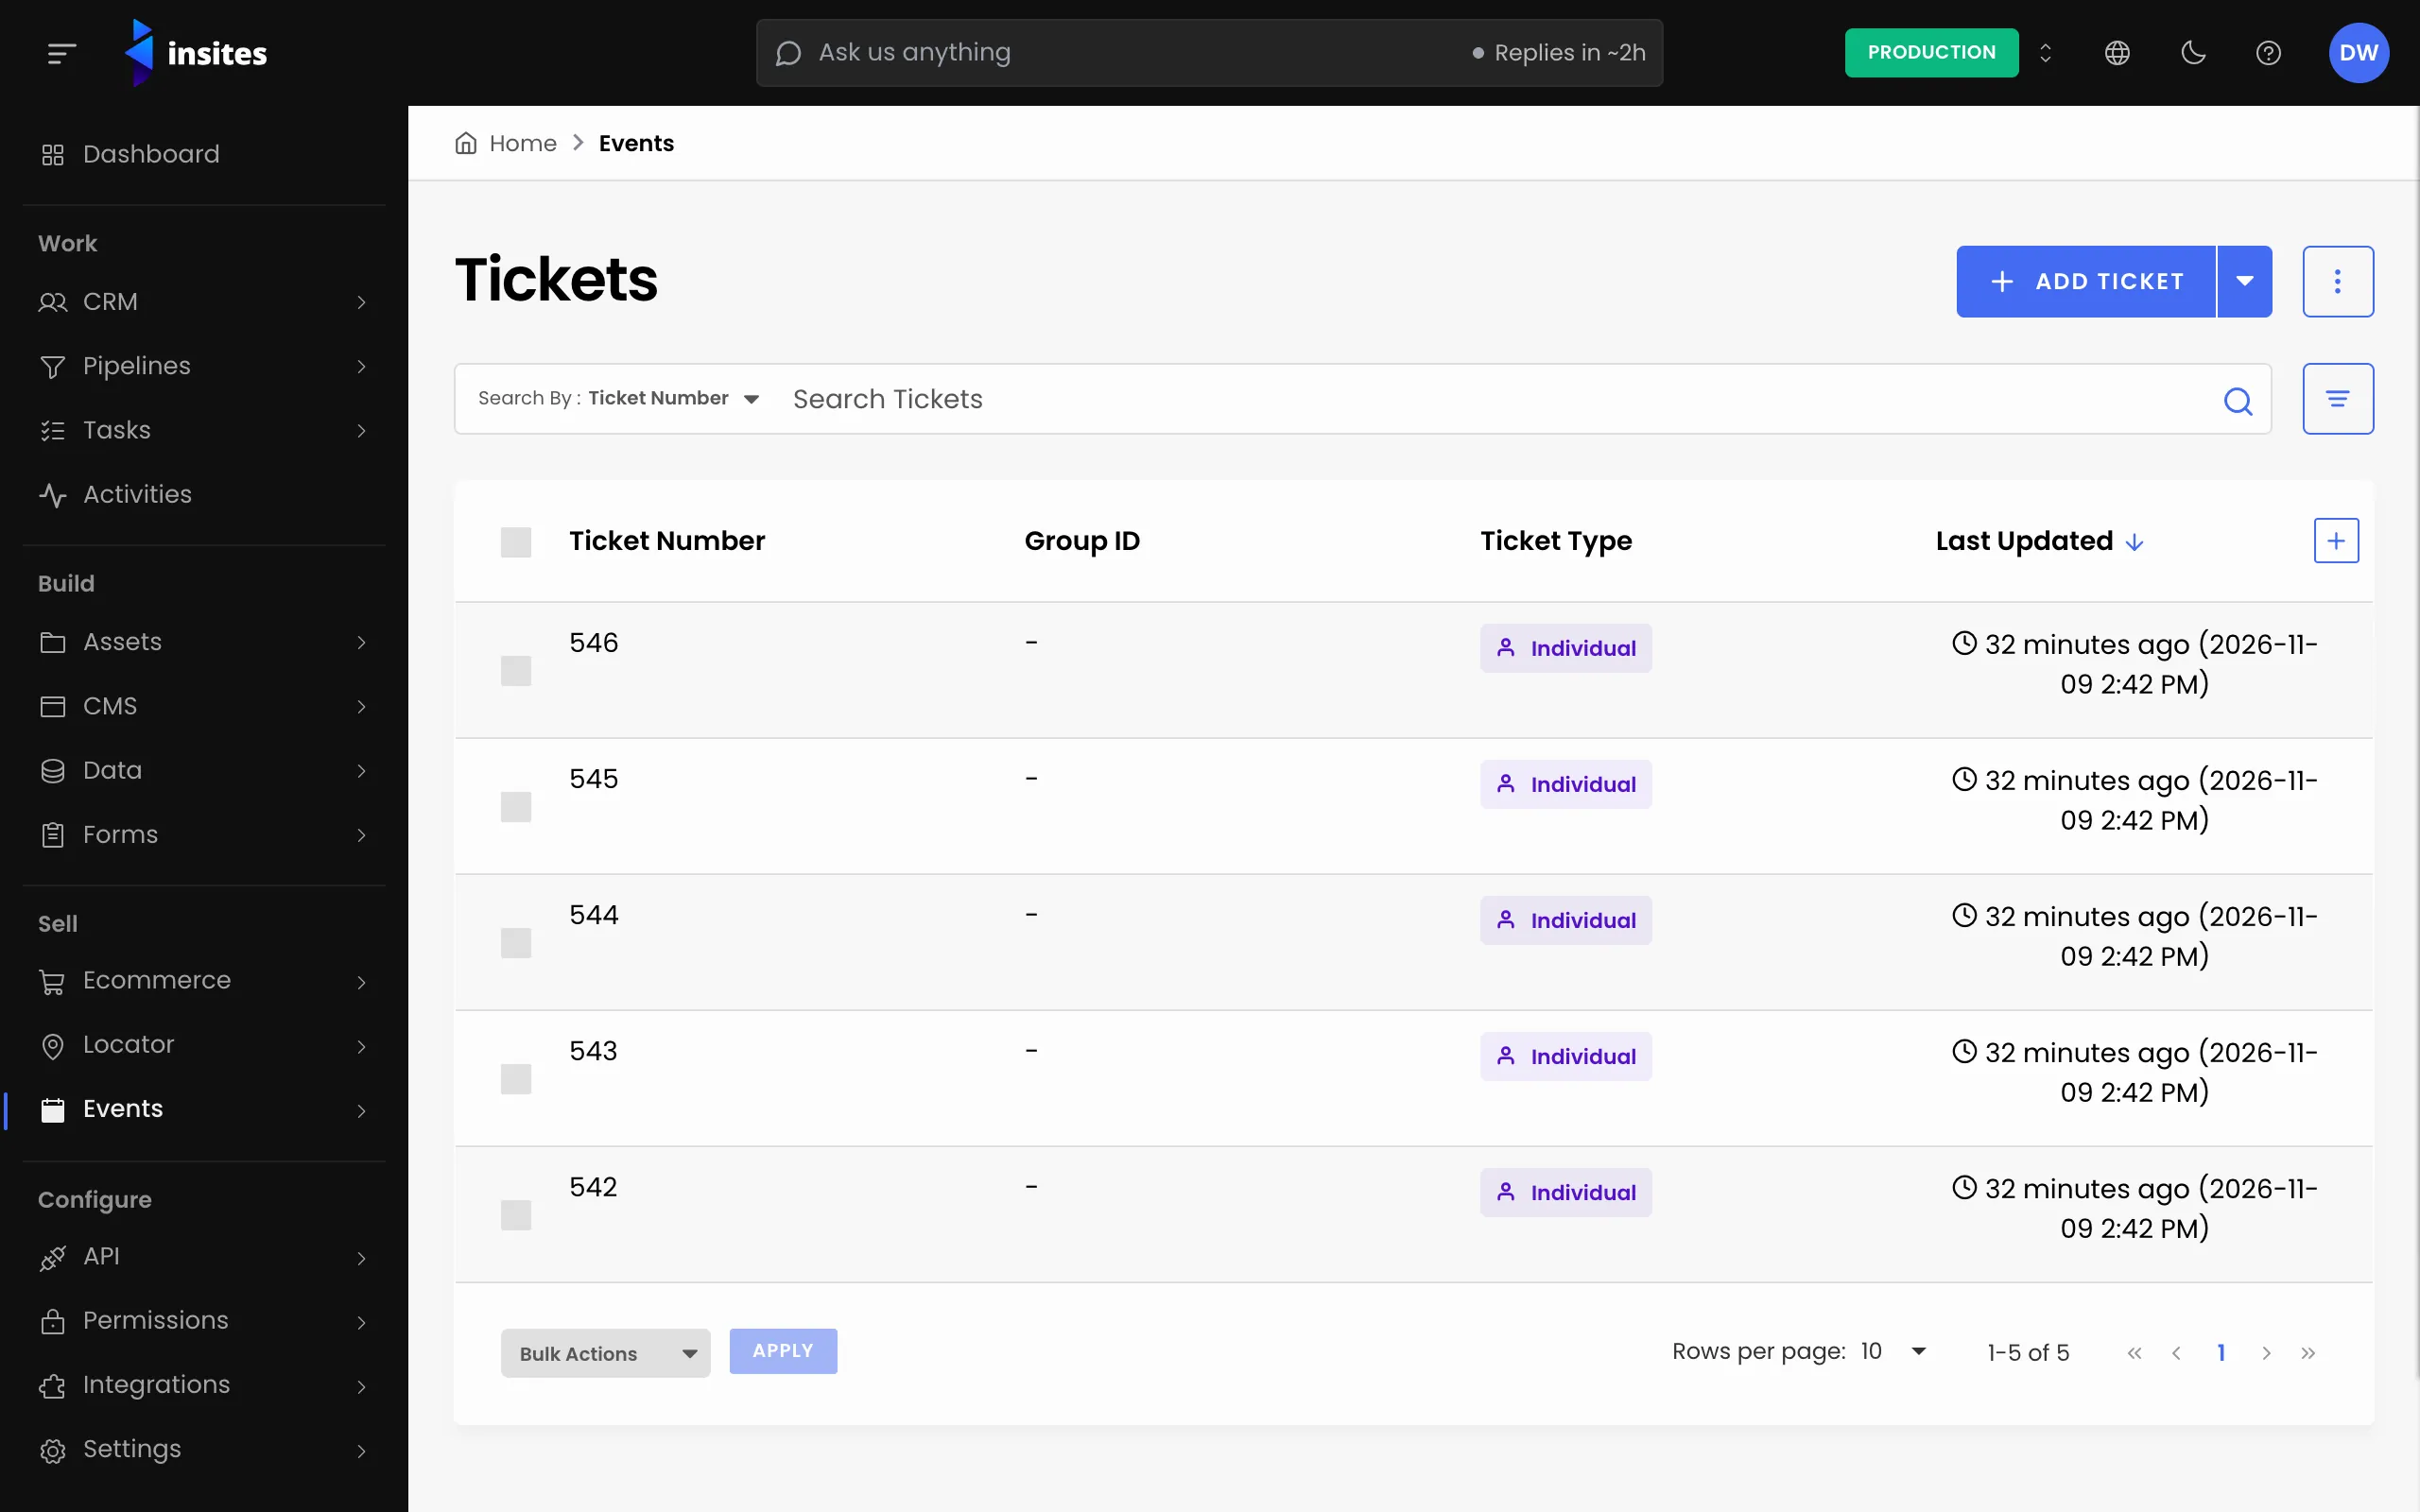
- Go to Events > Tickets.
- Open Actions and choose Export Tickets.
- Choose Sort By and Order.
- To export only some tickets, turn on Apply Filters. Pick a field in Search By and type a Search Keyword.
- Click Export Tickets.
If nothing matches, a message asks you to update your export settings.
What is in the file
- The ticket number, unique ID, type, group ID and QR code URL.
- The attendee's name, email, job title and phone number, and their company.
- The price, tax, venue name and venue area.
- The Ecommerce order number, for tickets sold online.
- The allocation, confirmation and attended statuses.
- The scan date and the admin who scanned the ticket.
- Notes and dietary notes.
Get the statuses right first
To fix many tickets before you export, select them on the event's Tickets tab and choose Bulk Update. You can set the allocation status, the confirmation status and Attended in one go.