Site · Locator
Add your own location fields
Last updated 18 November 2026Applies to Locator v6.0
Add the extra details your locations need.
When you finish this guide, your locations have the extra details your business needs, such as a parking note, a list of services or a link to a related record.
Open the custom fields
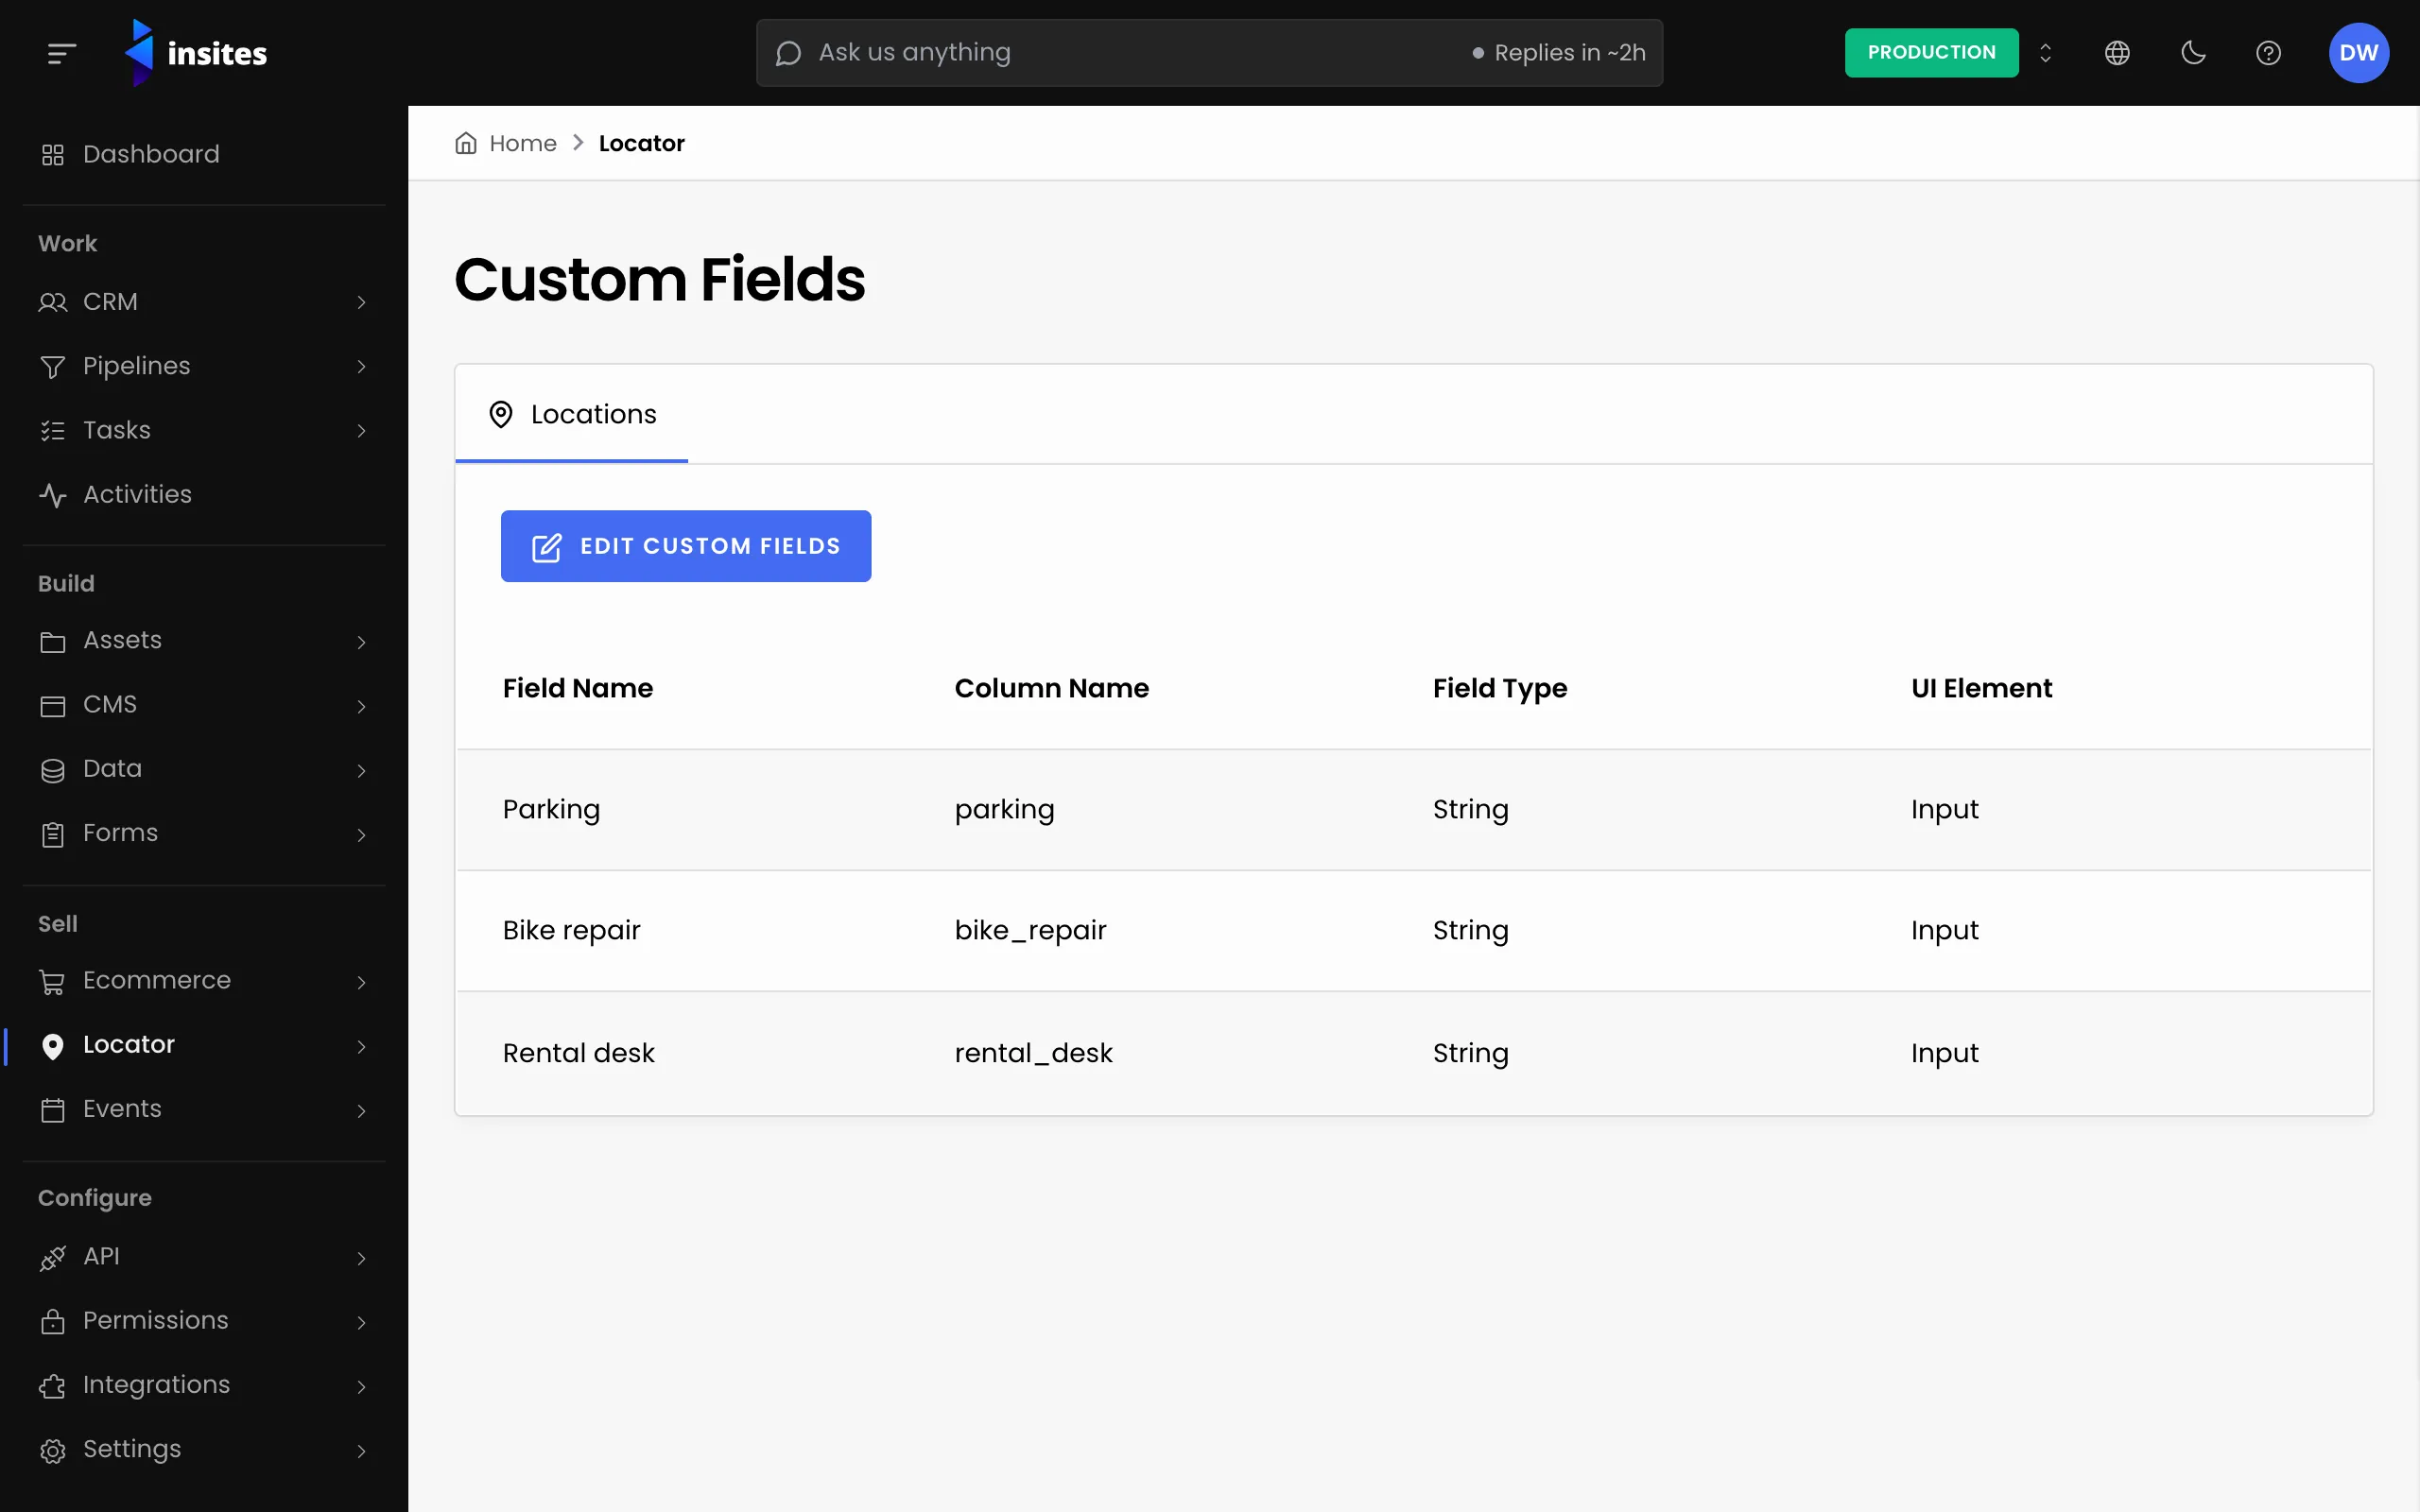
- Go to Locator > Custom Fields. The Locations tab lists the fields you already have.
- Click Edit Custom Fields. If you have no fields yet, click Add Custom Field instead.
Add a field
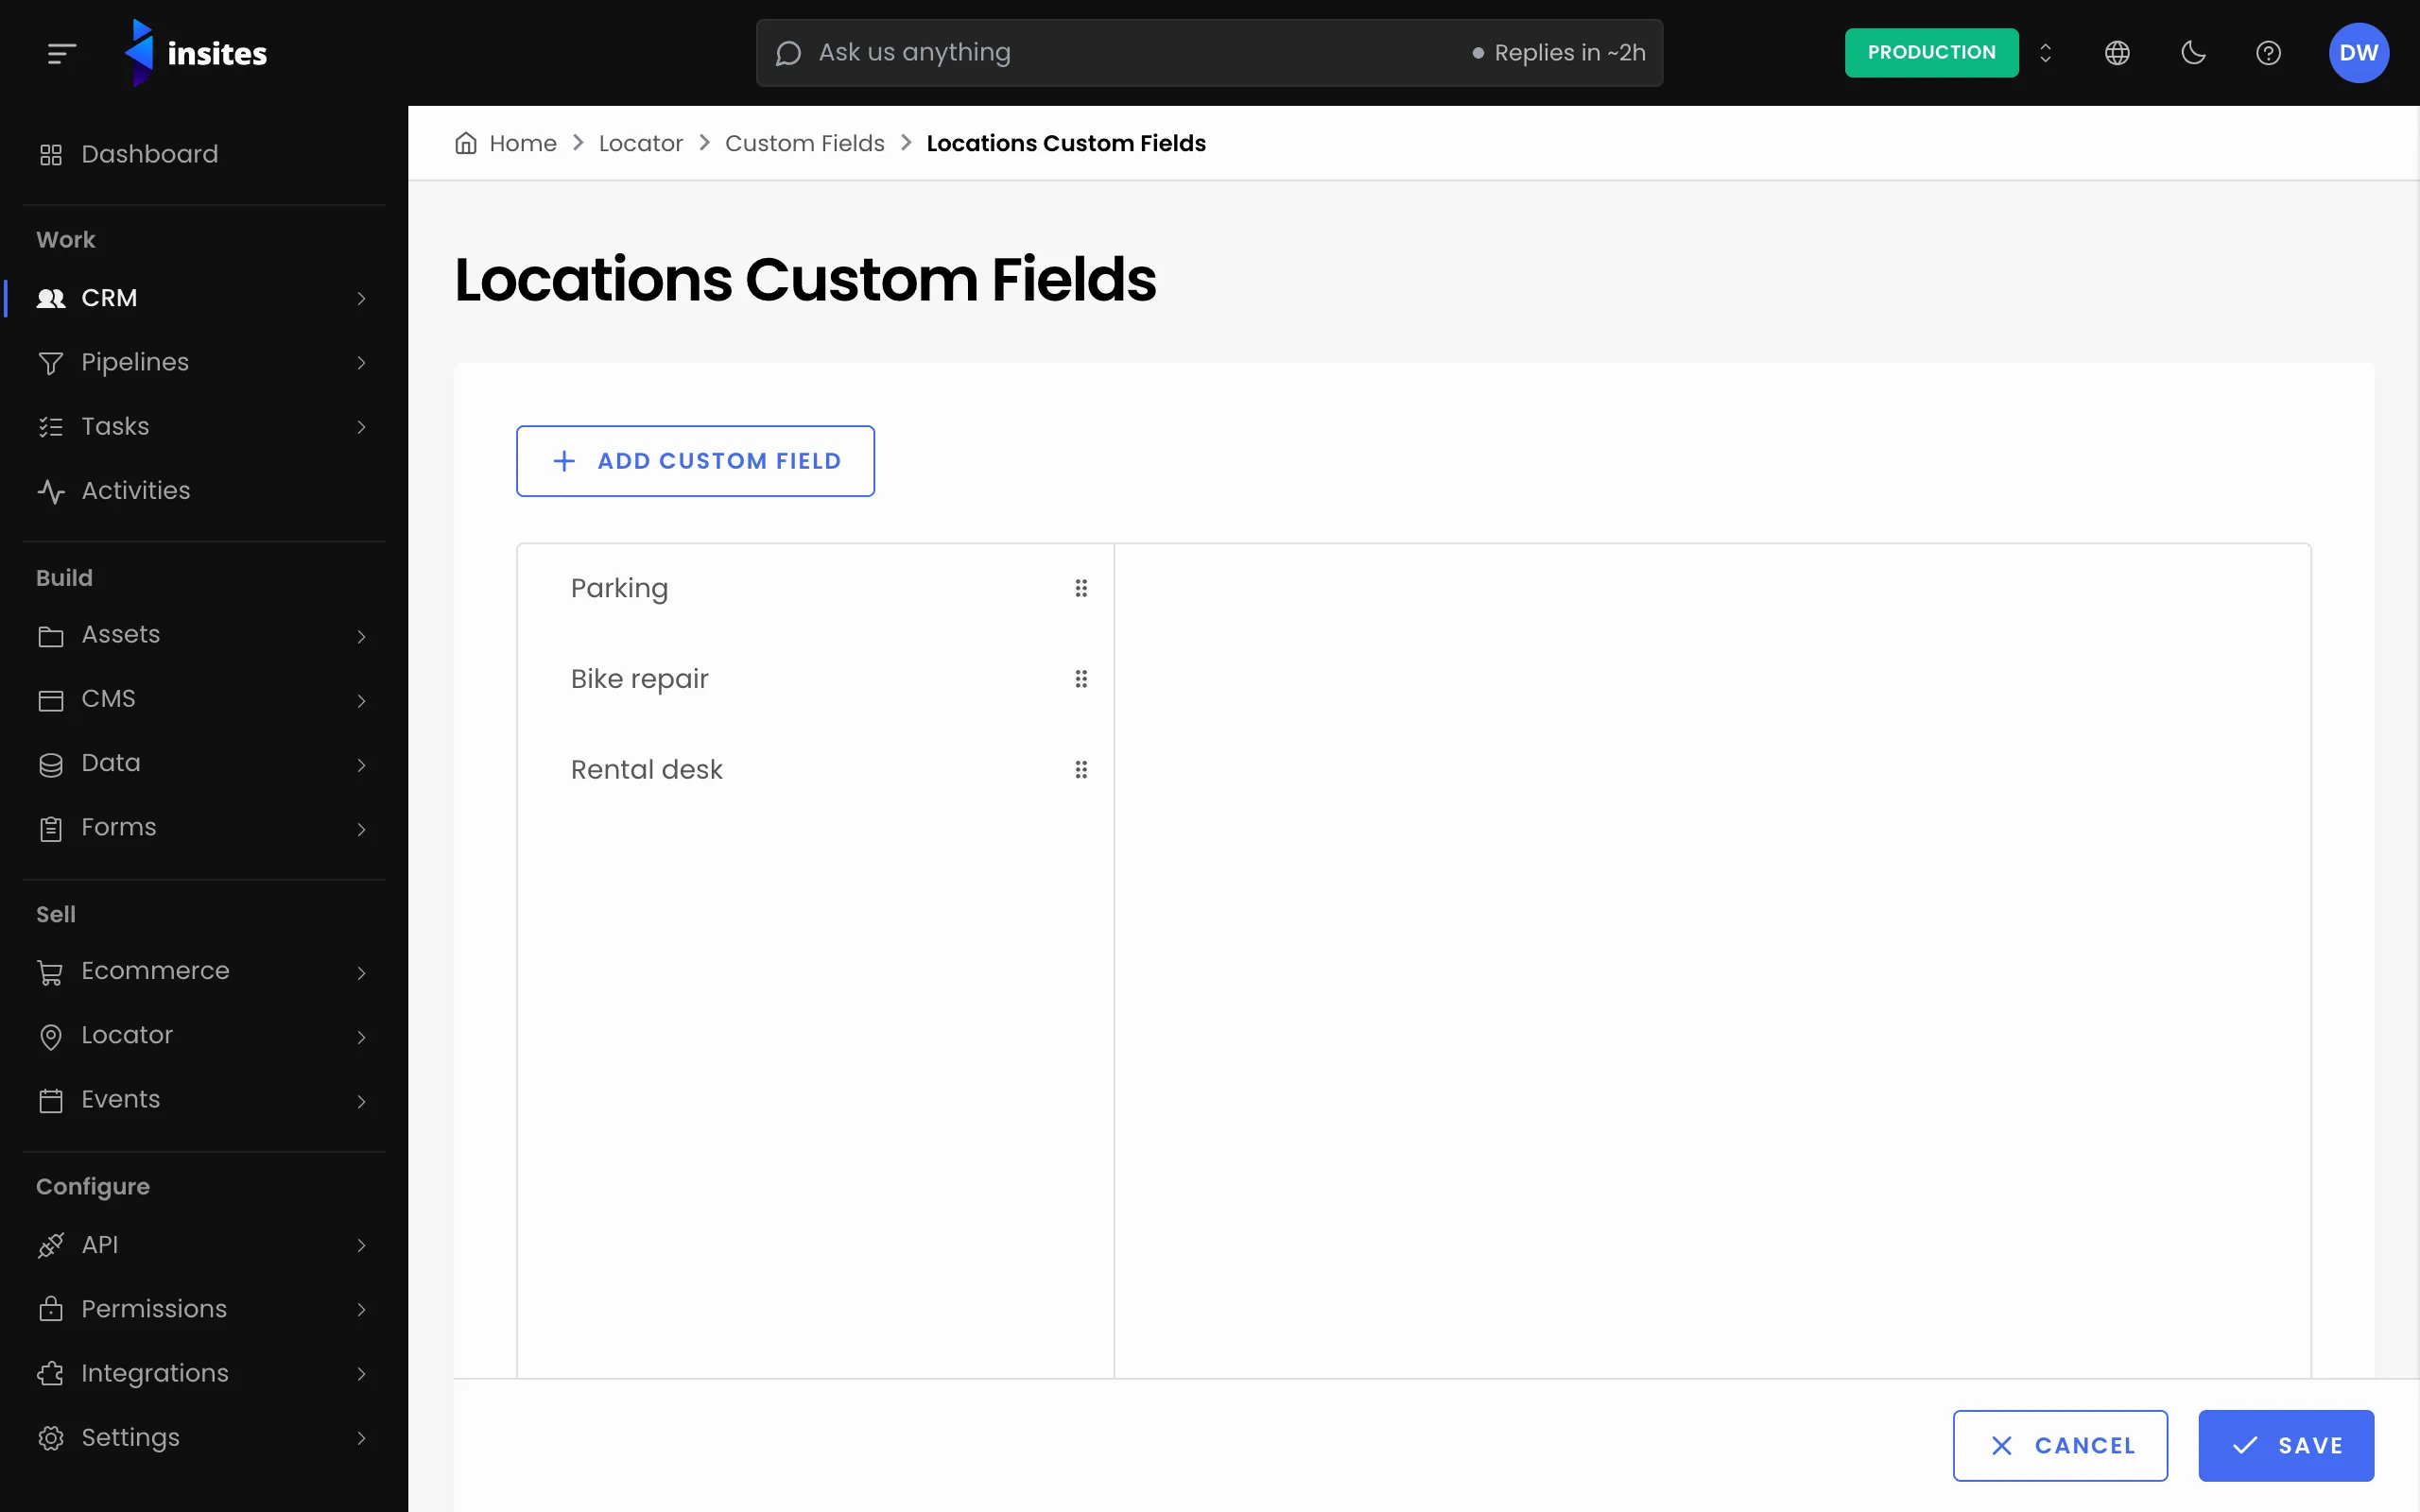
- Click Add Custom Field.
- Enter a Field Name. The Column Name fills in from it. This is the name the field is stored under.
- Choose a Field Type, such as String, Integer, Date or Boolean.
- Choose a UI Element. This is the control people use to fill in the field. The list depends on the field type.
- Fill in the extra settings that appear for your choice. See the table below.
- Click Save Field, then click Save at the bottom of the page.
| When you choose | You also fill in |
|---|---|
| UI Element Checkbox, Radio, Select or Select (Multiple), on a field type other than Data Source | Options: type each choice and press Enter |
| UI Element Card Select or Card Select (Multiple) | The list of cards to choose from |
| Field Type Data Source or Data Source (Multiple) | Data Source, the database to link to, and Display Field, the field shown for each linked item |
Note
Choose the field type with care. You can only set it while the field is new.
If the name is already used by another field, the form shows Custom Field Column already exist. Choose a different name.
Drag fields in the list to change their order.
Fill in the new field
Open a location and go to its Custom Fields tab. Your new field is there. Enter a value and click Save.
New fields also appear as columns in the locations import template. See Import locations in bulk.