Site · Locator
Group locations into categories
Last updated 18 November 2026Applies to Locator v6.0
Create categories and give each location one.
When you finish this guide, your locations are sorted into categories, such as clinics and pharmacies, or stores and warehouses. Each location belongs to one category.
Create a category
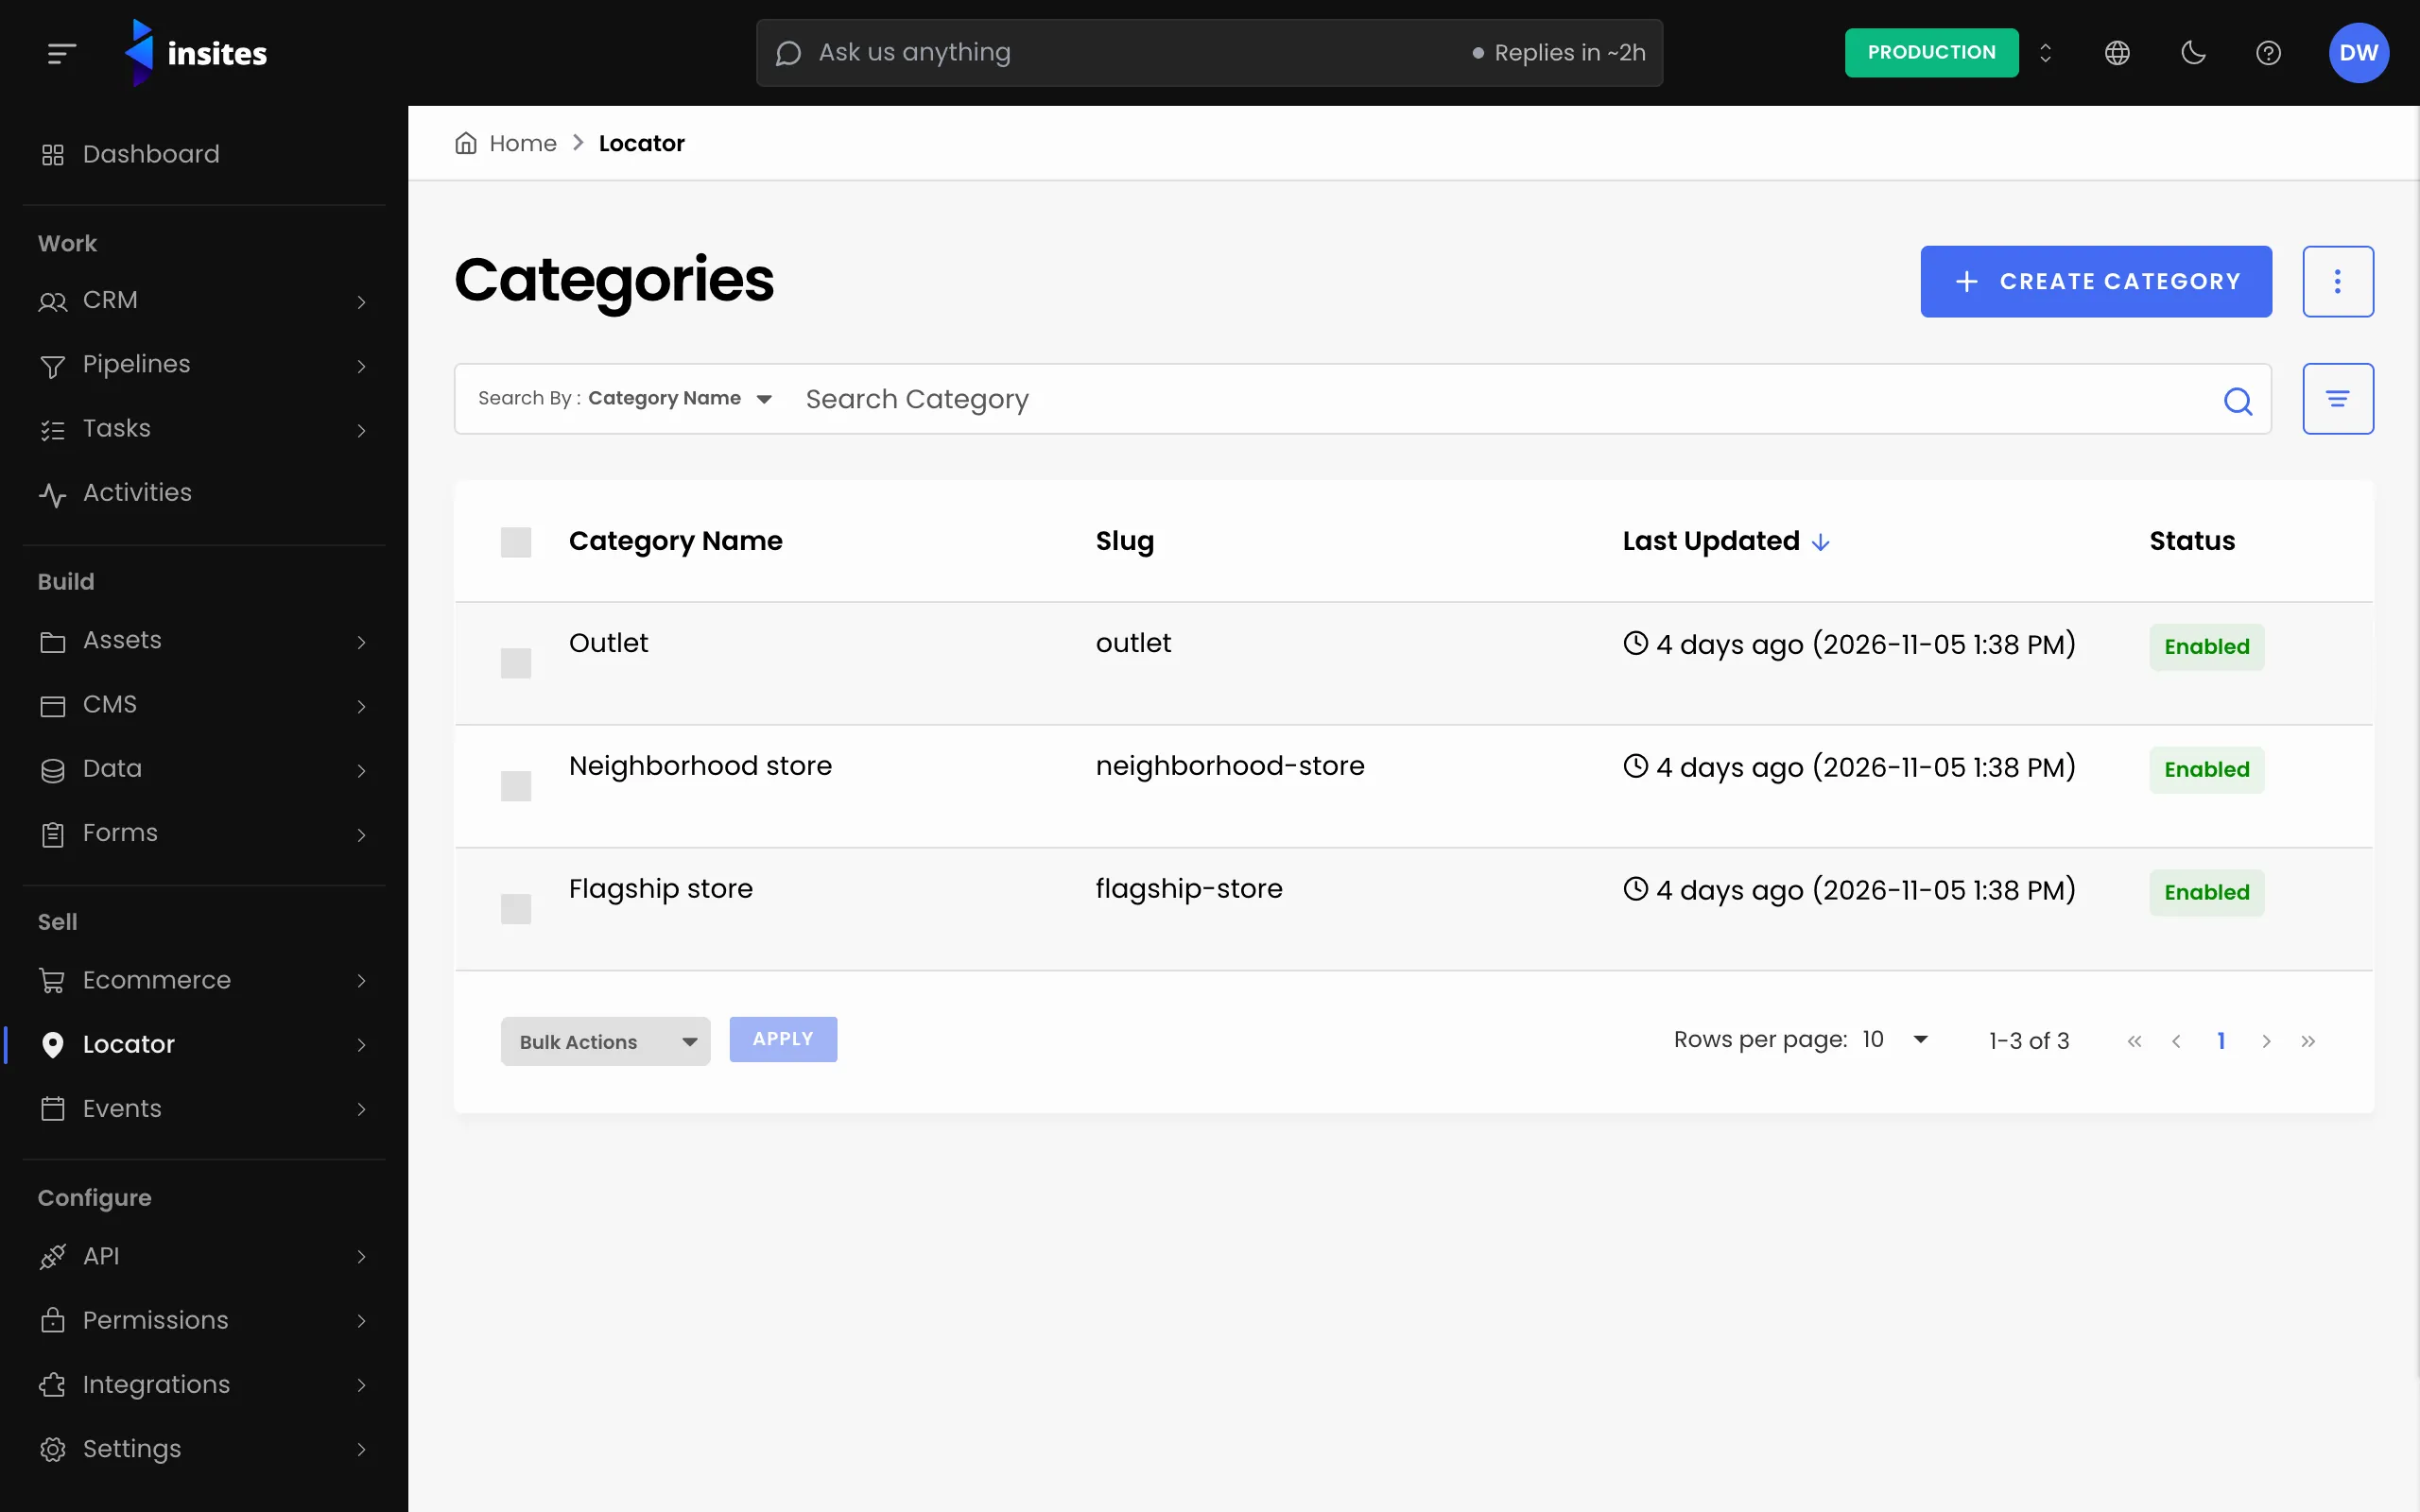
- Go to Locator > Categories and click Create Category.
- On the Details tab, enter a Category Name. The Slug fills in from the name as you type. You can change it. The slug is the last part of the category's web address.
- On the Content tab, add a Short Description, a Long Description and a Category Image if you want them.
- Click CREATE CATEGORY.
The category also has Sitemap, Metadata, Open Graph and Schema tabs. Your developers can use these when they build category pages.
Note
Category Name and Slug are both required. The category cannot be saved without them.
Give a location its category
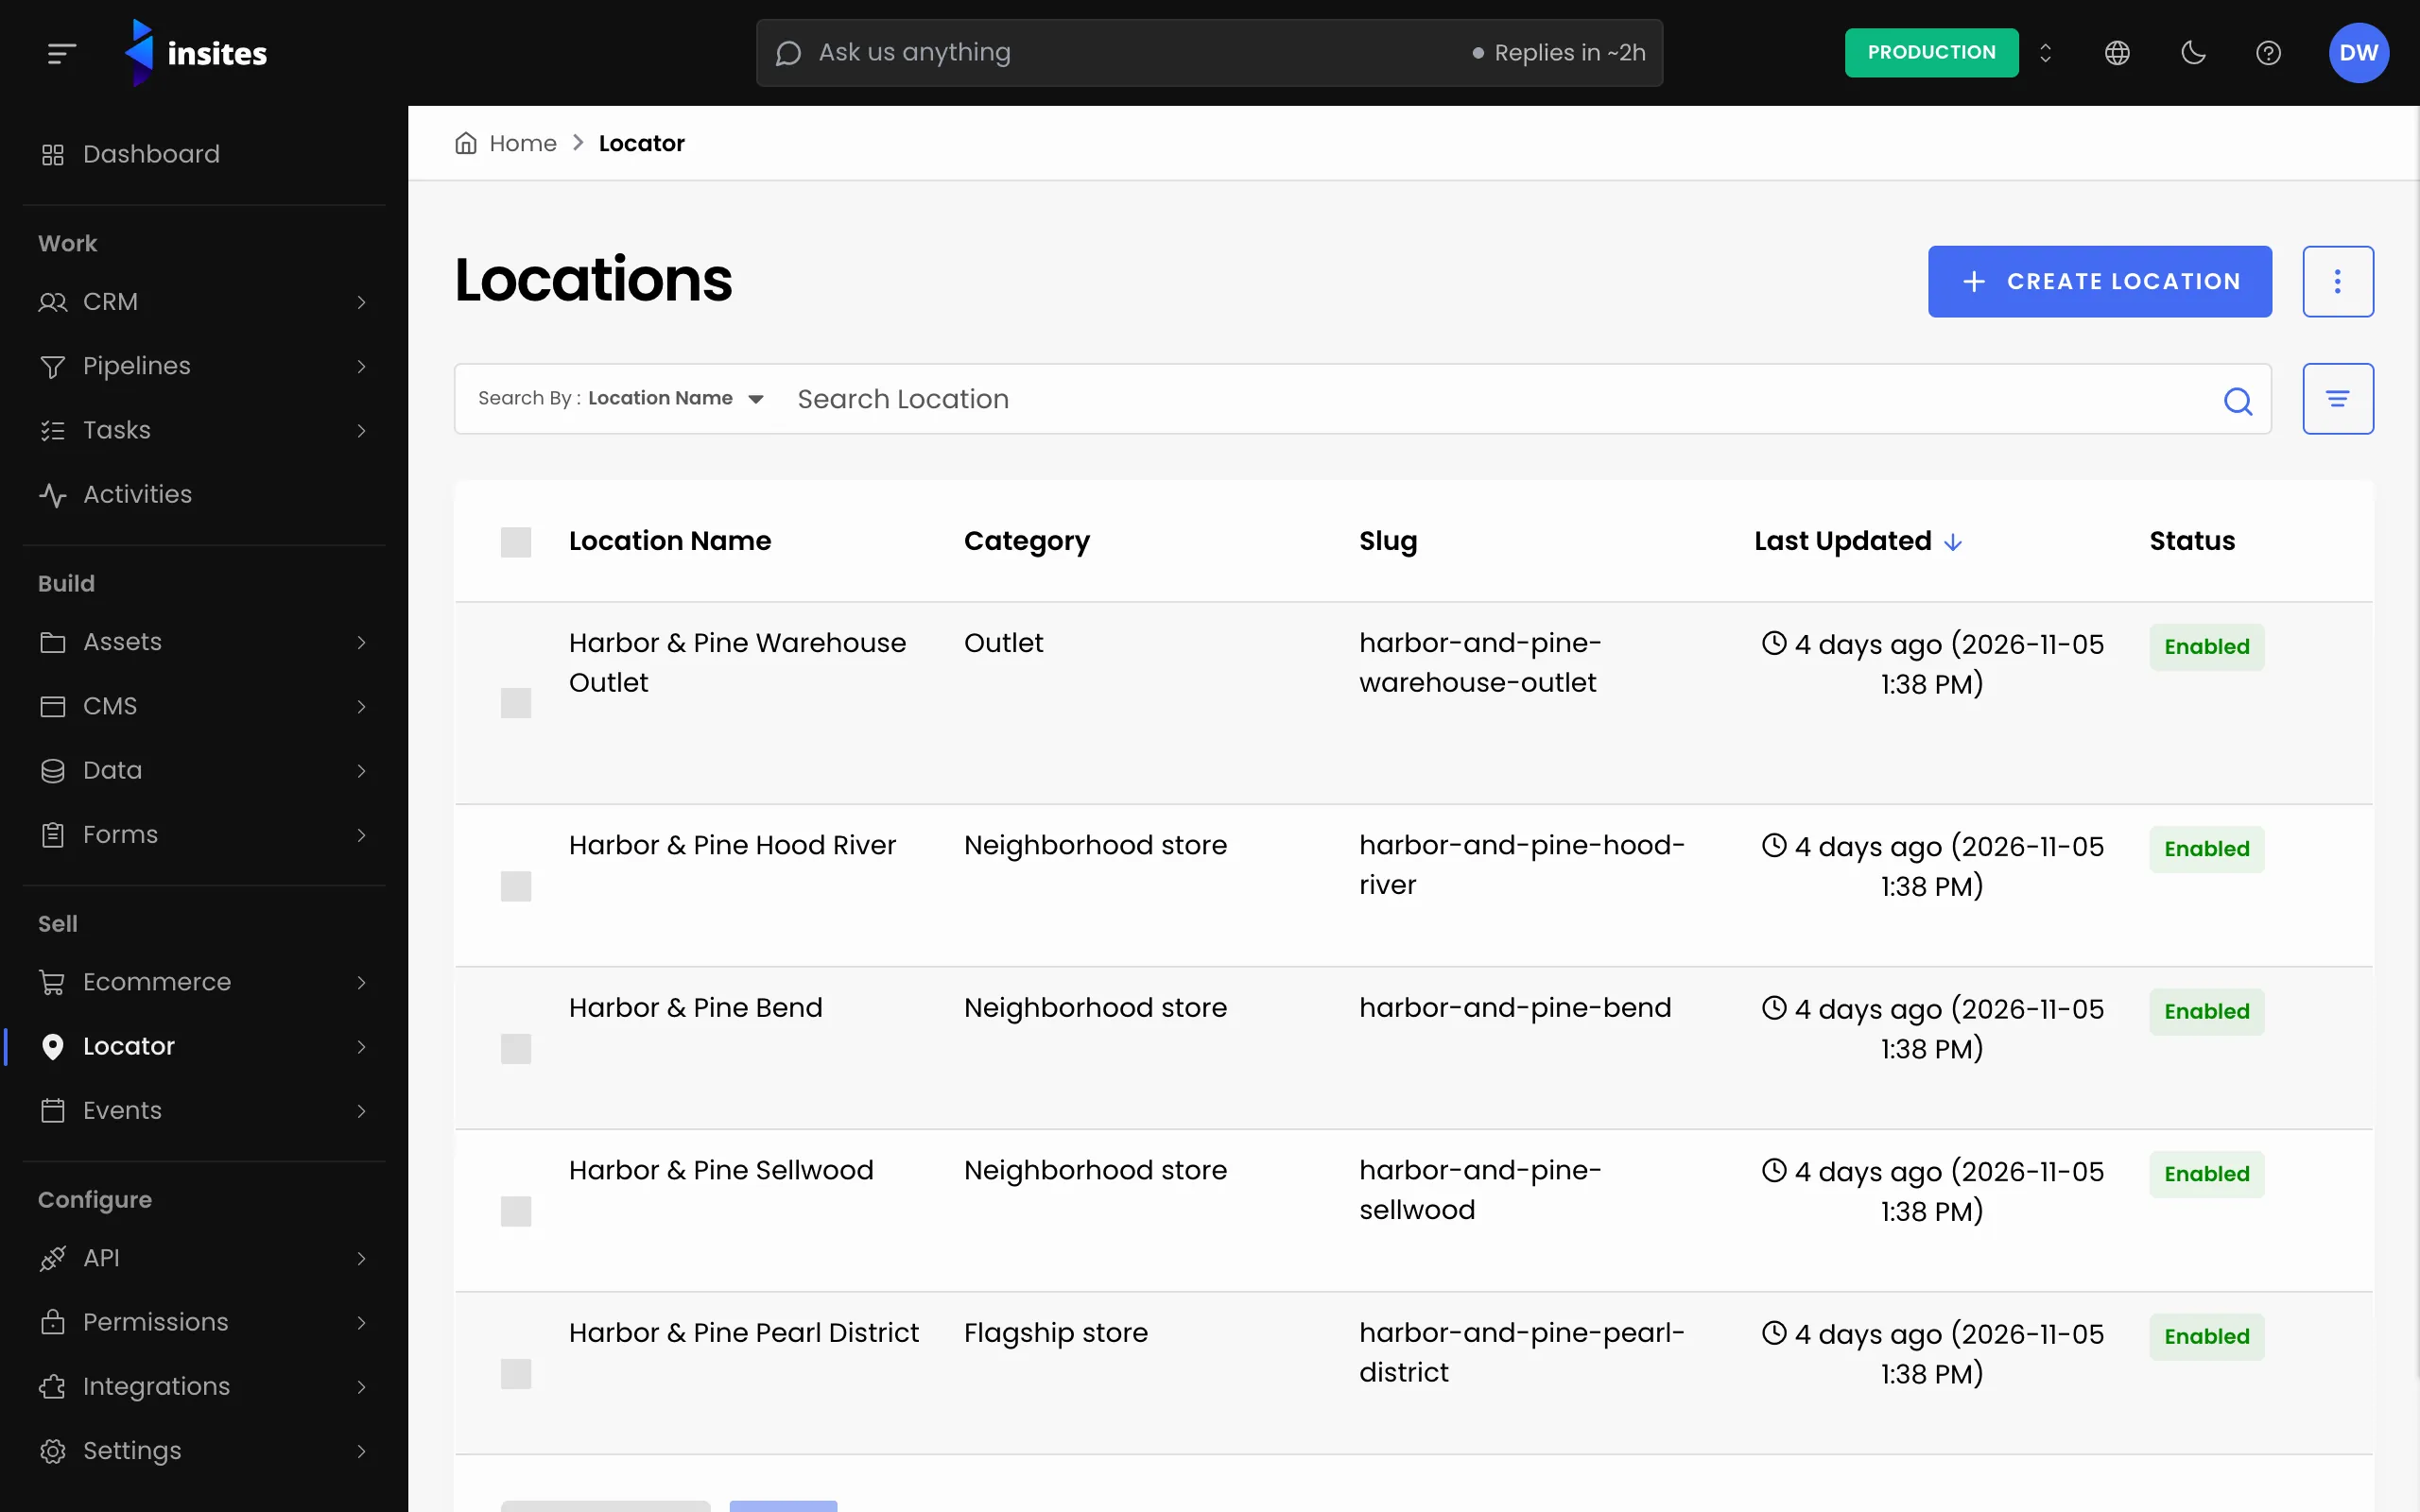
- Go to Locator > Locations and open a location.
- On the Details tab, choose the category in Category. You can type to search.
- Click Save.
The Category column in the locations list shows where each location sits.
Give many locations a category at once
- Open the category. Copy the UUID shown under its name, after Category UUID.
- Put that UUID in the Category UUID column of your locations import file.
- Import the file. See Import locations in bulk.
You can also create many categories at once. In Categories, open the overflow menu and select Import Categories. Each row needs a Category Name.
Retire a category
In the categories list, use the row actions to Disable, Archive or Delete a category. An archived category can be brought back with Restore.