Site · Permissions
Set up member profiles in the site admin
Last updated 18 November 2026Applies to Permissions v6.0
Create a profile with your own fields under Permissions, Profiles, then assign it to contacts and fill in their details.
At the end of this guide, you will have a profile, for example Member, with its own fields. You will also have assigned it to a contact and filled in their details. A profile is a set of fields you define once and reuse for every contact of that type.
Note
A profile holds data. It does not grant access on its own. To control who can open a page, use an authorization policy.
Create the profile
In the Site Admin, select Permissions, then Profiles. Click Create Profile. On the Details tab, enter a Profile Name, for example Member. Insites fills in the Profile Path and suggests a File Path from the name. You can keep both.
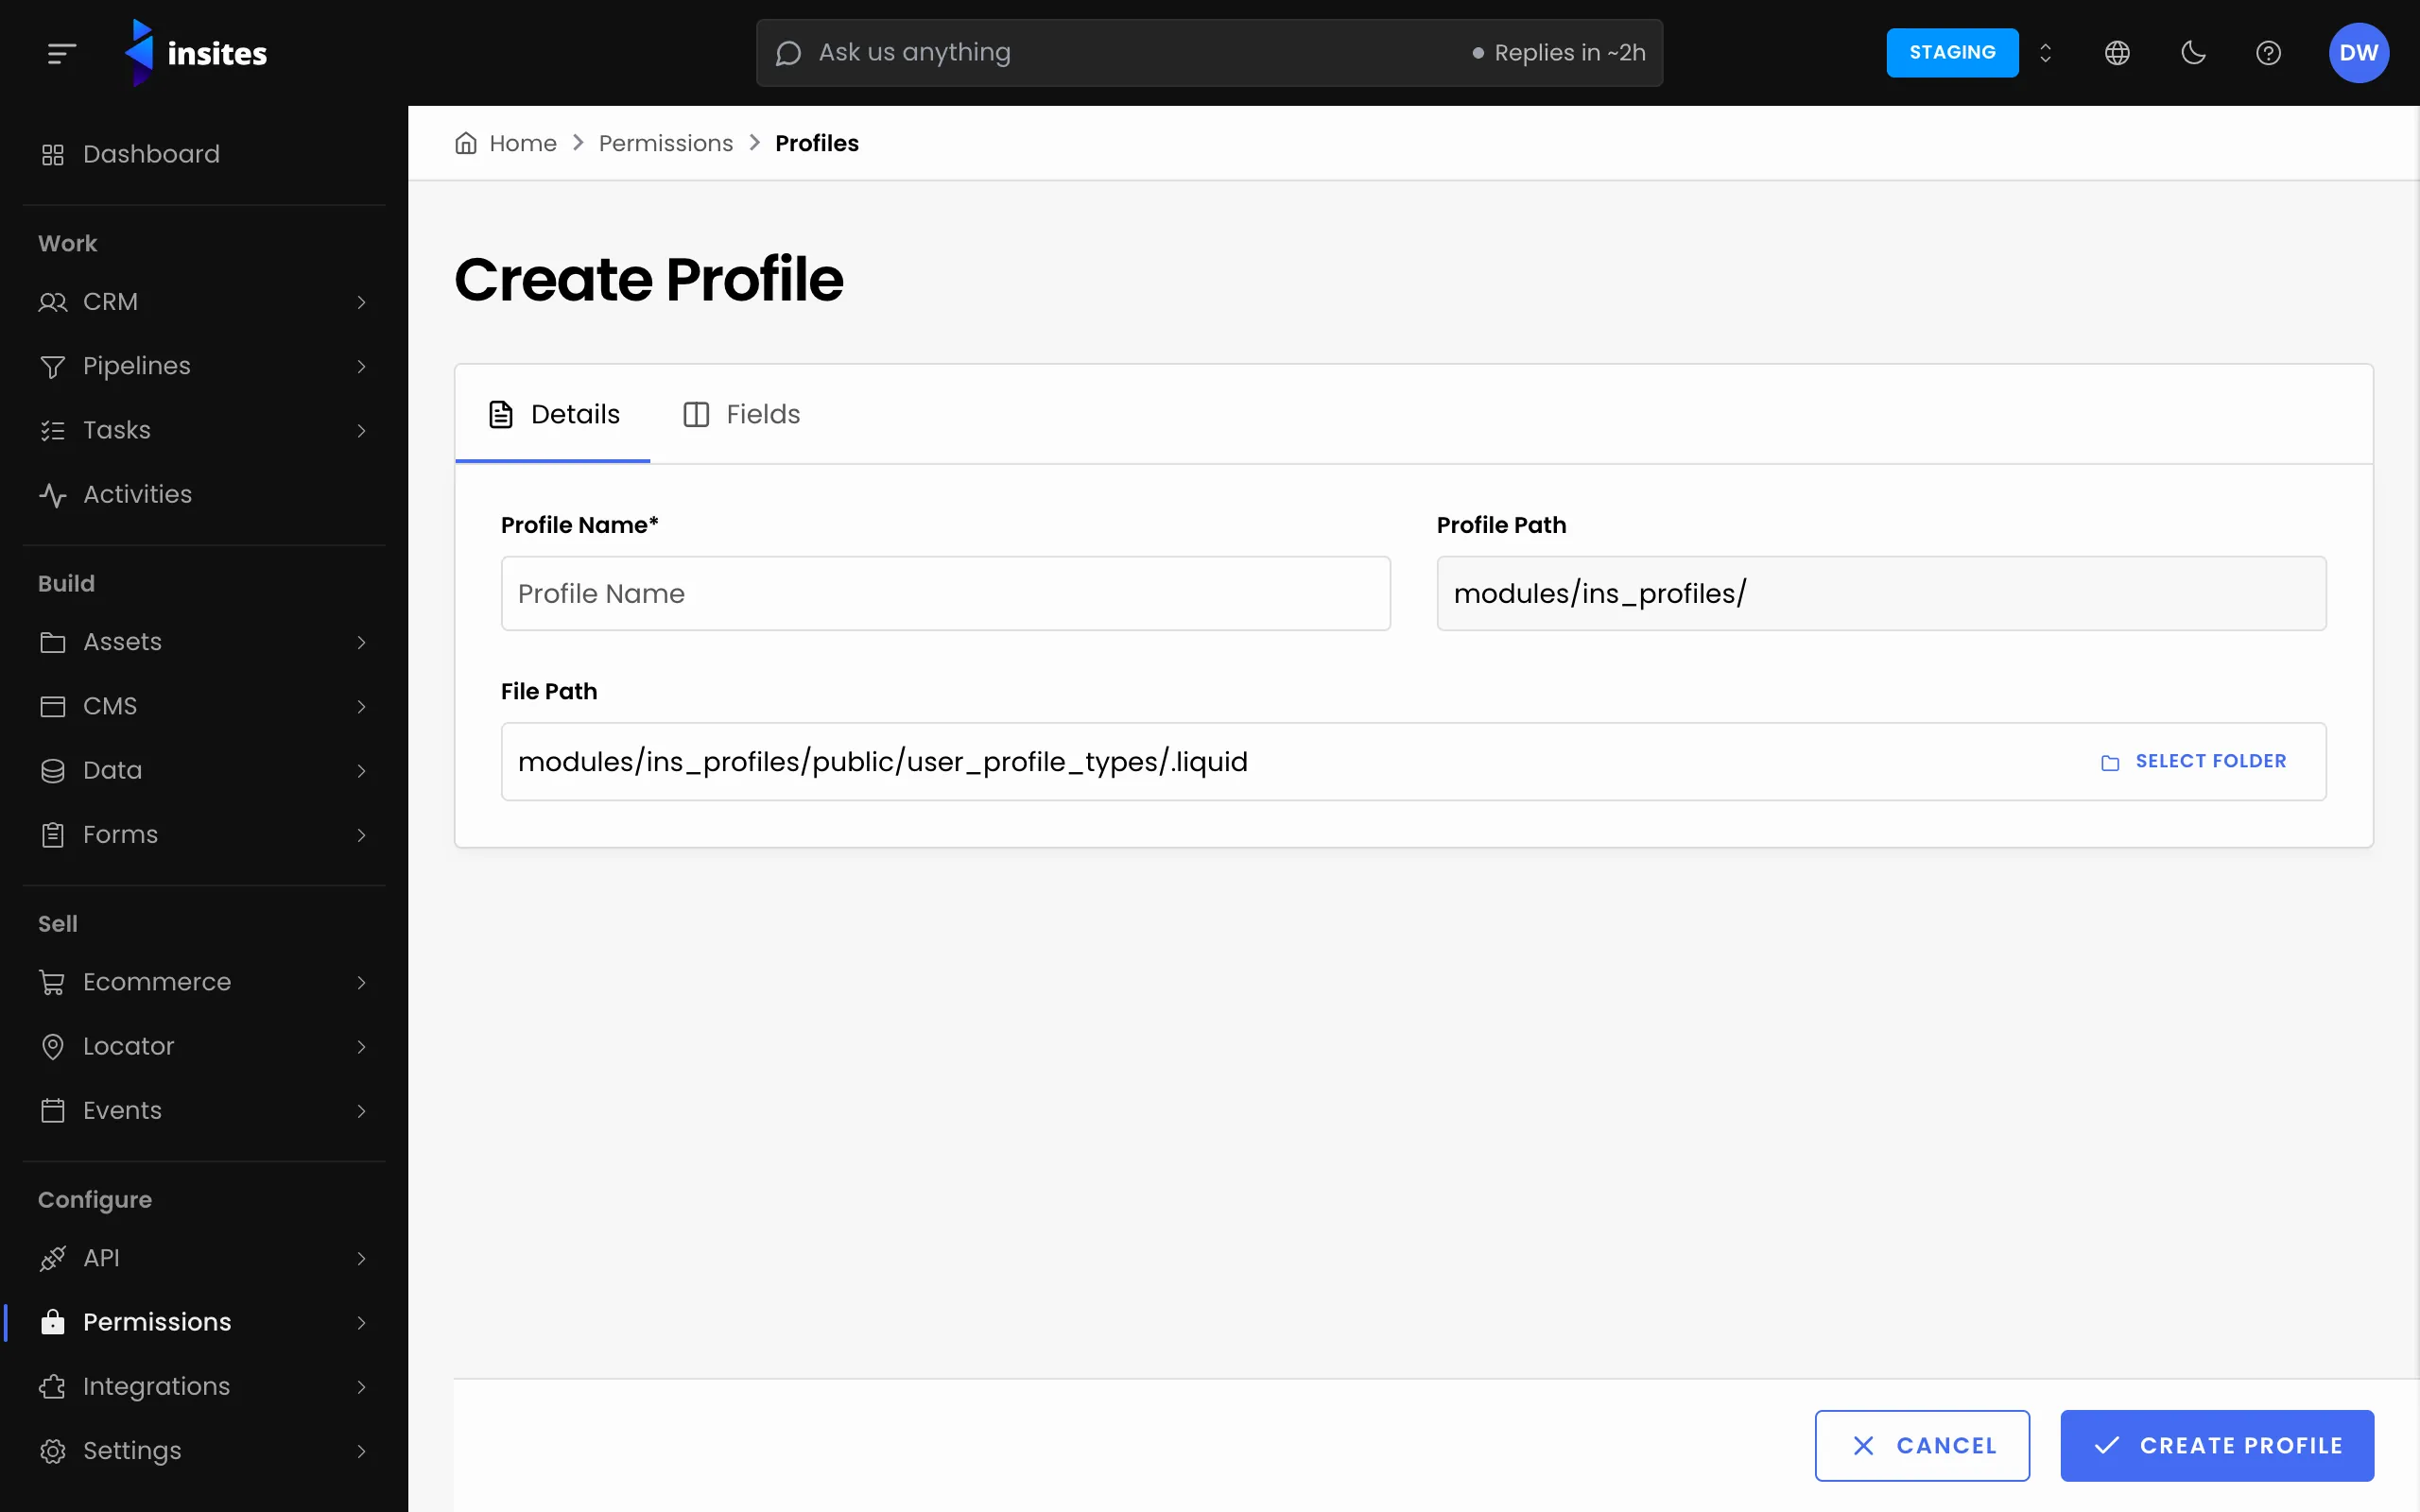
Add its fields
Open the Fields tab and click Add Field. For each field, fill in:
- Field Name
- Required. The label people see, for example
Membership Number. Insites makes the Column Name from it. - Field Type
- Required. The kind of data, for example String, Integer, Date or Boolean. You cannot change it after you save the field, so choose with care.
- UI Element
- Required. The control used to edit the field, for example Input, Select or Toggle. The list depends on the field type.
Some choices add more boxes:
- Options appears for the Radio and Checkbox elements, and for Select and Select (Multiple) on any field type except the two Data Source types. Type each option and press Enter.
- Card Select and Card Select (Multiple) show a list of options to fill in.
- Data Source and Display Field appear when the field type is Data Source or Data Source (Multiple). Pick the database to choose from, and the field to show for each item.
Click Save Field, then add the next one. Drag fields to change their order.
Save the profile
Click Create Profile. A profile needs at least one field. You see the message: Profile successfully created.
Assign it to a contact
- Select CRM, then Contacts, and open the contact.
- In the Profiles section, click Add profile.
- In the Assign Profiles panel, pick Member, then click Assign Profiles.
- On the new profile card, click the edit icon. Fill in the fields in the Edit Profile panel and click Save.
To see everyone with the profile, go back to Permissions, then Profiles, and open it. The Contacts tab lists them.
Warning
You cannot delete a profile while contacts still have it. Remove it from every contact first, on the profile's Contacts tab.